|
Tutorial dedicado ao aniversário do SimPsp Dois anos criando e fazendo versões. Quase 200 tutoriais apresentados por mim. E incontáveis versões foram feitas destes tutoriais. Agradeço a todos os visitantes de nossa pagina, a todo aquele que dedicou um tempinho para desenvolver sua versão.
TRADUÇÕES:
Obrigada aos nossos tradutores!
MATERIAL 1 Tube à sua escolha ! Tube Decorativo à sua escolha titulo_Sim2UsbySoxikibem decorSim2us_bySoxikibem Seleção: sim2us1 *Salvar a seleção na pasta Selections do seu Psp
PLUGINS Italian Editors Effect Mehdi Two Moon
TUTORIAL 01- Abra o material no psp, duplique e feche os originais. Escolha 2 cores. Foreground: #49342f Background: #c3e55b Cor Extra: Branca
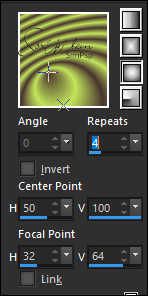
02 - Abrir uma nova transparência de 900x450px. Prepare um gradiente Sunburst com as cores do Foreground e Background e pinte a transparência.
03 - Effects > Plugins Mehdi > Weaver.
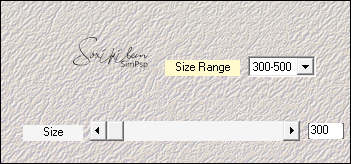
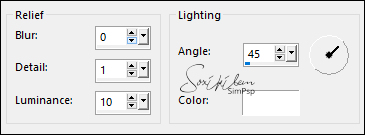
04 - Effects > Texture Effects > Sandstone.
Effects > Edge Effects > Enhance.
05 - Layer > New Raster Layer. Pintar com o gradiente em uso.
06 - Layers > Duplicate. Image > Mirror > Mirror Horizontal. Image > Mirror > Mirror Vertical. Layers > Properties > General > Opacity: 50%. Layers > Merge > Merge Down.
07 - Effects > Plugins Two Moon > VerticalChopBlur.
08 - Effects > Texture Effects > Blinds, com a cor do background.
09 - Selections > Load/Save Selections > Load Selection From Disk: sim2us1. Selections > Invert. Edit > Cut. Selections > Select None.
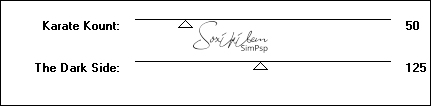
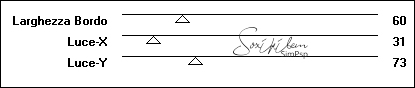
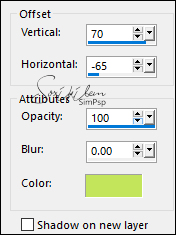
10 - Effects > Plugins Italian Editors Effect > Bordo con Luci.
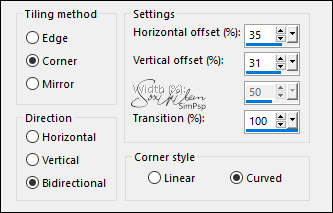
11 - Layers > Duplicate. Effects > Image Effects > Seamless Tiling.
12 - Ative a Layer Raster 2. Layers > Properties > General > Blend Mode: Dodge.
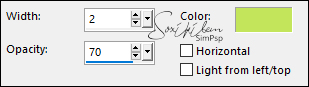
13 - Ative a Layer Copy of Raster 2. Layers > Properties > General > Blend Mode: Difference, Opacity 70%. Effects > 3D Effects > Drop Shadow, com a cor do background.
14 - Effects > Reflection Effects > Rotating Mirror.
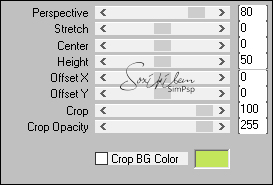
15 - Layers > Duplicate. Effects > Plugins Mura's Meister > Perspective Tiling.
Layers > Properties > General > Blend Mode: Screen, Opacity: 50%.
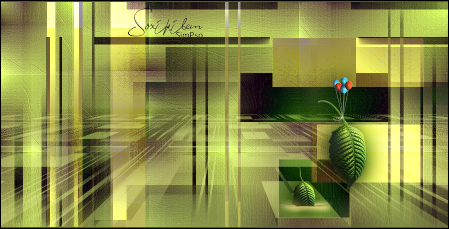
16 - Edit > Copy no Tube Decorativo. Edit > Paste as New Layer. Posicionar conforme o print abaixo.
Layers > Duplicate. Ative a Layer original do tube decorativo (Raster 3). Adjust > Blur > Gaussian Blur: 20. Layers > Properties > General > Blend Mode: Multiply.
17 - Ative a layer Copy of Raster 3. Edit > Copy no Tube principal. Edit > Paste as New Layer. Posicionar à esquerda. Layers > Duplicate. Ative a layer original do tube (Raster 4) Adjust > Blur > Gaussian Blur: 40. Layers > Properties > General > Blend Mode: Multiply. Ative a Layer Copy of Raster 4.
18 - Edit > Copy no titulo_Sim2UsbySoxikibem. Edit > Paste as New Layer. Com a ferramenta Pick Tool, posicionar: Position X 425, Position Y 37. Layers > Properties > General > Blend Mode: Soft Light.
19 - Edit > Copy no decorSim2us_bySoxikibem. Edit > Paste as New Layer. Com a ferramenta Pick Tool, posicionar: Position X 23, Position Y 62.
20 - Image > Add Borders > Symmetric: 1px cor foreground 2px cor background 1px cor foreground 10px cor branca 2px cor background 40px cor branca 1px cor foreground
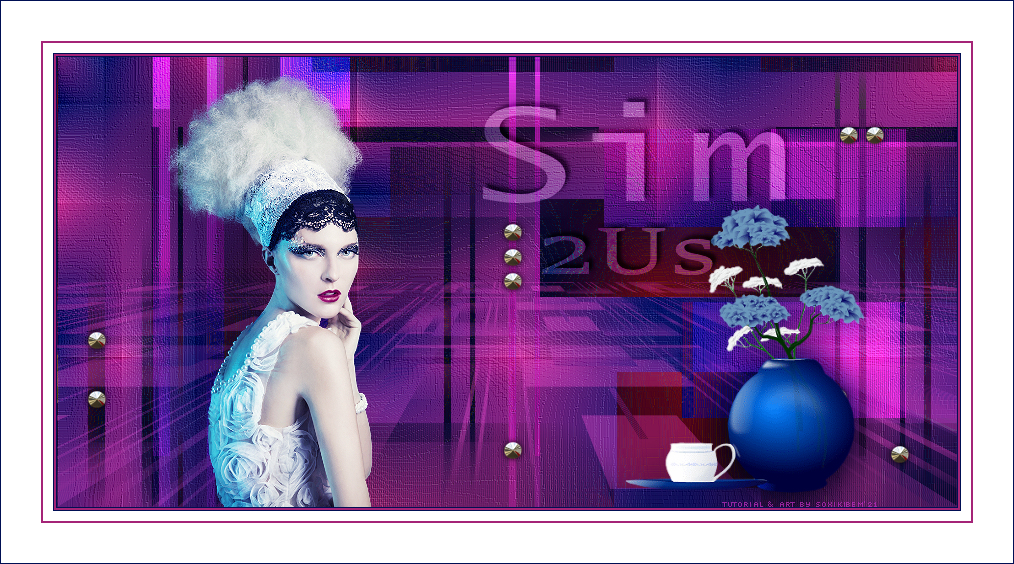
21 - Se preferir redimensione seu trabalho.
Aplicar sua marca d'água ou assinatura.
CREDITOS: Versao 1 & 2 Tube Principal by Nikita - Tube Decor by Nicole
Sinta-se à vontade para enviar suas versões. Terei todo o prazer em publicá-las em nosso site.
|