|
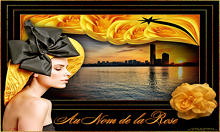
Tutorial by Animabelle
Translated into English by SIM PSP Moderation
MATERIAL 1 Main Tube 1 Tube Flower 1 Misted Paisagem nom_rose1_animabelle shadow3_animabelle
PLUGINS Mura's Meister Flaming Pear Alien Skin > Eye Candy 5 > Impact
The translation of this tutorial was done in PSP 2020, and
Open the material on the PSP, duplicate and close the original. Double-click on the preset to import it directly to the plugin. Put the selection in your PSP Selections folder.
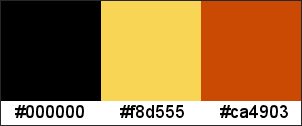
Colors
STEP 1 Open a transparent 900 x 600 pixel image Paint with color 1 (Black) Activate the yellow rose misted tube (lunaflores777) Remove the signature layer (watermark) and the bottom layer, we will be left with the rose layer only Selection > Load/save selection > Load selection from disk: nom_rose1_animabelle Selection > Invert Edit > Cut Selections > Invert Layers > New raster layer Paint with color 2 (#f8d555) Selections > Selection none Layers > Arrange > Move Down Layers > Merge Visible Note: You can do the same with your own tubes and images For this, the material has a selection layer Open and paste the desired image or tube in the selection circle
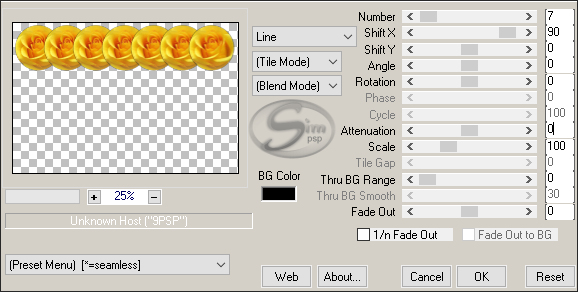
STEP 2 Copy and paste the flower tube in your main image as a new layer Image > Resize: 40 %, resize all layers unchecked Effects > Image Effects > Offset: - 350, 200, Custom and Transparent checked Effects > Plugin Mura's Meister > Copies
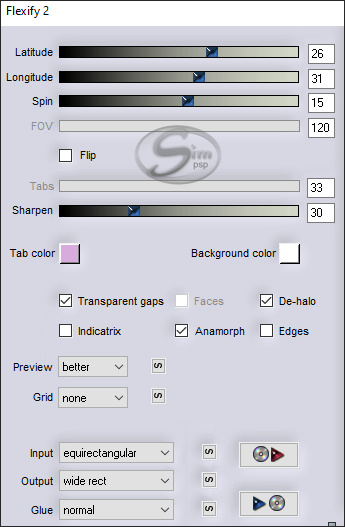
Effects > Plugin Flaming Pear > Flexify 2
Effects > Image Effects > Offset: 0, 80, Custom and Transparent checked
STEP 3 Activate the background layer (black) Copy and paste the tube as a new layer (lunapaisagem1685) Image > Mirror > Mirror Horizontal Effects > Image Effects > Offset: 0, -110, Custom and Transparent checked Activate the top layer Effects > 3D Effects > Drop Shadow: 22, 0, 50, 20, black color
STEP 4 Image > Add Borders: 3px, with contrasting color, Symmetric checked Select this border with the magic wand Form a gradient with the colors: 2 in the foreground and 3 in the background Style Linear: Angle 130, Repeats 3, Invert unchecked
Paint the selected border with the gradient Adjust > Add/Remove Noise > Add Noise: Gaussian, 100, Monochrome unchecked Effects > 3D Effects > Inner Bevel
Selections > Select None
STEP 5 Image > Add Borders: 30px, color 1(black) Image > Add Borders: 3px, color 2 Select this border with the magic wand Paint with the gradient in use Adjust > Add/Remove Noise > Add Noise: Gaussian, 100, Monochrome unchecked Image > Mirror > Mirror Horizontal Effects > 3D Effects > Inner Bevel
Selections > Select None
STEP 6 Image > Add Borders: 30px, color 1(black) Image > Add Borders: 3px, color 2 Select this border with the magic wand Paint with the gradient in use Adjust > Add/Remove Noise > Add Noise: Gaussian, 100, Monochrome unchecked Effects > 3D Effects > Inner Bevel as before Selections > Select None
STEP 7 Image > Add Borders: Symetric uncheked, Top, Left and Right= 30, Bottom= 150, black color
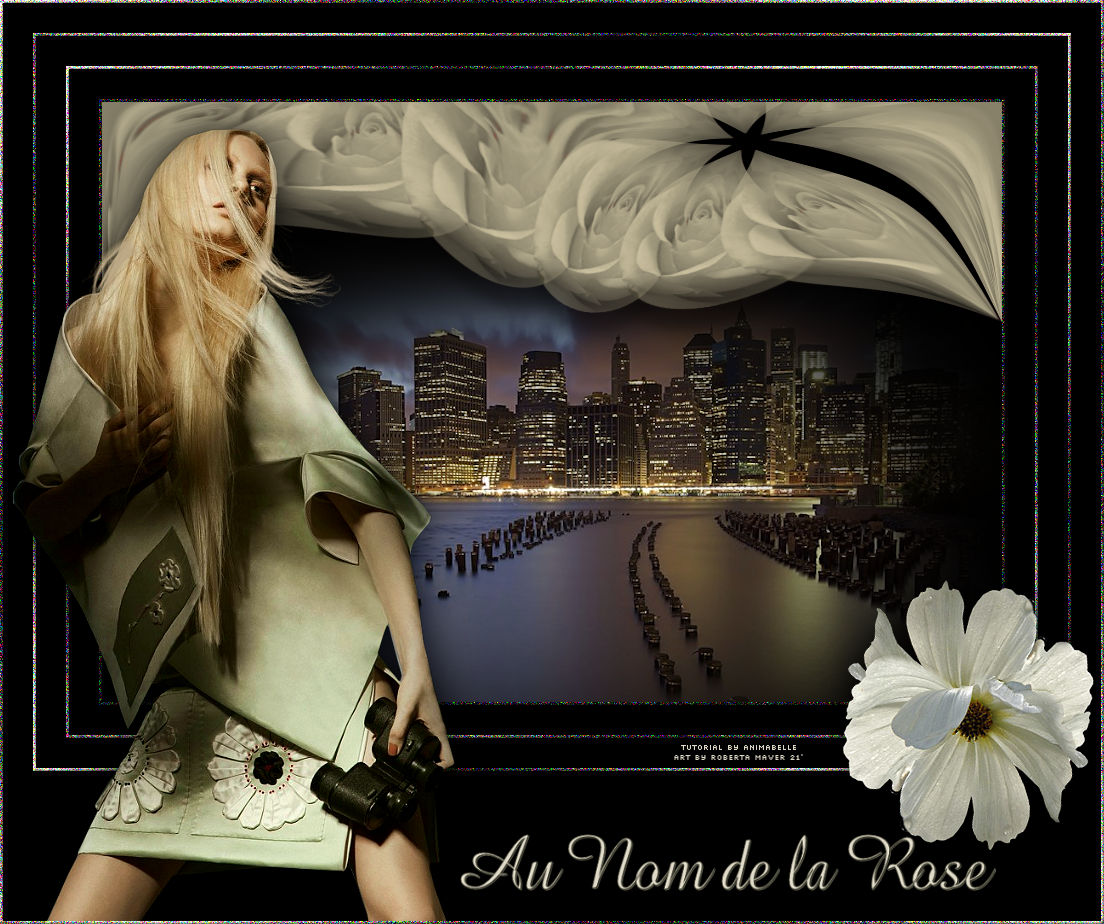
STEP 8 Copy and paste the tube femme as a new layer (MR_Yellow Hat) Position to the left as in the model Effects > Plugin Alien Skin Eye Candy 5 - Impact: Perspective Shadow Apply the preset: shadow3_animabelle, that is in the material
STEP 9 Copy and paste the rose tube: 1Patries_orange rose786-1-7-08 Image > Mirror > Mirror Horizontal Image > Resize: 60%, all layers unchecked Position to the right as in the model Effects > Plugin Alien Skin Eye Candy 5 - Impact: Perspective Shadow as before
STEP 10
Choose a font you like and write "Au Nom de la Rose" Effects > 3D Effects > Drop Shadow: 1, 1, 100, 1, color #cf4b06 Repeat the drop shadow 2 to 3 times
STEP 11 Image > Add Borders: 3px, with contrasting color, Symmetric checked Select this border with the magic wand Paint with the gradient in use Image > Mirror > Mirror Horizontal Adjust > Add/Remove Noise > Add Noise as before Effects > 3D Effects > Inner Bevel as before Selections > Select None
Apply your watermark or signature. File > Export > JPEG Optimizer.
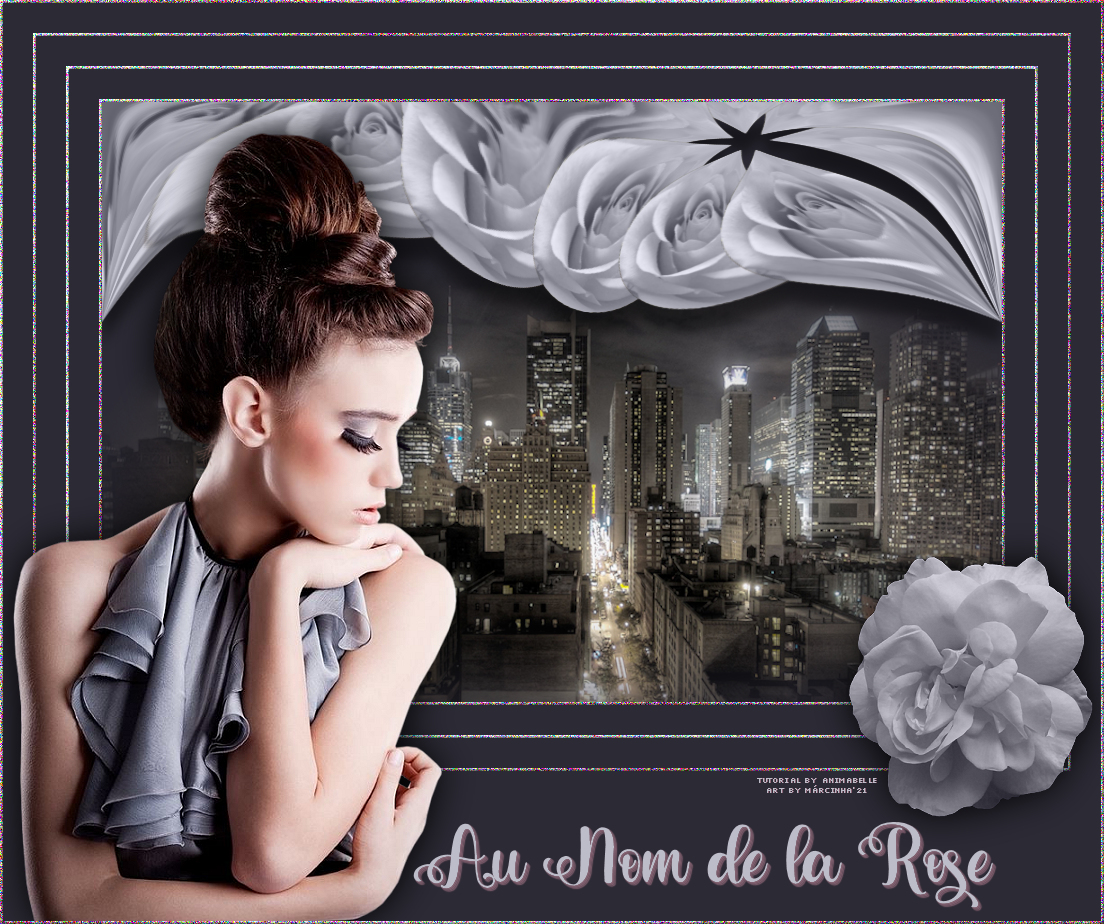
CREDITS Tutorial Au Nom de la Rose by Animabelle Translation, Formatting and Final Art by Moderation SIM PSP Main Tube: Tubed by Maryse Misteds Landscapes Tubed by Luna Tube Flower: Tubed by Patries
Version by Márcinha - Owner SIM PSP
CREDITS:
English Translation by Moderation
SIM-PSP Tube Landscape: Tubed by Syl Tube Flower: Tubed by Patries
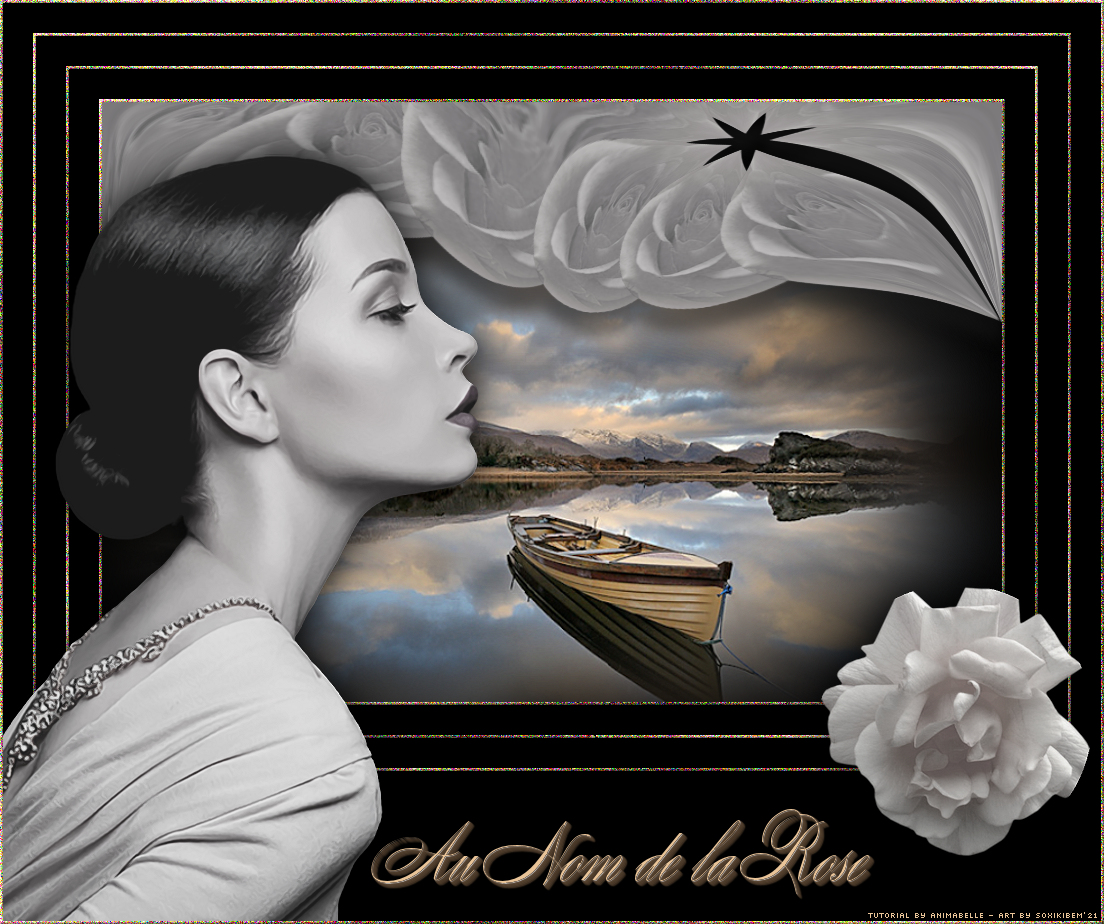
Version by Soxikibem - Owner SIM PSP
CREDITOS Tutorial Au Nom de la Rose by Animabelle
English Translation by Moderation
SIM-PSP Misted Landscape: by Animabelle Tube Flower: Tubed by Crystal
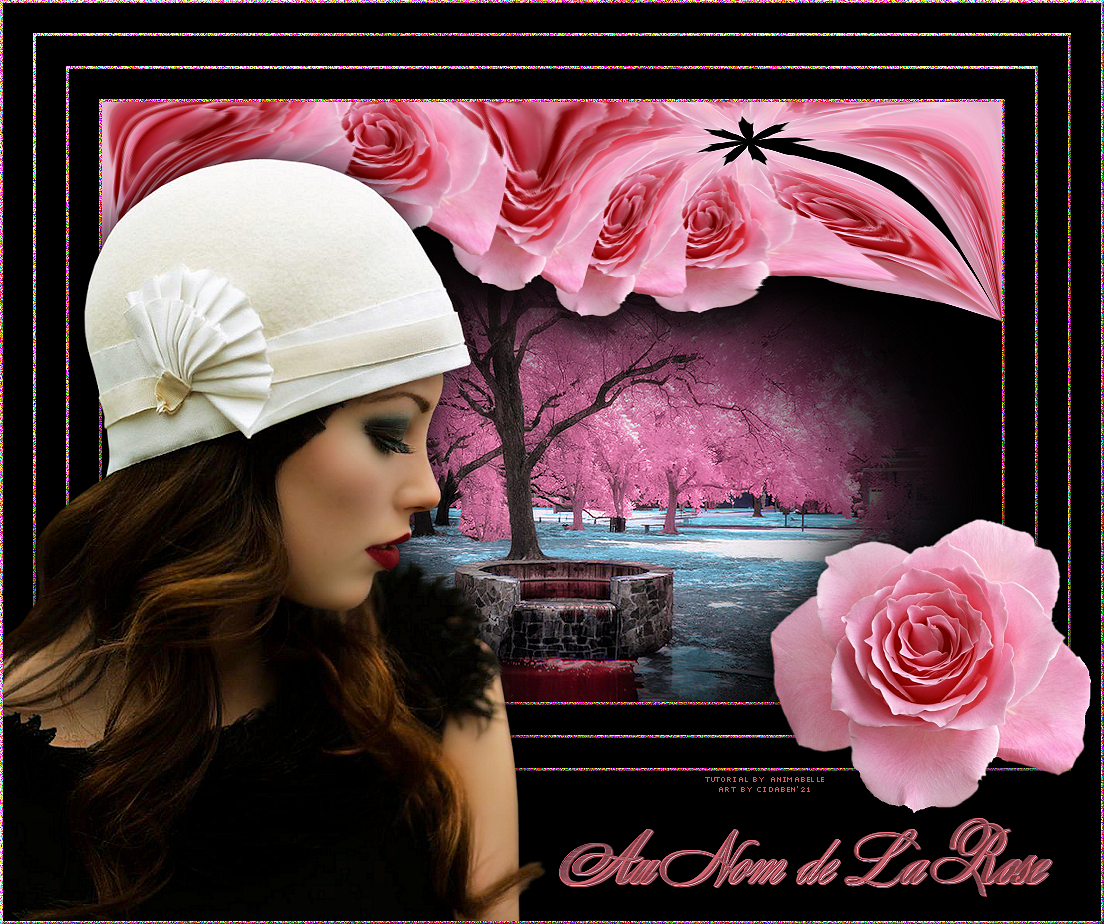
Versão by CidaBen - Moderadora do SIM PSP
CREDITS:
English Translation by Moderation
SIM-PSP Tube Landscape: by Animabelle Tube Flower: Tubed by Animabelle
Versão by Roberta Maver - Moderadora do SIM PSP
CREDITOS Tutorial Au Nom de la Rose by Animabelle
English Translation by Moderation
SIM-PSP Misted Landscape: by Animabelle Tube Flower: Tubed by Annelies
|