|
Tutorial by
Tati Designs
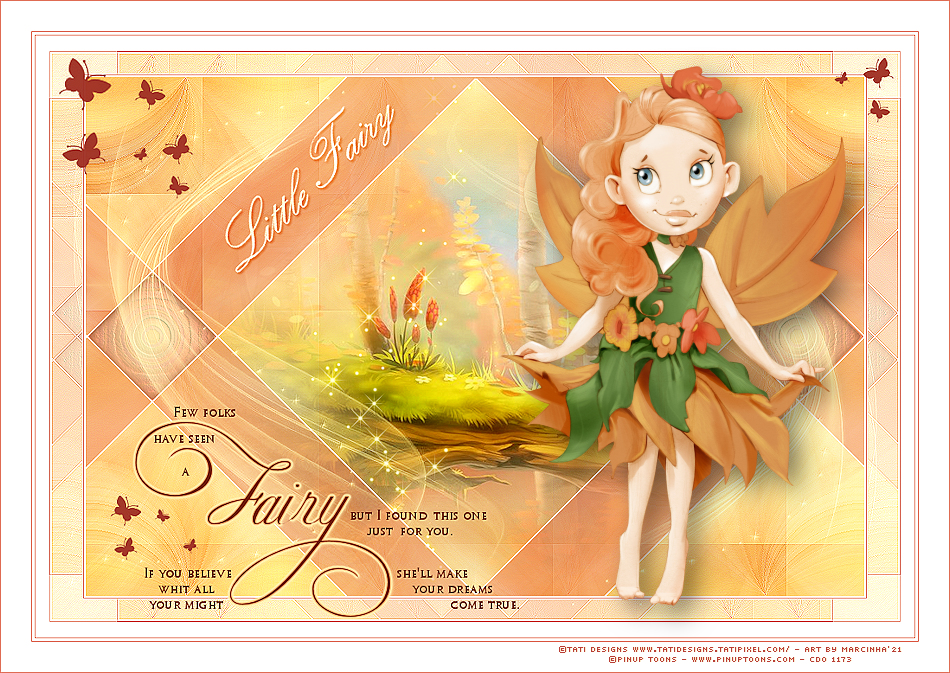
MATERIAL 1 Main Tube of your choice Mask: creation.tine_masque145 All other materials were created by Tati.
Note: In the "Sel" folder there is 1 file, put it in the "Selections" folder of your PSP
PLUGINS Mehdi > Wavy Lab 1.1 Mehdi > Sorting Tiles Graphics Plus > Cross Shadow Unlimited > Tile & Mirror Alien Skin Eye Candy 5 > Impact &<Bkg Designer sf10 I> > Cruncher** ** Import this filter into Unlimited 2.0.
IMPORTANT
Colors
If using other colors, you should change the Blend Mode and the Opacity of the layers.
TUTORIAL
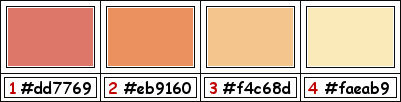
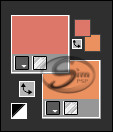
01- Open the material on the PSP, duplicate and close the original. In your Materials palette: Foreground color (1) #dd7769 Background color (2) #eb9160
02- Open a new 900 x 600 pixel transparent image.
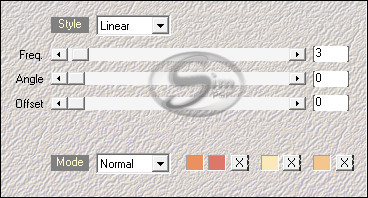
03- Effects > Plugin > Mehdi > Wave Lab1.1:
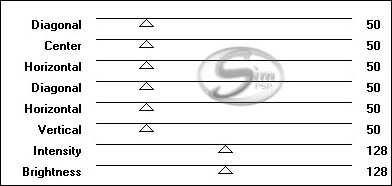
04- Effects > Plugins > Graphics Plus > Cross Shadow (Default):
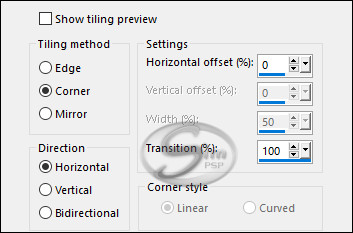
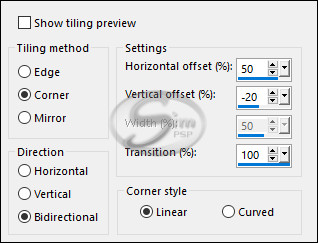
05- Effects > Image Effects > Seamless Tiling:
06- Selections > Select All.
07- Edit > Copy Main Tube. Edit > Paste Into Selection.
08- Selections > Select None.
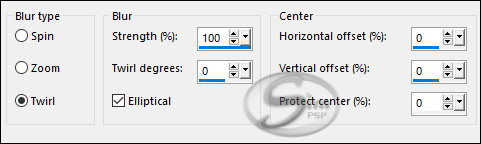
09- Adjust > Blur > Radial Blur:
10- Layers > Duplicate.
11- Close the visibility of the Copy of Raster 1
layer.
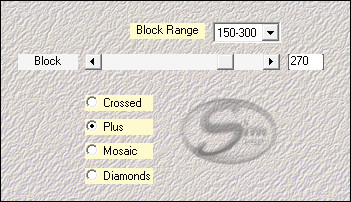
12- Effects > Plugins > Mehdi > Sorting Tiles:
13- Effects > Edge effects > Enhance.
14- Activate and open the Copy of Raster 1 layer visibility.
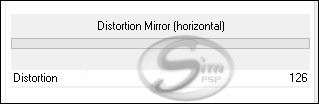
15- Effects > Plugins > I.C.NET Software > Filters Unlimited 2.0 > Tile & Mirror > Distortion Mirror (horizontal) > (Default):
16- Effects > Image Effects > Seamless Tiling:
17- Adjust > Sharpness > Sharpen.
18- Layers > Properties > General > Blend Mode: Multiply
19- Layers > Duplicate.
20- Layers > Properties > General > Blend Mode: Hard Light
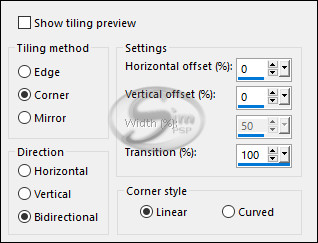
21- Effects > Image Effects > Seamless Tiling:
22- Image > Mirror > Mirror Vertical.
23- Effects > Edge effects > Enhance.
24- Layers > New Raster Layer.
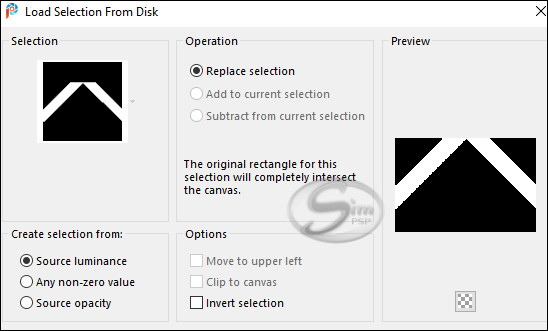
25- Selections > Load/Save Selections > Load Selection From Disk: TD_Little_Fairy_Sel1
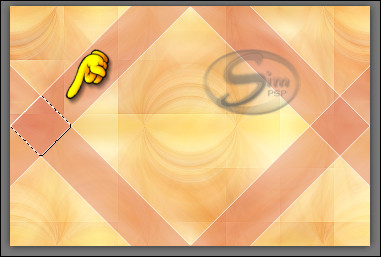
26- Activate Flood Fill Tool (F) and Set the Opacity to 40:
27- Fill in the color (1) #dd7769 * Return to Fill Tool (F) for Opacity to 100.
28- Selections > Select None
29- Layers > Duplicate. Image > Mirror > Mirror Vertical.
30- Layers > Merge > Merge Down.
31- Open the tube "TD_Deco1_Little_Fairy" Edit > Copy. Activate the working image. Edit > Paste as New Layer. Don't move, it's in the right place.
32- Activate the Magic Wand Tool: Feather and
Tolerance: 0
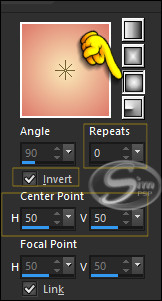
33- Layers > New Raster Layer. Fill this selection with the Sunburst Gradient, formed by the colors: Foreground: color (1) #dd7769 and Background: color (4) #faeab9
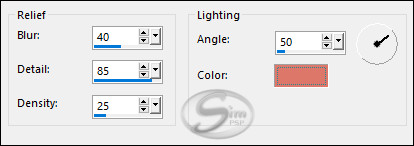
34- Effects > Artistic Effects > Enamel: Color: (1) #dd7769
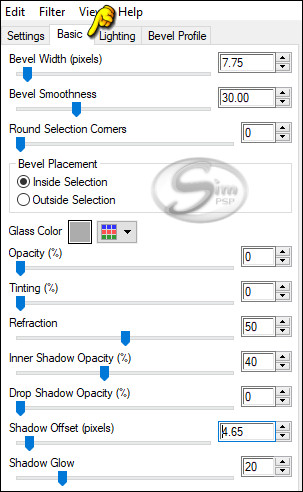
35- Effects > Plugins > Alien Skin Eye Candy 5 > Impact > Glass: Settings: Clear, No Drop Shadow and Basic: in the following settings:
36- Selections > Select None.
37- Layers > Duplicate. Image > Mirror > Mirror Horizontal.
38- Layers > Merge > Merge Down. 39- Layers > Arrange > Move Down.
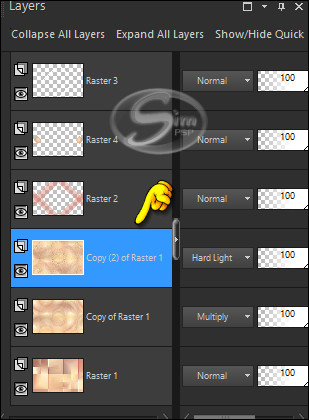
40- Activate Layer Copy (2) of Raster 1.
41- Open the tube "TD_Misted_Little_Fairy" Edit > Copy. Activate the working image. Edit > Paste as New Layer.
42- Activate the "Pick" Tool (K) and modify the positions of X (107.00) and Y (-5.00)
43- Activate the Top Layer (Raster 3):
44- Layers > New Raster Layer
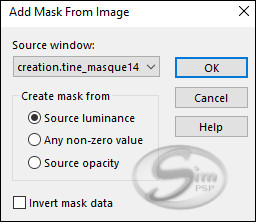
45- Layers > New Mask Layer > From image: creation.tine_masque145
Layers > Merge > Merge Group.
46- Adjust > Sharpness > Sharpen.
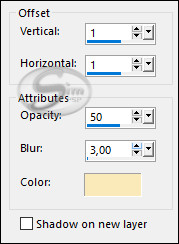
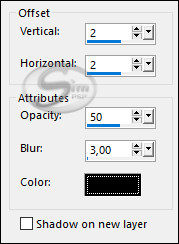
47- Effects > 3D Effects > Drop Shadow: 1 / 1 / 50 / 3 / Color: (4) #faeab9
48- Layers > Properties > General > Blend Mode: Hard Light
49- Open the tube "TD_Titulo_Little_Fairy" Edit > Copy. Activate the working image. Edit > Paste as New Layer.
50- Activate the "Pick" Tool (K) and modify the positions of X (161.00) and Y (30.00)
51- Effects > 3D Effects > Drop Shadow: 2 / 2 / 50 / 3 / Color: #000000 (black)
52- Layers > Properties > General > Blend Mode: Overlay
53- Image > Add Borders > Symmetric: 2 px - color #ffffff Image > Add Borders > Symmetric: 1 px - color (1) #dd7769
54- Image > Add Borders: Symmetric, unchecked. Color: #ffffff
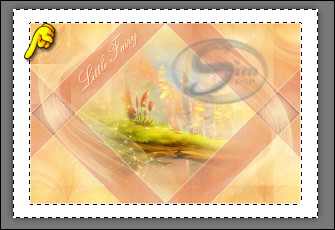
55- Activate the Magic Wand Tool: Feather and Tolerance: 0 Select the white border.
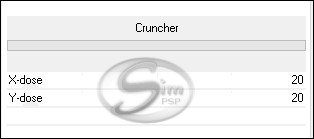
56- Effects > Plugins > I.C.NET Software > Filters Unlimited 2.0 > & Bkg Designer sf10 I > Cruncher (Default):
57- Effects > Edge effects > Enhance.
58- Selections > Select None.
59- Open the tube "TD_WordArt_Little_Fairy" Edit > Copy. Activate the working image. Edit > Paste as New Layer.
60- Activate the "Pick" Tool (K) and modify the positions of X (112.00) and Y (428.00)
61- Effects > 3D Effects > Drop Shadow: 1 / 1 / 50 / 3 / Color: (4) #faeab9
62- Open the tube "TD_Deco2_Little_Fairy" Edit > Copy. Activate the working image. Edit > Paste as New Layer.
63- Activate the "Pick" Tool (K) and modify the positions of X (21.00) and Y (23.00)
64- Edit > Copy the Main Tube. Activate the "Pick" Tool (K) and modify the positions of X (382.00) and Y (25.00). Press "M" KEY to disable Pick Tool.
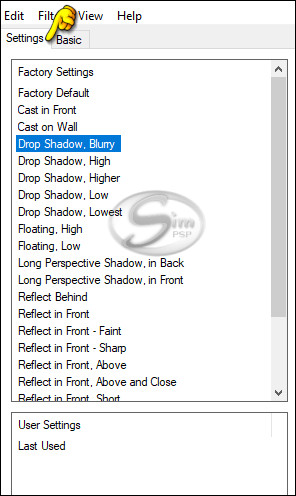
65- Adjust > Sharpness > Sharpen. 66- Effects > Plugins > Alien Skin Eye Candy 5 > Impact > Perspective Shadow: Settings: "Drop Shadow, Blurry" and Basic: in the following settings:
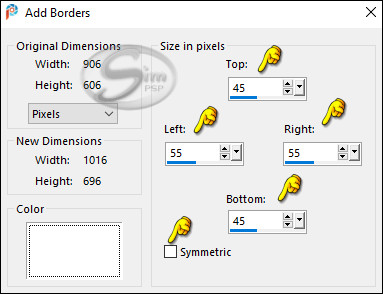
67- Image > Add Borders > Symmetric: 1 px - color (1) #dd7769 Image > Add Borders > Symmetric: 3 px - color #ffffff Image > Add Borders > Symmetric: 1 px - color (1) #dd7769 Image > Add Borders > Symmetric: 35 px - color #ffffff Image > Add Borders > Symmetric: 1 px - color (1) #dd7769
68- Image > Resize > By Pixels > 950 Pixels Width - Resize All Layers Checked.
69- Adjust > Sharpness > Sharpen.
70- Edit > Copy the "©Tutorial_TatiDesigns" *If you need to change the color, you can use the "Color Changer" tool Position of your choice. Add tube © if necessary.
71 - Apply your watermark or signature. File > Export > JPEG Optimizer.
CREDITS: Mask: by Tine
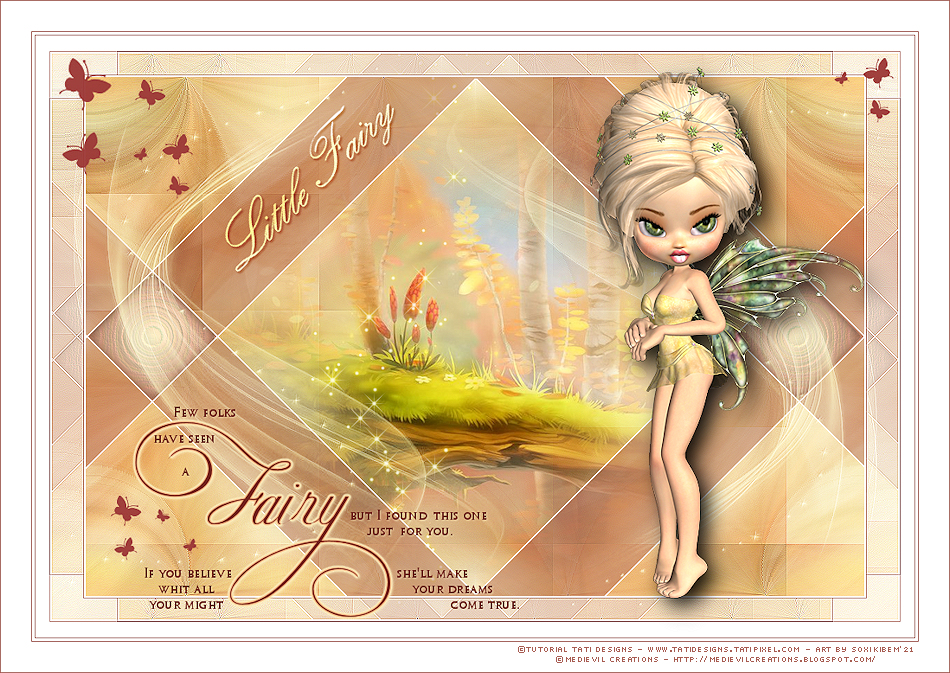
Versão by Soxikibem - Owner SIM PSP
CREDITS:
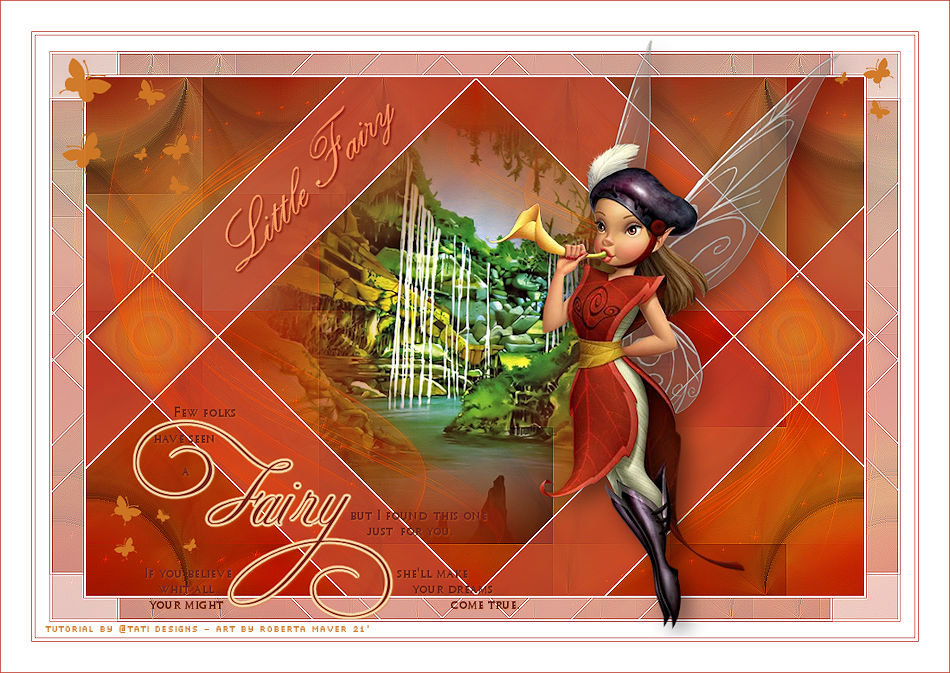
Versão by Roberta Maver - Moderação SIM PSP
CREDITS:
Feel free to send your versions.
|