|
TRADUÇÕES:
Obrigada aos nossos tradutores!
-- MATERIAL -- 1 Tube principal à sua escolha 1 Imagem Natalina jpg à sua escolha 1 Misted Natalino à sua escolha NarahsMasks_1519 NarahsMasks_1526 NarahsMasks_1562 TitleMerryChristmas vka_AChristmasCarol_flower03 Pattern Dourada decor1
-- PLUGINS -- Simple -- TUTORIAL --
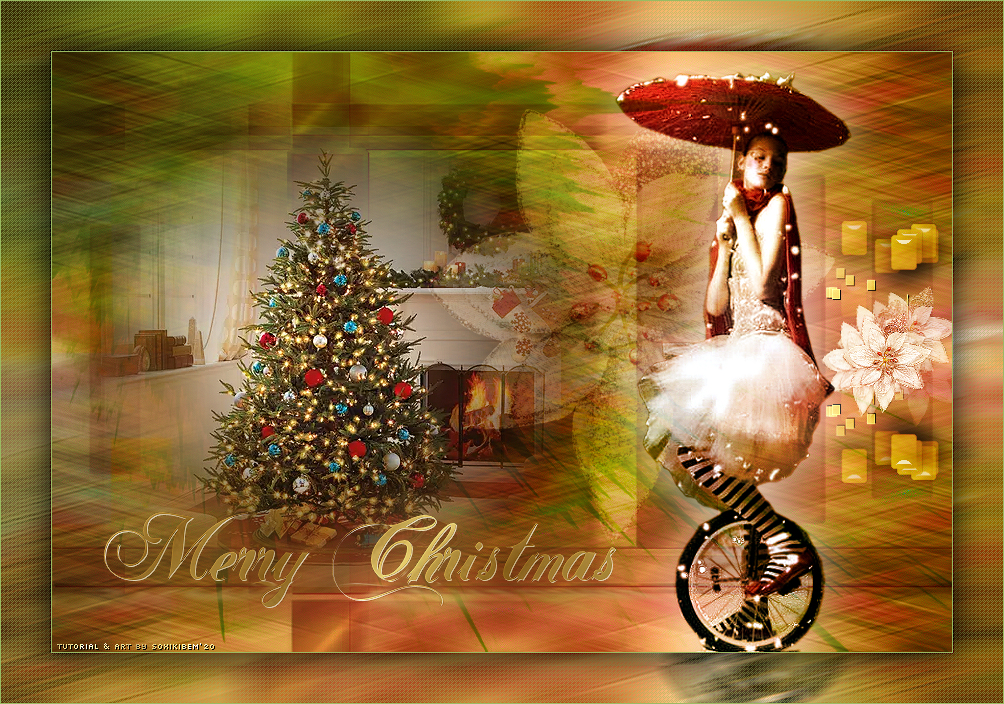
01- Abra o material no psp, duplique e feche os originais. Escolha duas cores. Foreground: #a00901 Background: #9bbb62
02 - Abra uma imagem transparente de 900x600px. Selections > Select All. Edit > Copy na Imagem Natalina. Edit > Paste Into Selection. Selections > Select None.
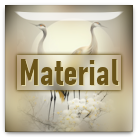
03 - Effects > Image Effect > Seamless Tiling: Default. Adjust > Blur > Motion Blur.
Edit > Repeat Motion Blur.
04 - Effects > Edge Effects > Enhance. Edit > Repeat Enhance Edges.
05 - Effects > Plugins Simple > 4 Way Average.
06 - Layers > New Raster Layer. Pintar esta layer com a cor do background. Layers > New Mask Layer > From Image: NarahsMasks_1519. Layers > Merge > Merge Group.
07 - Layers > Dupllicate. Layers > Merge > Merge Down. Layers > Properties: Blend Mode Multiply.
08 - Layers > New Raster Layer. Pintar esta layer com a cor do foreground. Layers > New mask Layer > From Image: NarahsMasks_1526 Layers > Merge > Merge Group. Layers > Properties: Blend Mode Saturation (L).
09 - Layers > New Raster Layer. Pintar esta layer com uma pattern dourada. Layers > New mask Layer > From Image: NarahsMasks_1562 Layers > Merge > Merge Group.
10 - Effects > 3D Effects > Drop Shadow: 1, 1, 100, 0, com a cor do foreground. Layers > Properties: Blend Mode Multiply.
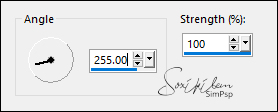
11 - Edit > Copy no Misted Natalino. Edit > Paste a New Layer. Posicione como no print abaixo.
12 - Layers > Duplicate. Adjust > Blur > Gaussian Blur: 30. Layers > Properties: Blend Mode Multiply. Layers > Arrange > Move Down.
13 - Ativar a layer do topo. Edit > Copy no vka_AChristmasCarol_flower03. Edit > Paste a New Layer.
14 - Image > Resize: 20%, all layers desmarcado. Layers > Properties: Blend Mode Soft Light. Pick Tool: Position X 375, POsition Y 30.
15 - Edit > Copy no TitleMerryChristmas. Edit > Paste a New Layer. Pick Tool: Position X 0, Position Y 407.
16 - Layers > Duplicate. Adjust > Blur > Gaussian Blur: 20. Layers > Properties: Blend Mode Multiply.
17 - Edit > Copy no decor1. Edit > Paste a New Layer. Pick Tool: Position X 768, Position Y 159. Layers > Properties: Blend Mode Hard Light.
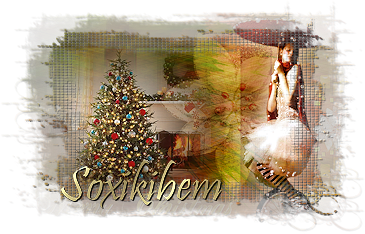
18 - Edit > Copy no Tube principal. Edit > Paste a New Layer. Posicione à direita. Effects > 3D Effects > Drop Shadow como preferir. Se desejar mude o Blend da layer para Hard light como eu fiz.
19 - Layers > Merge > Merge All. Edit > Copy.
20 - Image > Add Borders: 1px cor background. Selections > Select All. Image > Add Borders: 50px com qualquer cor. Selections > Invert. Edit > Paste Into Selection.
21 - Adjust > Blur > Motion Blur.
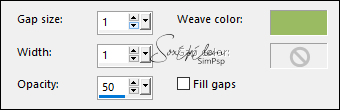
22 - Effects > Edge Effects > Enhance. Effects > Texture Effects > Weave.
23 - Selections > Invert. Effects > 3D Effects > Drop Shadow: 0, 0, 100, 50, cor preta. Selections > Select None.
24 - Image > Add Borders: 1px cor background.
25 - Se preferir redimensione seu trabalho.
Aplicar sua marca d'água ou assinatura.
Tutorial by Soxikibem 2020 CREDITOS Tube Principal by Renee - Masks By Narah - vka_AChristmasCarol_flower03
Sinta-se à vontade para enviar suas versões. Terei todo o prazer em publicá-las em nosso site.
|