|
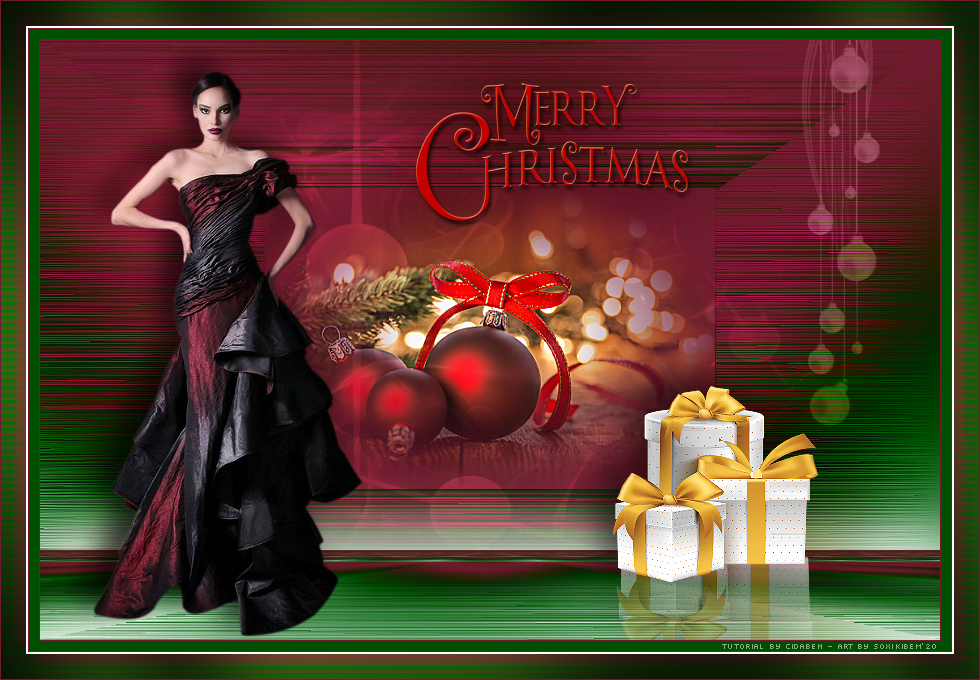
Tutorial by CidaBen English Translation by Soxikibem Original tutorial
MATERIAL
1 Main Tube of your choice 1 Misted Landscape of your choice Decoration of your choice Mask_claire_masque_imagination Decor_kerstbalslinger_les_101 Titulo >merry_christmas-text
PLUGINS Mehdi VM Toolbox Filters Unlimited 2.0... Murra's Meister Graphics Plus PSP Effects and Tools
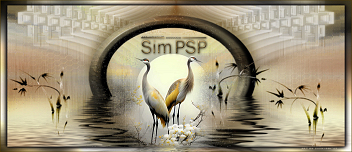
TUTORIAL
1 - Open the material on the
PSP, duplicate and close the original. Foreground #701b2e Background #004e00 3rd color #FFFFFF
2 - Open a transparent image of 900 X 600px.
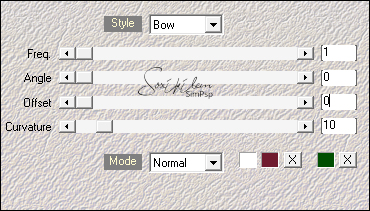
3 - Effects > Plugins > Mehdi > Wavy Lab
4 - Effects > Plugins > VM Toolbox > Blast: 255
5 - Effects > Edge Effects > Enhance
6 - Layers > Duplicate
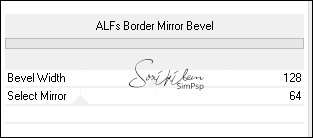
7 - Effects > Plugins > Filters Unlimited 2.0... BKg Designar Sf10 I > ALFS Border Mirror Bevel
8 - Layers > New Raster Layer Paint with the color of Foregroud #701b2e.
9 - Layers > Arrange > Move Dow
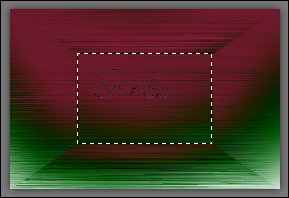
10 - Activate Layer > Copy of Raster 1 With the Selection Tool > Outline the square as in the print below:
Press the delete key on the
keyboard.
11 - Edit > Copy > in the Misted Landscape Edit > Paste Into Selection Adjust > sharpness > Sharpen More Selection > None
12 - Layers > New Raster Layer > Paint with white color #FFFFFF Layers > New Mask Layer > From Image: mask_claire_masque_imagination Layers > Merge > Merge Group
13 - Layers > Properties > Soft Light
14 - Activate Raster 1
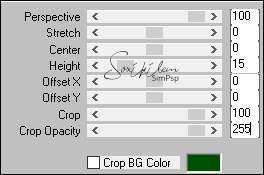
15 - Effects > Plugins > Murra's Meister > Perspective Tiling...
16 - Layers > Arrange > Bring To Top
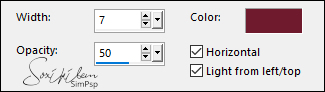
17 - Effects > 3D Effects > Drop Shadow: 0, 0, 100, 80. (white color #FFFFFF) Repeat Effects > 3D Effects > Drop Shadow. 18 - Edit > Copy > in Decor_kerstbalslinger_les_101 Edit > Paste As New Layer Pick Tool > Position X 710, Position Y -3 19- Layers > Properties > Blend Mode: Soft Light
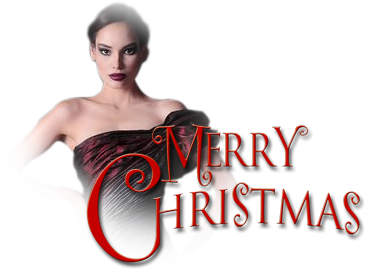
20 - Edit > Copy in the Main Tube Edit > Pas As New Layer Position Left Adjust > Sharpness > Sharpen Effects > 3D Effects > Drop Shadow as you wish. 21 - Edit > Copy in título: merry_christmas-text Position and color as you wish. Adjust > Sharpness > Sharpen Effects > 3D Effects > Drop Shadow as you wish.
22- Edit > Copy in the decorative tube Posicionar como desejar. Adjust > Sharpness > Sharpen Effects > 3D Effects > Drop Shadow as you wish. 23- Image > Add Borders: 1 px Foreground color 10 px Background color 1 px Foreground color 2 px White color
24- Selections > Select All Image > Add Borders: 25 px Background color Selections > Invert Effects > Texture Effects Blinds
25 - Selections > Invert Effects > 3d Effects > Drop Shadow: 10, 10, 50, 8. (foreground color) Repeat: -10, -10, 50, 8. (Foreground color) Selection > Invert. Effects > Plugins > Graphics Plus > Cross Shadow > Default Selections > Select None 26- Image > Add Borders: 1 px Foreground color 27 - Sand
wish, resize your work. File > Export > JPEG Optimizer. 
Credits: Tube by L&B Tubes - Decor received in group of exchanges without authorship Mask_claire_masque_imagination - Titulo: merry_christmas-text: aqui
Tutorial by CidaBen'20
Feel free
to send your versions.
|