|
TRADUÇÕES:
Obrigada aos nossos tradutores!
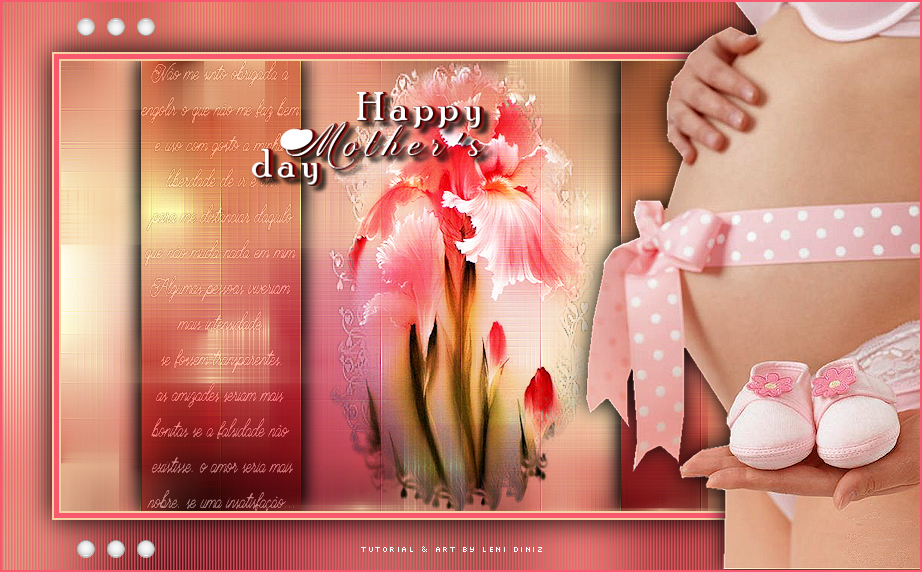
Material 1 Tube principal à sua escolha 1 Misted flor à sua escolha Mask LeniDinizMask_LDM060 Texto LeniDiniz_texto_LDT01 Decor decor_mother_leni Título_mother_leni
PLUGINS Plugin Two Moon Filters Unlimited Background Designers IV Plugin Mehdi Cores #f4d2a4 foregraund #800000 background
TUTORIAL
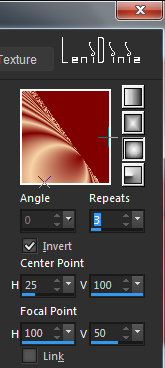
01- Abrir o material no PSP, duplique e feche o original. Escolher duas cores para trabalhar. Forme um gradiente sunburst:
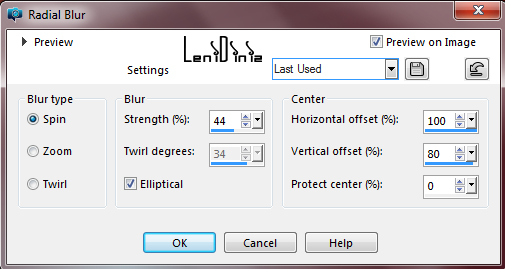
02- Abra uma imagem transparente 800x450px. Pintar com o gradiente. Adjust > Blur > Radial Blur:
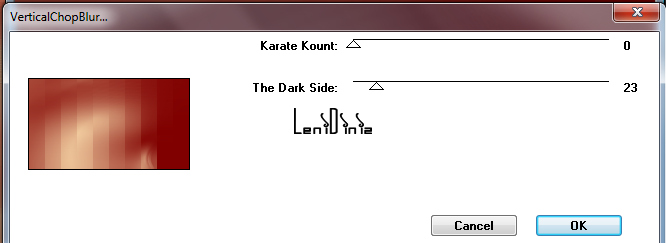
03- Plugin Two Moon > VerticalChopBlur:
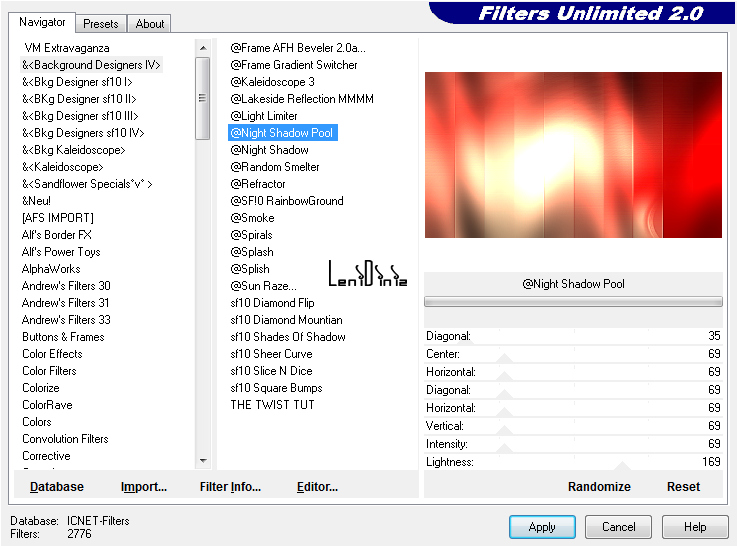
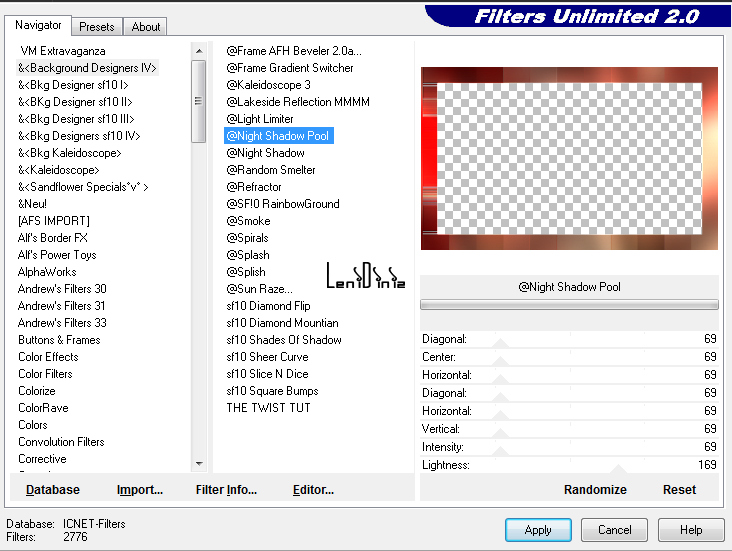
04- Effects > Edge Effects > Enhance More. Filters Unlimited Background Designers IV > @Night Shadow Pool:
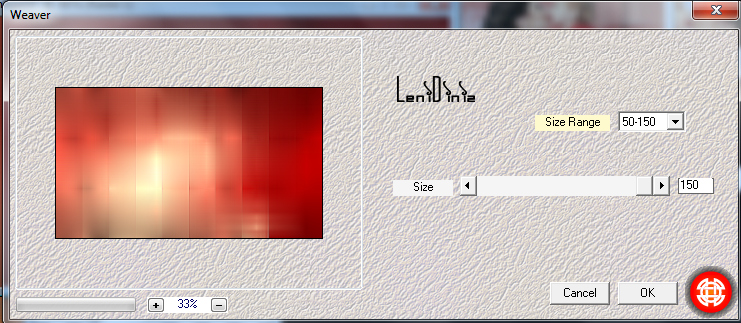
05- Plugin Mehdi > Weaver:
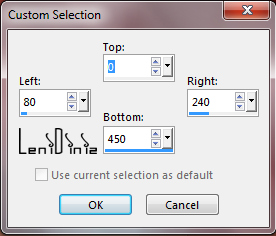
06- Ativar a ferramenta Selection Tool > Custom Selection na barra de configurações e configure dessa forma:
07- Selections > Promote Selection to Layer. Selections > None.
08- Layers > Propertier > General: Blend Mode Multiply: Esteja à vontade pra mudar o blend mode conforme a cor que estiver usando.
09- Effects > 3D Effects > Drop Shadow. 0 > 0 > 100 > 30, color: #000000 Layers > Duplicate. Image > Mirror Horizontal.
10- Layers > New Raster Layer Pinta com a cor mais clara, (#f4d2a4 foreground) Layers > New Mask Layer > From image: LeniDinizMask_LDM060 Layers > Merge > Merger Group.
11- Adjust > Sharpeness > Sharpen.
12- Edit > Copy no misted flor. Edit > Paste As New Layer, Image > Resize se for necessário. Adjust > Sharpness > Sharpen. Centralize entre as duas colunas.
13- Layers > New Raster Layer. Ativar a ferramenta Selection Tool > Custom Selection na barra de configurações e configure dessa forma:
14- Ainda selecionada, Edit > Copy no texto LeniDiniz_texto_LDT01 Edit > Past Into Selection Selections > None.
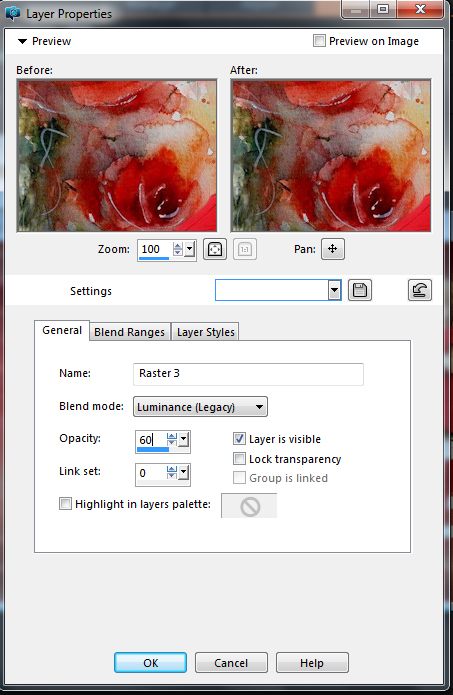
15- Layers > Properties > General > Blend Mode: Luminance L - Opacity 60%:
16- Edit > Copy Especial > Copy Merged.
17- Image > Add Border. 2 px na cor clara 5 px na cor escura. 2 px na cor clara.
18- Selections > Select All Image > Add Border > 50 px qualquer cor. Selections > Invert. Edit > Paste As Into Selection.
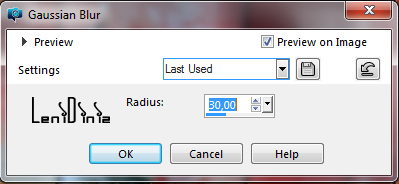
19- Adjust > Blur > Gaussian Blur:
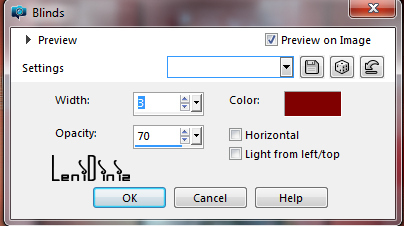
20- Effects > Texture Effects > Blinds > color: background (cor escura) #800000
21- Effects > Plugin Unlimited > Back IV @Night ShadowPool Desta vez em Diagonal 69.
22- Selections > Invert. Effects > 3D Effects > Drop Shadow: 0 > 0 > 100 > 40. Selections > None.
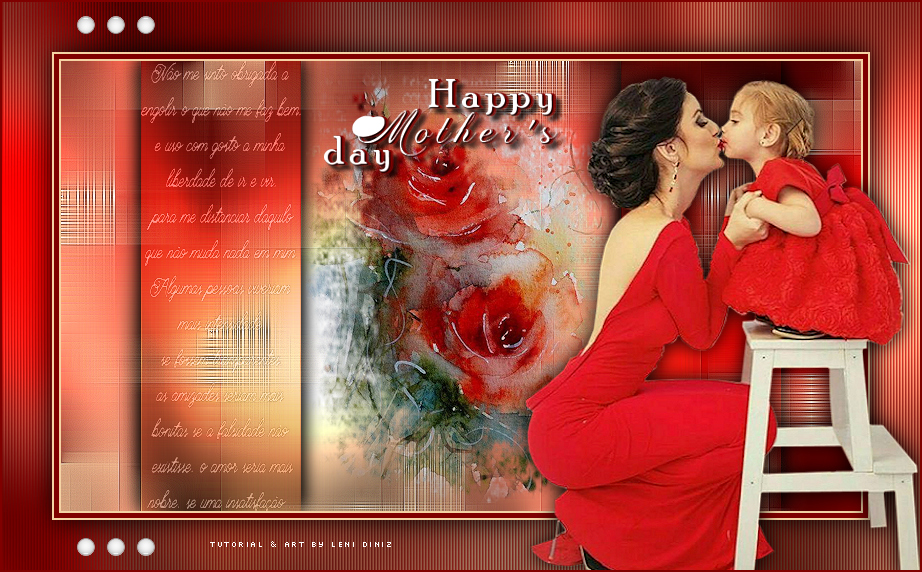
23- Edit > Copy no tube principal. Edit > Paste as new layer. Resize se for necessário. Adust > Sharpness > Sharpen. Effects > 3D Effects > Drop Shadow à gosto. Posicione à direita.
24- Image > Add Border > 2 px, color: background (cor escura) #800000
25- Edit > Copy no decor_mother_leni Edit > Paste As New Layer. Ferramenta Pick Tool: Position X 75 Position Y 16.
26- Edith > Copy no título_mother_leni Edit > Paste As New Layer. Posicione à gosto.
27 - Aplicar sua marca d'água ou assinatura. File > Export > JPEG Optimizer.
CREDITOS Versões 1 e 2 Tutorial, Formatação e Art Final by LeniDiniz Tubes by Calli - Misted Paisagem by LeniDiniz - Mask by LeniDiniz Brasil, Abril de 2021
Sinta-se à vontade para enviar suas versões. Terei todo o prazer em publicá-las em nosso site.
|