Tutorial by Roberta Maver English Translation by Moderation SIM-PSP Original Tutorial
MATERIAL 1 Main Tube of your choice 1 Misted landscape of your choice 1 Decorative tube of your choice. Decor_diadasmães_byRoberta Decor2_diadasmães_byRoberta Mask Narah
PLUGIN Filters Unlimited 2.0 MuRa's Filters Meister FunHouse
TUTORIAL
1 - Open the material on the PSP, duplicate and close the original. Choose two colors to work with. Foreground #102a44 Background #3d618c Extra White Color #FFFFFF
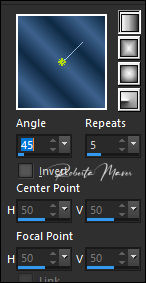
2 - Open a transparent image of 900 x 500 px. Paint with the gradient: Linear, Angle 45, Repeats 5... formed by the colors in use.
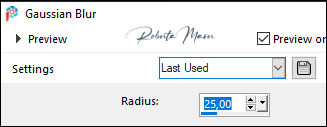
Adjust > Blur > Gaussian Blur.
3- Effects > Image Effects > Seamless Tiling: Default
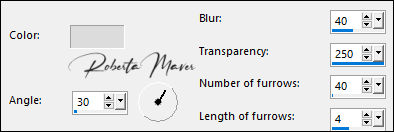
4 - Effects > Plugins > Funhouse > Loom.
5 - Layers > New Raster Layer. Paint with the color #FFFFFF Selections > Select All. Edit > Copy the Main Tube. Edit > Paste Into Selection. Selections > Select None.
6- Effects > Image Effects > Seamless Tiling: Default Adjust > Blur > Gaussian Blur.
7- Effects > Texture Effects > Fine Leather : Default.
Adjust > Blur > Motion Blur.
Effects > Edge Effects > Enhance. Adjust > Sharpness > Sharpen
8 - Layers > New Mask Layer > From Image: Mask Narah Adjust > Sharpness >
Sharpen
Layers > Merge > Merge
Group.
Layers > Duplicate.
Layers > Merge > Merge
Down.
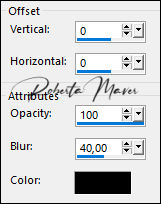
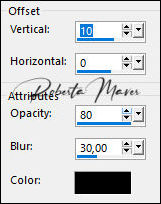
9 - Effects > 3D Effects > Drop Shadow.
 10 - Edit > Copy the
Misted Landscape
Edit > Paste as new layer. Adjust > Sharpness > Sharpen Layers > Arrange > Move Down. (Position in the center of the Mask)
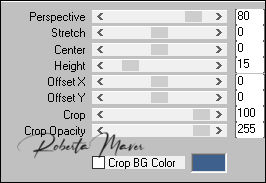
11 - Activate the Raster 1 Layers > Duplicate. Effects > Plugins > MuRa's Filters Meister > Perspective Tiling:
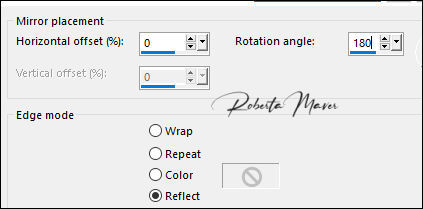
12- Effects > Reflection Effects > Rotating Mirror.
13- Effects > 3D Effects > Drop Shadow.
Layers > Arrange > Move Up.
14- Activate the Raster 1 Edit > Copy no decor1_diadasmães_ByRoberta. Edit > Paste a New Layer. 15 - Layers > Properties > General > Blend Mode: (Overlay) - Opacity: 70
16- Image > Add Borders: 1 px color: Foreground #102a44 3 px color: Background #FFFFFF 1 px color: Foreground #102a44 Selections > Select All. Image > Add Broders: 50 px with any color. Selections > invert.
17 - Layers > New Raster Layer. Paint with the gradient: Linear, Angle 45, Repeats 5...
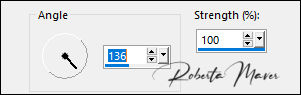
18 - Effects > Texture Effects > Fine Leather : Default. Adjust > Blur > Motion Blur: 136/100 Effects > Edge Effects > Enhance. Adjust > Sharpness > Sharpen Selections > invert.
19 - Effects > 3D Effects > Drop Shadow.
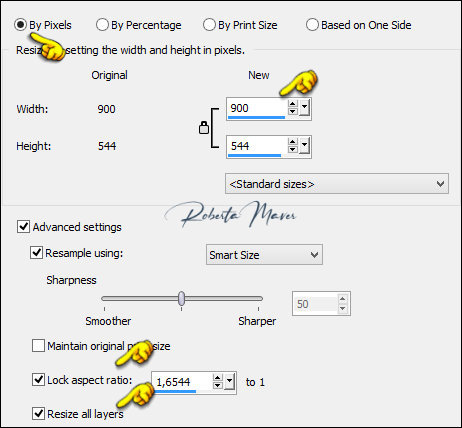
Layers > Merge > Merge Down. Selections > Select None. Image > resize: 900
px Width
Adjust > Sharpness > Sharpen
20 - Edit > Copy no
decor2_diadasmães_ByRoberta.
Edit > Paste a New Layer.
21- Edit > Copy the Main Tube. Edit > Paste as new Layer. Resize if necessary. Adjust > Sharpness > Sharpen Position to your choice. Effects > 3D Effects > Drop Shadow: your choice.
22 - Edit > Copy the Decorative Tube Edit > Paste as new Layer. Resize if necessary. Adjust > Sharpness > Sharpen Position to your choice. Effects > 3D Effects > Drop Shadow: your choice.
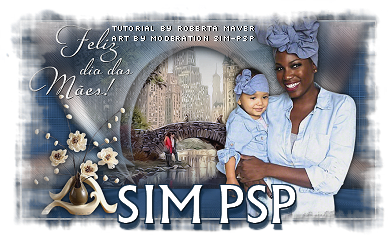
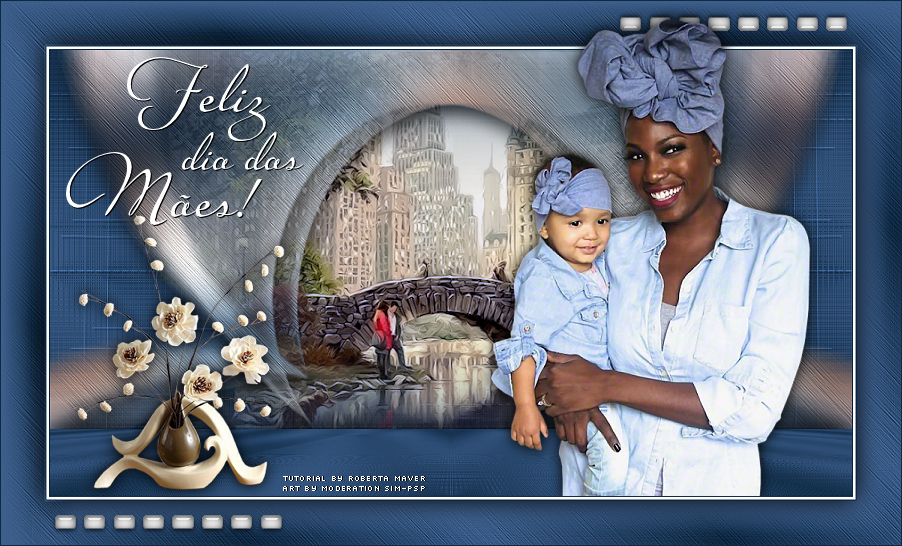
23 - Edit > Copy the Titulo_diadasMães_Roberta Edit > Paste as New Layer. Position to your choice.
24-
Apply your watermark or signature.
CREDITS: Tutorial by Roberta Maver English Translation by Moderation SIM-PSP Main Tube and Decorative tube: Tubed by Syl Misted landscape: Tubed by by Angel Star Mask: by Narah
Feel free to send your versions.
I will be happy to publish them on our website.
|