|
TRADUÇÕES:
Obrigada aos nossos tradutores!
MATERIAL 1 Tube Principal à sua escolha 1 Misted Paisagem à sua escolha 1 Tube decorativo à sua escolha 1 Decor_felizdiadospais_Roberta Titulo_felizdiadospais_Roberta
PLUGINS Filters Unlimited 2.0 Plugins AP Filter Factory Gallery Plugins Toadies MuRa's Filters Meister
ROTEIRO
1 - Abrir o material no PSP, duplique e feche o original. Escolher duas cores para trabalhar. Foreground #000000 Background #daab35
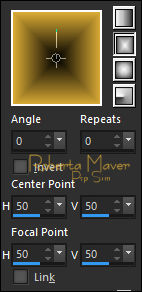
2 -Abra o arquivo Alpha_felizdiadospais_by Roberta, duplique e feche o original. Pintar com o gradiente Rectangular, Angle 0, Repeats 0. H/V: 50/50, formado pelas cores em uso.
Effects > Edge Effects > Enhance.
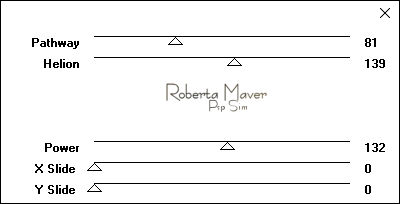
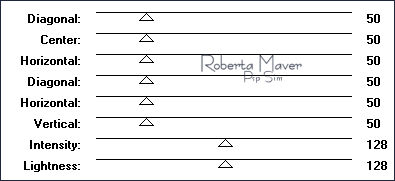
3- Effects > Plugins > Filter Factory Gallery S > Pathways to Helion :
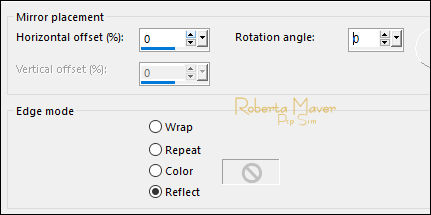
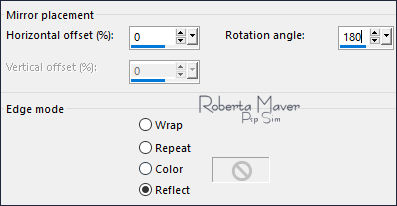
4 - Effects > Reflection Effects > Rotating Mirror: Default
5 - Selections > Load/Save Selection > Load Selection From Alpha Channel: Selection #1 Selections > Promote Selection to Layer. Layers > Duplicate. Selections > Select None. Fechar a visibilidade das Layers Promoted Selection e Copy of Promoted Selection, Ativar a Layer Raster 1.
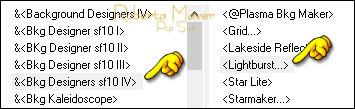
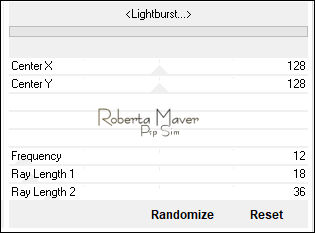
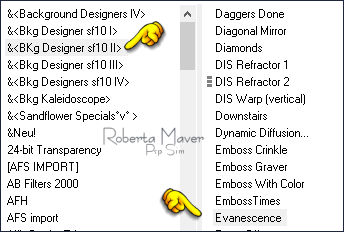
6 - Layers > Duplicate. Effects > Filters Unlimited 2.0 > Bkg Designers sf 10 IV > Lightburt : Default
7 - Effects > Filters Unlimited 2.0 > Backgroud Desgners IV > sf10 Diamond Flip: Default
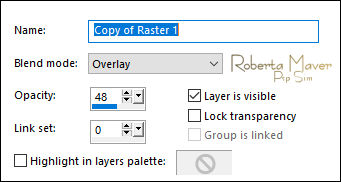
8 - Layers > Properties > General > Blend Mode: Overlay - Opacity: 48
Layers > Merge > Merge Down.
9 - Effects > Filters Unlimited 2.0 >Bkg Designer s10II > Evanescence > Default
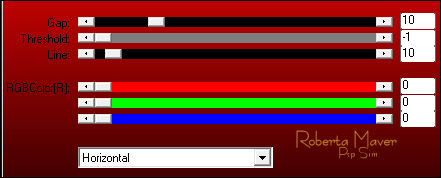
10 - Ativar e abrir a Layer Promoted Selection. Effects > Plugins > AP Lines > SilverLining: Horizontal
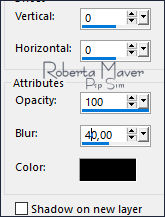
11 - Effects > 3D Effects > Drop Shadow:
Edit > Repeat Drop Shadow.
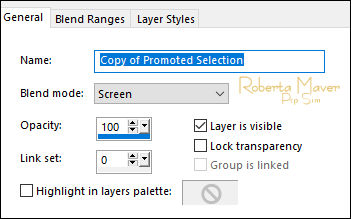
12 - Ativar e abrir a Layer Copy of Promoted Selection. Effects > Plugins > Toadies > Weaver
13 - Layers > Properties > General > Blend Mode: Screen
14 - Effects > 3D Effects > Drop Shadow:
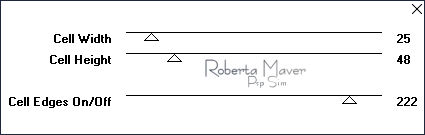
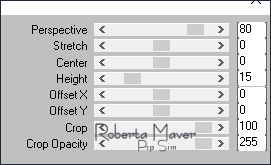
15 - Ativar a Layer Raster 1. Layers > Duplicate. Layers > Arrange > Bring To Top. Effects > Plugins > MuRa's Filters Meister > Perspective Tiling:
16 - Effects > Reflection Effects > Rotating Mirror: Default
17 - Effects > 3D Effects > Drop Shadow:
18 -
Ativar a Layer Raster 1.
Edit > Copy no Misted Paisagem. Edit > Paste as New Layer. Image > Resize se necessário Posicionar ao centro. Adjust > Sharpness > Sharpen.
19 - Image > Add Borders > Symmetric: 1 px - cor: Foreground #000000Selections > Select All. Image > Add Borders > Symmetric: 10 px - cor: Background #daab35 Selections > invert. Effects > Plugins > Graphics Plus> Cross Shadow > Default
Selections > Select None. Image > Add Borders > Symmetric: 1 px - cor: Foreground #000000
20 - Edit > Copy. Selections > Select All. Image > Add Broders > Symmetric: 50 px com com qualquer cor. Selections > invert. Edit > Paste Into Selection. Adjust > Blur > Gaussian Blur: 30
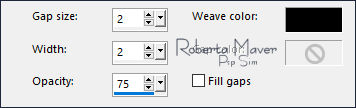
21 - Effects > Texture Effects > Weave: Weave Color: #000000
Selections > invert.
22 - Effects > 3D Effects > Drop Shadow:
Selections > Select None.
23- Edit > Copy no Deco_Felizdiadospais_Roberta. Edit > Paste as New Layer.
24 - Edit > Copy no Tube Principal. Edit > Paste as New Layer. Image > Resize se necessário. Posicionar à sua escolha. Effects > 3D Effects > Drop Shadow como preferir.
25 - Edit > Copy no Tube Decorativo Edit > Paste as New Layer. Image > Resize se necessário. Posicionar à sua escolha.
Effects > 3D Effects >
Drop Shadow como preferir.
26 - Edit > Copy no TituloTitulo_Felidiadospais_Roberta. Edit > Paste a New Layer.
Image > Resize > by Pixels: Width 900 px Adjust > Sharpness > Sharpen. 28 - Aplicar sua marca d'água ou assinatura. File > Export > JPEG Optimizer.
Créditos:3153 - man -
LB TUBES - 3184 - boy - LB TUBES - tube-jacotte-a283/
Paisagem:paysages_0317_lisat : /Decotativo:Ana Ridzi
Créditos
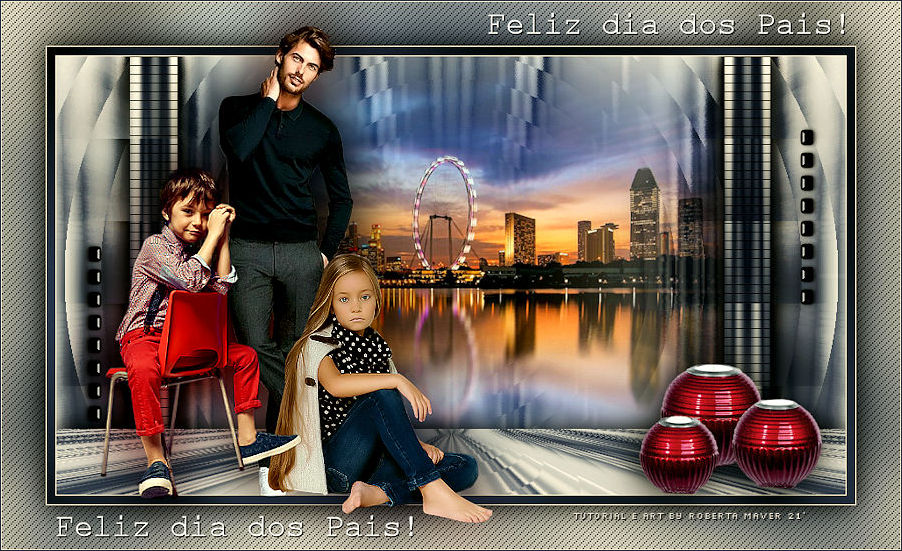
Tutorial e art final criado por
Roberta Maver
Tube: daddy - LB
TUBES
Paisagem: Misted_paisaje152_ByHebe
Tube Decorativo:Lily
27/07/2021
Sinta-se à vontade para enviar suas versões. Terei todo o prazer em publicá-las em nosso site.
|