
TRADUÇÕES:


Obrigada aos nossos tradutores!
MATERIAL
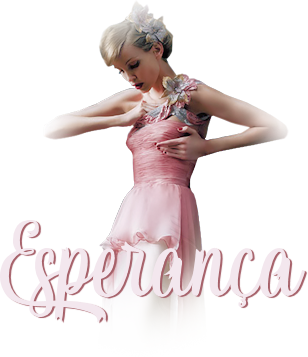
1 Tube Principal à sua escolha
1 Misted Flor à sua escolha
Decor_esperança_byRoberta
Titulo_esperança_byRoberta

PLUGINS
Plugins Cybia
Plugins Graphics Plus
Plugins L & K
Plugins Toadies
MuRa's Filters Meister
MuRa's Filters Seamless
ROTEIRO
1 - Abrir o material no PSP, duplique e feche o original.
Escolher duas cores para trabalhar.
Foreground #f3e7ee
Background #994a54

2 - Abra o arquivo Alpha_Esperança_byRoberta
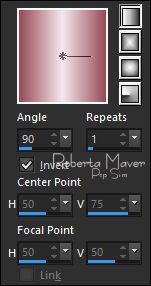
Pintar com o gradiente Linear, Angle 90, Repeats 1, Invert: Marcado,
formado pelas cores em uso.
3- Layers > Duplicate.
Fechar a visibilidade da layer Copy of Raster 1.
Vamos trabalhar com Layer Raster 1.
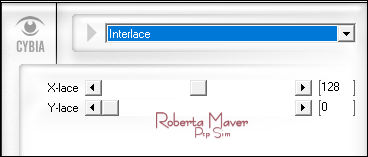
4 - Effects > Plugins > Cybia > Mezzy > Interlace:
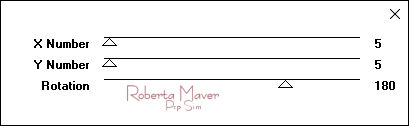
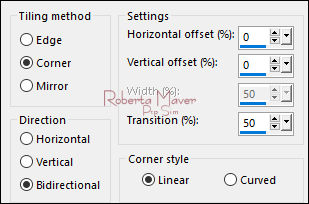
5 - Effects > Plugins > MuRa's Filters Seamless >
Tile Rotate:
6 - Selections > Load/Save Selection > Load Selection From
Alpha Channel: Selection #1
Selections > Promote Selection to Layer.
Selections > Select None.
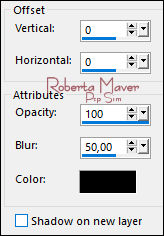
Effects > 3D Effects > Drop Shadow:
7 - Layers > New Raster Layer.
Selections > Load/Save Selection > Load Selection From Alpha Channel:
Selection #2
Pintar essa seleção com o gradiente em uso.
Selections > Select None.
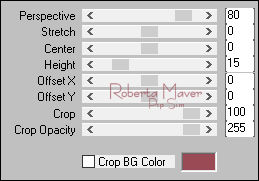
8 - Effects > Plugins > MuRa's Filters Meister > Perspective
Tiling:
Effects > 3D Effects > Drop Shadow:
Ativar e abrir a visibilidade da layer Copy of Raster 1
9 - Selections > Select All.
Edit > Copy no Tube principal
Edit > Paste Into Selection.
Selections > Select None.
Effects > Image Effects > Seamless Tiling: Default
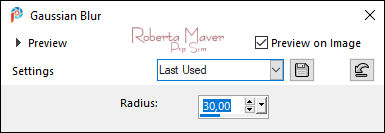
10 - Adjust > Blur > Gaussian Blur: 30
11 - Effects > Plugins > Toadies > Sucking toad bevel II 2:
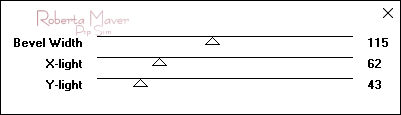
Image > Resize: 70% - all layers desmarcado.
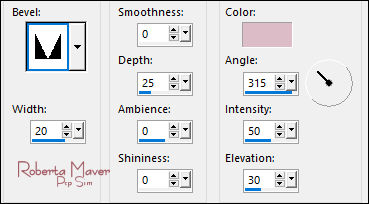
12 - Effects > 3D Effects > Inner Bevel:
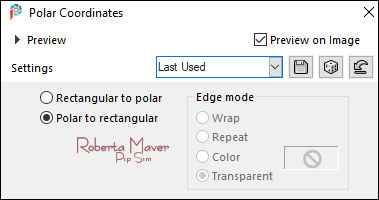
13 - Effects > Distortion Effects > Polar Coordinates:
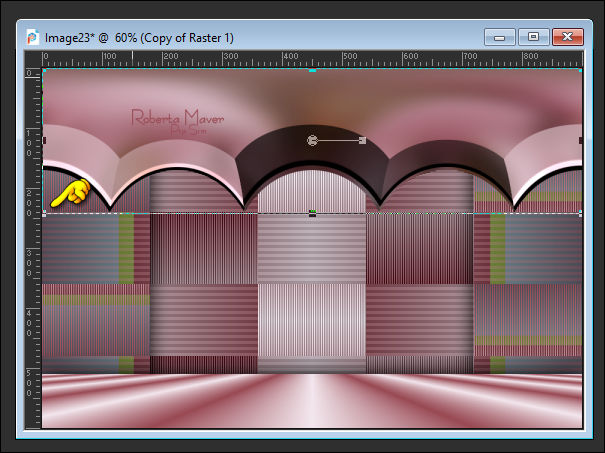
Com a ferramenta Pick Tool puxe até a altura de 250 como mostro no print
14- Selections > Load/Save Selection > Load Selection From
Alpha Channel: Selection #3
Selections > Promote Selection to Layer.
15 - Effects > Plugins > Graphics Plus > Cut Glass:

Ainda selecionada ative a layer Copy of Raster 1.
Pressione a tecla Delete no teclado.
Selections > Select None.
Effects > 3D Effects > Drop Shadow:
Ativar a Layer topo (Promoted Selection 1)
Layers > Arrange > Move Down
Layers > Properties > General >
Opacity: 75%
Ativar a Layer Raster 1
16- Edit > Copy no Misted da Flor.
Edit > Paste a new Layer.
Image > Resize se necessário.
Posicionar...
Adjust > Sharpness > Sharpen
17 - Image > Add Borders: Symmetric:
1 px - color: Foreground #f3e7ee
4 px - color: Background #994a54
1 px - color: Foreground #f3e7ee
Selections > Select All.
18- Image > Add Borders > Symmetric: 50 px com qualquer cor
Selections > Invert.
Pintar com o gradiente em uso:
Selections > Promote Selection to Layer.
Fechar a visibilidade da Layer Backgroud.
19 - Effects > Plugins > L & K > Katharina:

Effects > Edge effects > Enhance.
Ativar Layer Backgroud
Layers > Merge > Merge Down.
Selections > Select None.
20 - Edit > Copy no Deco_Esperança_byRoberta.
Edit > Paste a New Layer.
Com a Ferramenta Pick Tool, posicionar: Position X: 149 Position Y:
267
21 - Edit > Copy no Deco2_Esperança_byRoberta.
Edit > Paste a New Layer.
22 - Edit > Copy no Deco3_Esperança_byRoberta.
Edit > Paste a New Layer.
Image > Resize 30%,
all layers desmarcado.
Com a ferramenta Pick inclinar e posicionar à esquerda .
23 - Edit > Copy no Tube Principal.
Edit > Paste a new Layer.
Image > Resize se necessário
Posicionar à direita.
Effects > 3D Effects > Drop Shadow: à sua escolha.
24 - Edit > Copy no Titulo_Esperança_byRoberta.
Edit > Paste a New Layer.
Posicionar à sua escolha.
Effects > 3D Effects > Drop Shadow: à sua escolha.
25 - Image > Add Borders > Symmetric: 1px color: Background #994a54
26- Aplicar sua marca d'água ou assinatura.
File > Export > JPEG Optimizer.


Créditos
1
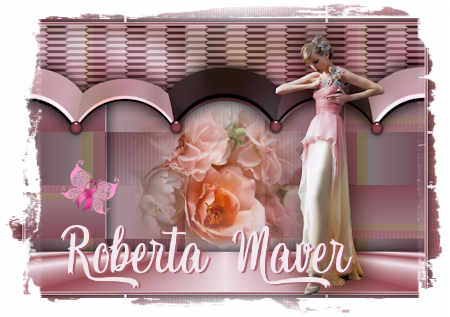
Tutorial e art final criado por Roberta Maver
Tube: smArt_620
Tube Flor: divers_0019_lisat
30/09/2021
Creditos 2
Tube: Franie Margot
Tube Flor: lana
Sinta-se à vontade para enviar suas versões.
Terei todo o prazer em publicá-las em nosso site.

|
Tutorial criado por
RobertaMaver, em Setembro de 2021
para
SIM-PSP. Não
poderá ser copiado, retirado de seu lugar,
traduzido ou utilizado em listas de
aprendizados ou grupos sem o
consentimento prévio da autora. |
|