|


Tutorial By
AnaMariaC
English Translation by SIM-PSP
moderation
Original Tutorial

MATERIAL
1 main tube of your choice
1 Mask_Narah
PLUGINS
Medhi > Vibrations.
Texture > Texturizes.
AAA Frame > Foto Frame.
MuRa’s Meister > Perpective Tiling.
Carolaine and Sensible > CS- Linear-H.
Effects of PSP 2020
TUTORIAL
1- AOpen the material on the
PSP, duplicate and close the original.
Choose two
colors to work with.
Foreground > #fe10fb
Background > #f9d3e0

2-
Open a new transparent image of 900x500 px.
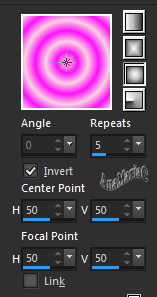
3- Fill with the Sunburst gradient formed by the chosen
colors:
4-
Effects > Plugins > Medhi > Vibrations:
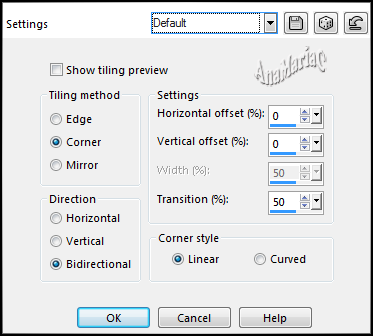
5- Effects > Image Effects > Seamless Tiling: Default.
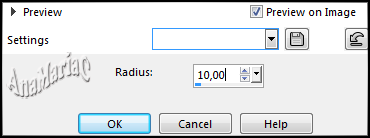
6- Adjust > Blur > Gaussian Blur: 10
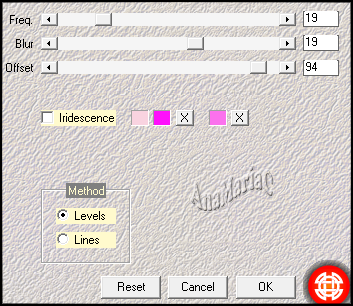
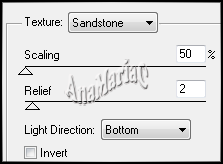
7- Effects > Plugins > Texture > Texturizer:
8- Effects > Edge effects > Enhance.
Layers > New Raster Layer.
9- Fill this layer with the background color: #f9d3e0
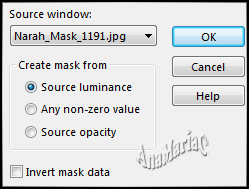
10- Layers > New Mask Layer > From Image:
Narah_Mask_1191
Layers > Merge > Merge Group.
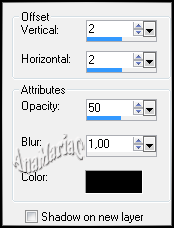
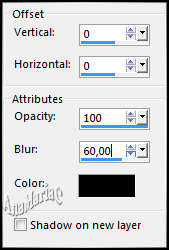
11- Effects > 3D Effects > Drop Shadow:
12- Adjust > Sharpness > Sharpen.
13- Layers > Duplicate.
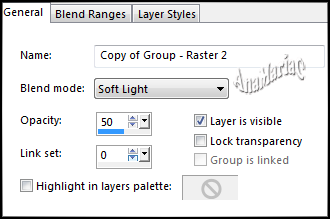
14- Layers > Properties > General:
15- Activite layer Raster 1.
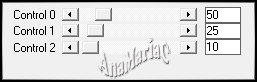
16- Effects > Plugins > Carolaine and Sensible > CS-
Linear-H:
17- Layers > Duplicate.
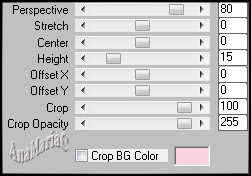
18- Effects > Plugin > MuRa’s Meister > Perpective Tiling:
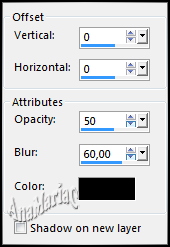
19- Effects > 3D Effects > Drop Shadow:
20- Layers > Duplicate.
Image > Mirror > Mirror Vertical.
Layers > Merge > Merge Down.
21- Ativar a layer Copy of Group - Raster 2.
22- Edit >
Copy
the Main Tube.
Edit > paste as New Layer.
Image > resize if necessary.
Adjust > Sharpness > Sharpen.
Position where you prefer.
Effects > 3D Effects >
Drop Shadow:
as you prefer.
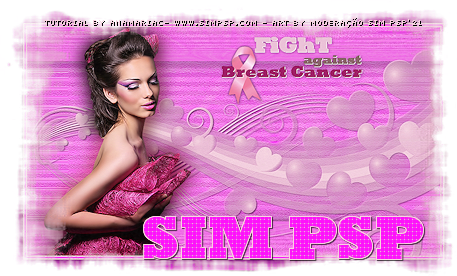
23- Edit > Copy the WordArt_Fight_against_breast_cancer.
Edit > Paste as New Layer.
With the Pick Tool tool, position: Position X: 418 - Position Y: 15
24- Create the borders:
Image > Add Bordes > Symmetric: 2px - color: #f9d3e0 (Backgound).
Image > Add Bordes > Symmetric: 4px - color: #fe10fb (Foregound).
Image > Add Bordes > Symmetric: 2px - color: #f9d3e0 (Backgound).
25- Selections > Select All.
Image > Add Bordes > Symmetric: 50px – with any color.
Selections > Invert.
26- Fill this selection with the Linear gradient, formed by
the chosen colors:

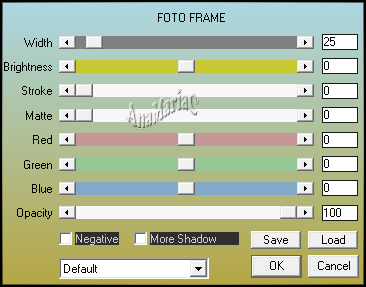
27- Effects > Plugins > AAA Frame > Foto Frame.
28- Selections > Invert.
29- Effects > 3D Effects > Drop Shadow:
30- Selections > Select None.
31-
If you wish,
resize your work.
Apply your watermark or signature.
File > Export > JPEG Optimizer.
Main Tube: Tubed by Isa
Feel free to send your versions.
I will be happy to publish them on our website.


|
Tutorial created by AnaMariaC, in October/2021. Translated into English in
October/21, by the
Moderation of SIM-PSP. It cannot be copied,
removed from its place, translated or used in learning
lists or groups without the author's prior consent. |
|