|
Tutorial by Roberta Maver English Translation by Moderation SIM-PSP Original Tutorial
MATERIAL Deco_Feliz_Páscoa_byRoberta Note 1: Resize of
% was applied to files: Rabbit2 (70%) - EasterTopiary2 (63%) -
Butterfly2 (20% and 25%)
AAA Filters > Vibrations Mehdi > Sorting Tiles Tramages > Painel Stripes L en K's
landksiteofwonders > Zitah Effects > Image Effects >
Seamless Tiling: Default
Edit > Repeat Motion Blur. Effects > Edge effects > Enhance.
4 - Effects >
Plugins > Mehdi > Sorting Tiles: Layers > Duplicate.
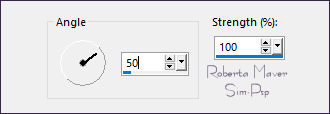
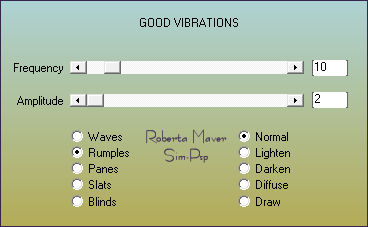
5 -Effects > Plugins > AAA Filters > Good Vibrations:
Layers > Duplicate. Close the visibility of the Copy of Raster layer 1. Activate the layer Copy 2 of Raster 1.
Adjust > Sharpness > Sharpen . Image > Resize: 70%, all layers unchecked.
Objects > Align > Top Layers > Duplicate.
Adjust > Sharpness >
Sharpen.
Objects > Align > Top. Layers > Duplicate.
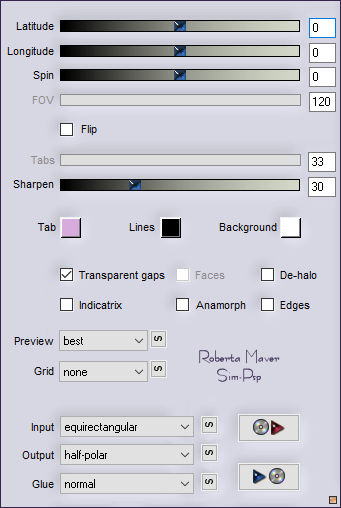
10 - Effects > Plugins > Flaming Pear > Flexify 2:
Repeat > Flaming Pear > Flexify 2 Image > Resize: 80%, all layers unchecked..
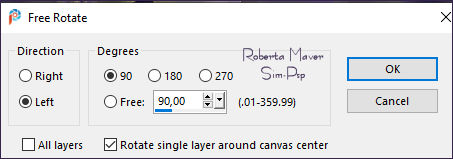
11 - Image > Free Rotate: Left, 90, all layers unchecked..
Adjust > Sharpness > Sharpen With the Pick Tool, position: Position X 477, Position Y 62. Layers > Duplicate. Layers > Merge > Merge
Down. Apply to layer Copy 4 of Raster 1. Apply to layer Copy 3 of Raster 1. Apply to layer Copy 2 of Raster 1. Activate and open the visibility of the Copy of Raster layer 1.
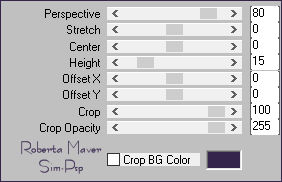
13 -Effects > Plugins > Mura's Meister > Perspective Tiling:
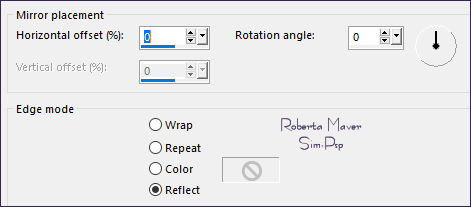
14 - Effects > Reflection Effects > Rotating Mirror:
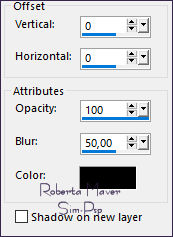
Effects > 3D Effects > Drop Shadow: 0, 0, 100, 50, Color: #000000 (black).
Activate the layer Raster 1
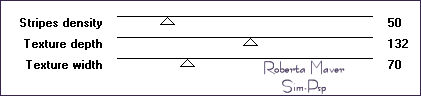
15 - Effects > Plugins > Tramages > Painel Stripes:
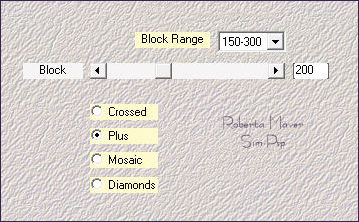
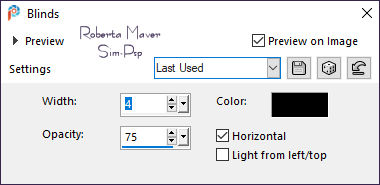
16 - Effects > Texture Effects > Blinds. Color: # 000000
1 px - color: Foreground
#35244c
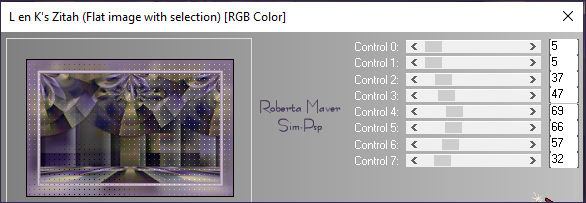
19 - Effects > Plugins > L en K's landksiteofwonders > Zitah:
Colorize with Foreground color or of your choice.
22 - Edit > Copy
in the Main Tube. 23 - Edit > Copy
in the Tube Decorativo.
With the Pick Tool, position: Position X 94, Position Y 18. Effects > 3D Effects > Drop Shadow
of your choice.
CREDITS:
Kit Scrap Elegance: Spring Easter Day
Feel free to send your versions. I will be happy to publish them on our website.
|