|
 Material:
Main Tubeof your choice Misted Landscape of your choice  Plugins:
FMTile
Tools > Blend Emboss
I.C.Net
Software > Unlimited 2.0
PSP Effects
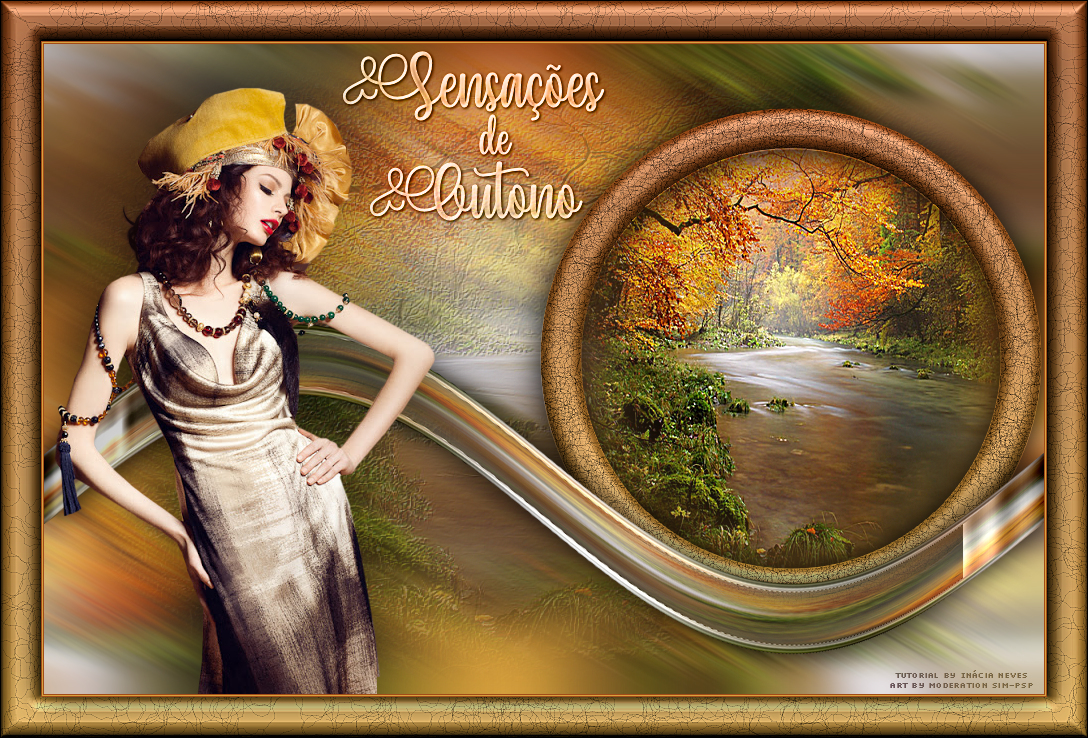
TUTORIAL
1-
Choose two colors
of the work and form a gradient:
Style: Linear
> Angle: 0 > Repeats: 0
Foreground: #d9a23d
Background: #a14c19
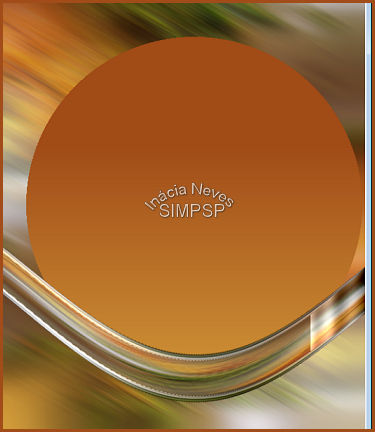
2- Open a transparent image of 1000 x 650 px
Paint with the gradient.
3-
Layers > New Raster
Layer
Selections
> Select All
Edit > Copy
in the misted landscape
Activate the transparency
Edit >
Past Into Selection
Selections
> Select None
4- Effects
> Image Effects > Seamless Tiling > Default
5- Adjust
> Blur > Motion Blur:
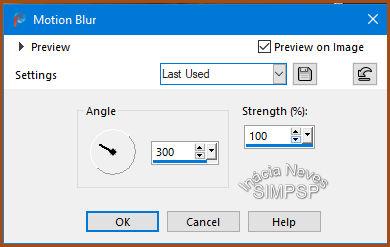 Edit >
Repeat > Montion Blur
6-
Layers > Duplicate.
Close the visibility of Raster 2 and
leave Copy of Raster 2 active
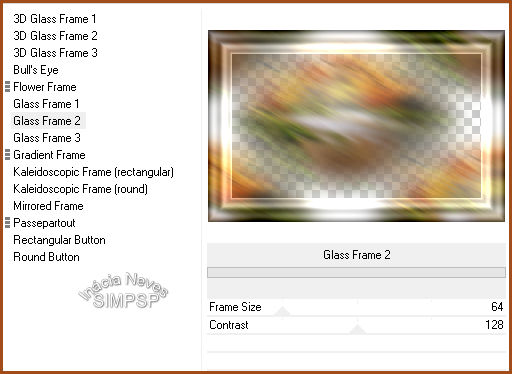
7-
Effects
> Plugin I.C.Net Software > Unlimited 2.0 > Buttons & Frames
> Glass Frame 2
 8- Effects
> Geometric Effects > Perspective Horizontal > 90 >
Transparent
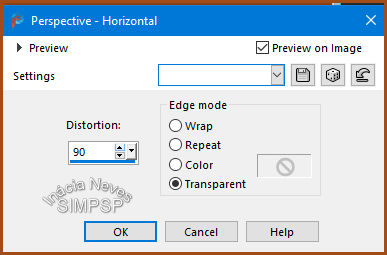 Image >
Mirror > Mirror Horizontal
Repeat
the Effects > Geometric Effects > Perspective
Horizontal > 90 > Transparent
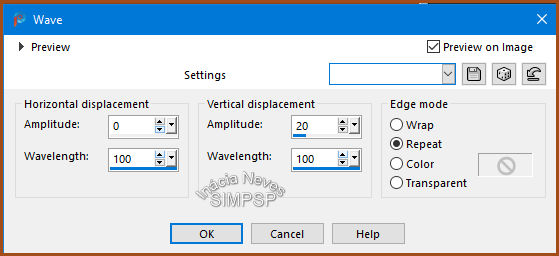
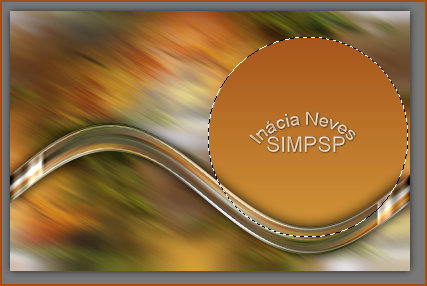
9- Effects
> Distortion Effects > Wave:
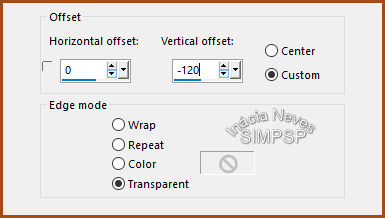
 10- Effects
> Image Effects > Offset:
 11-
Open and activate the visibility of Raster 2.
12-
Activate and configure the Eraser tool:
 Position as in the example and click:
 It will look like this:
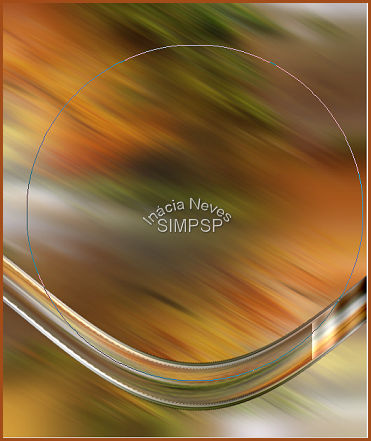
 13-
With the Magic Wand tool, configured as
in the example, select the center of the circle
Edit > Copy
in the misted landscape
Activate the image being worked on ...
Layers >
New Raster Layer
Edit >
Paste Into Selection
Adjust >
Sharpness > Sharpen More
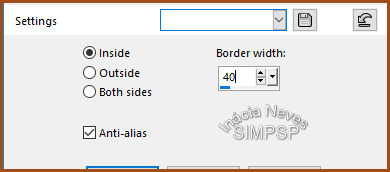
14-
Selections > Modify > Select Selection Borders:
 15-
Layers
> New Raster Layer
Paint the selection with the gradient ...
Effects >
3D Effects > Inner Bevel:
 16- Effects
> Texture Effects > Fine Leather:
Adjust >
Sharpness > Sharpen More
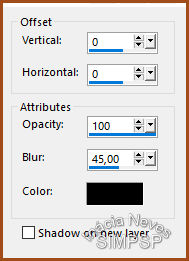
Effects >
3D Effects > Drop Shadow:
 Selections
> Select None
17-
Activate the Copy of Raster 2 layer (top layer)
Effects >
3D Effects > Drop Shadow:
18-
Activate the Raster 2
layer
Layers >
New Raster Layer
Selections
> Select All
Edit > Copy
in the misted landscape
Activate the image
being worked on...
Edit >
Paste Into Selection
Selections > Select
None
19- Effects
> FMTile Tools > Blend Emboss
Edit >
Repeat Blend Emboss
Layers > Properties > General > Opacity: 30%
20-
Activate the chosen main tube
Image >
Resize your choice
Adjust > Sharpness > Sharpen
Edit > Copy
21-
Activate the image being
worked on...
Activate the Copy of Raster 2 layer (top
layer)
Edit >
Paste a New Layer
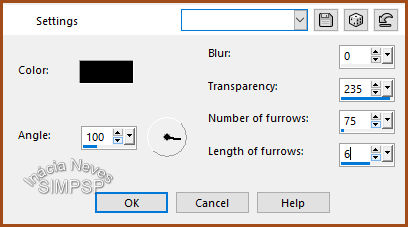
Effects > 3D Effects > Drop Shadow of your choice:
I applied these settings to this tube: -5/-10/45/100, color
#000000
22- Edit > Copy in titulo texto_inacia Edit > Paste as New layer Layers > Properties > General > Blend Mode: your choice or Write a text of your choice. The font used in the tutorial text is in the material.
23-
Create
the borders:
Image > Add Borders > 1 px
Symmetric > Dark color
Image > Add Borders > 1 px
Symmetric > light colour
Image > Add Borders > 1 px
Symmetric > Dark color
Selections > Select
All
Image > Add Borders > 40 px
Symmetric > Any color
Selections >
Invert
Paint the selection
with the gradient.
24- Effects > 3D
Effects > Inner Bevel:
Effects > Texture
Effects > Fine Leather:
Adjust > Sharpness > Sharpen
More
25- Selections >
Invert
Effects > 3D > Drop Shadow
> 0/0/100/45 > Color #000000
End with a
border of 1 px na
cor #000000
26- Aplicar sua marca d'água ou
assinatura.
File > Export > JPEG
Optimizer. 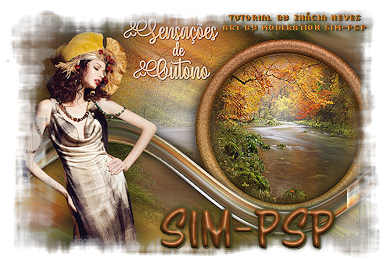
Credits:
Tutorial by
Inacia Neves
English Translation by Moderation SIM-PSP
Main Tube:
Tubed by Verlaine
Misted Landscape:
Tubed by Grisi
Acknowledgment:
I thank the Tubers for the beautiful shared material.
Feel free to send your versions. I will be happy to publish them on our website.
|