|
Tutorial By
LeniDiniz
MATERIAL 1 Main Tube of your choice 1 misted floral of your choice Tílulo_leni_toucher_doux Mask: mask21-inge-lore Mask: maskok-8-9  PLUGINS Xero Mura's Seamless AP Lines COLORS: Foreground: #f57043 Background: #f6c7b2
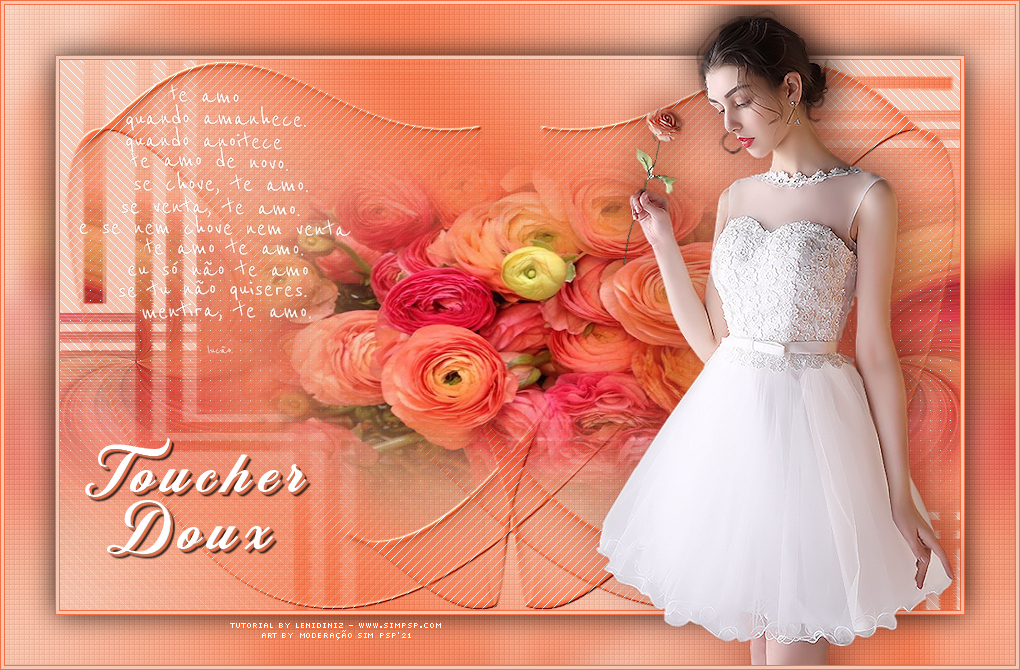
TUTORIAL
01-
Open the material on the psp, copy and close the original.
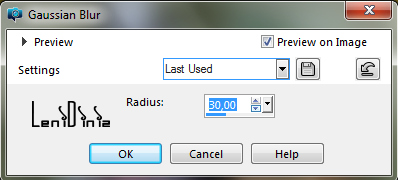
02- Adjust > Blur > Gaussian Blur: 30
03- Effects > Plugins > Xero > Frittillary: Default
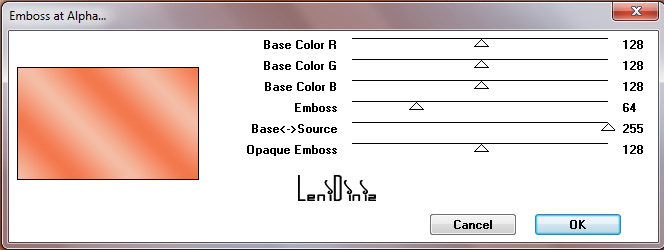
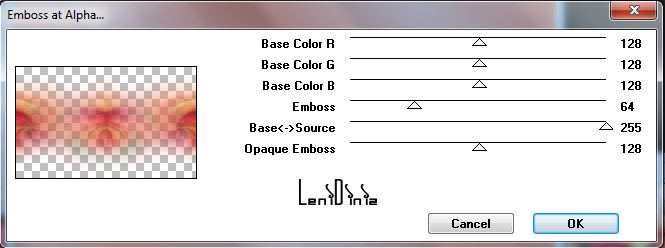
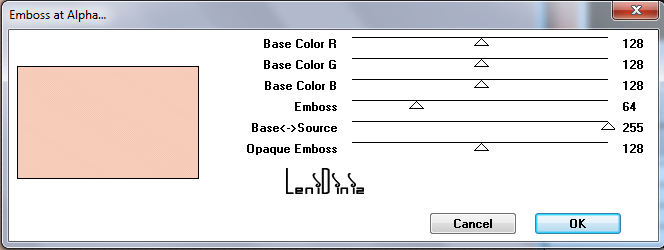
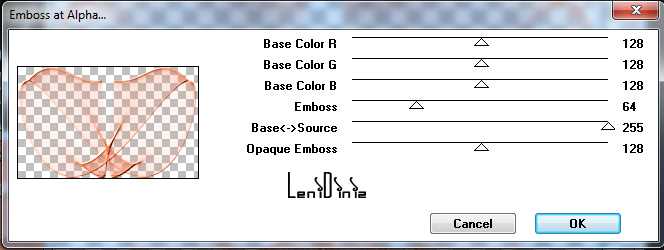
04- Effects > Plugins > Mura's Seamless > Emboss at Alpha: Default
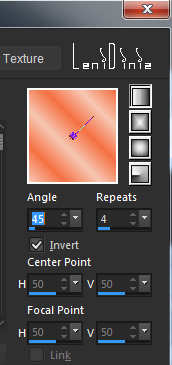
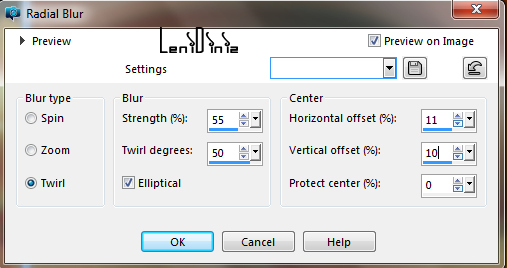
05- Layers > New Raster Layer Selections > Select All. Edit > Copy the misted floral. Edit > Paste into Selection Selections > Select None. Image > Resize: 80%, resize all layers unchecked. 06- Adjust > Blur > Radial Blur:
07- Effects > Edge Effects > Enhance More.
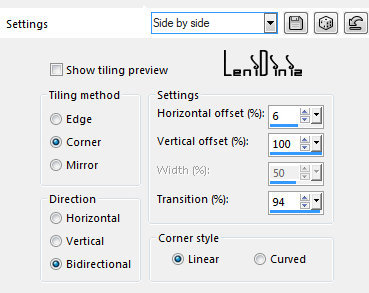
08- Effects > Image Effects > Seamless Tiling > Side by Side:
09- Effects > Reflection Effects > Rotating Mirror:
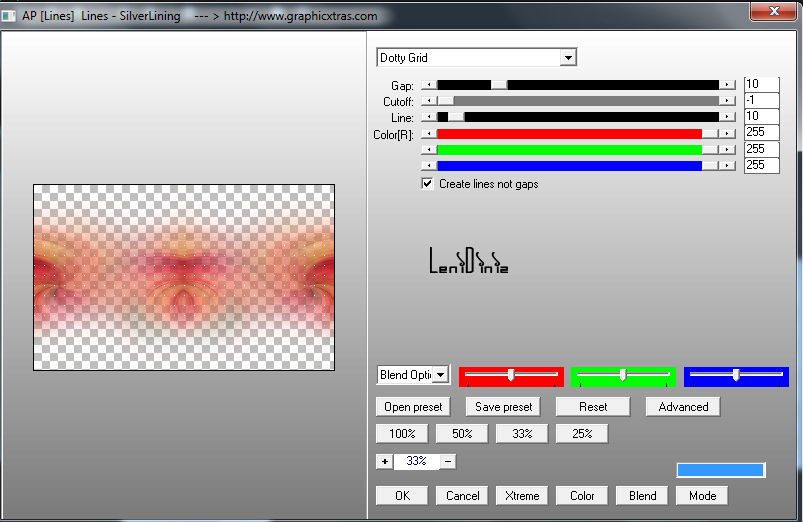
10- Effects > Plugins > AP Lines > Lines - Silverlining: Dotty Grid
11- Effects > Plugins > Mura's Seamless > Emboss at Alpha: Default
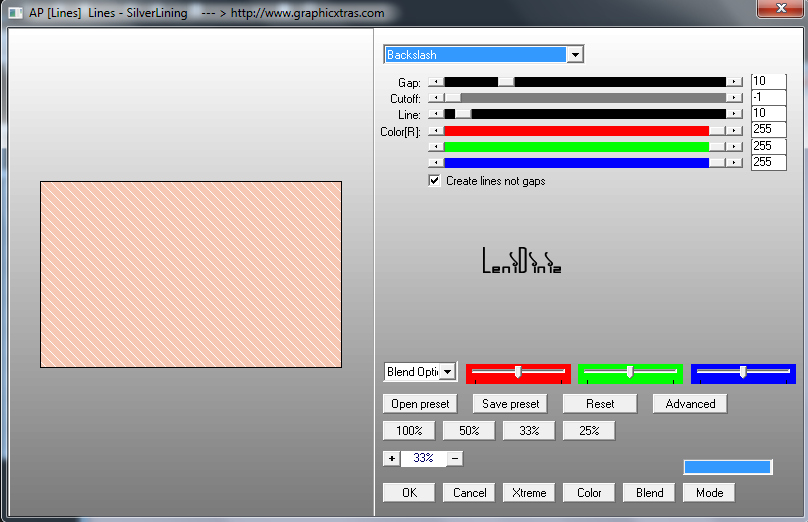
12- Layers > New Raster Layer Paint with the background color #f6c7b2. Effects > Plugins > AP Lines > Lines - Silverlining: Backslash
13- Effects > Plugins > Mura's Seamless > Emboss at Alpha: Default
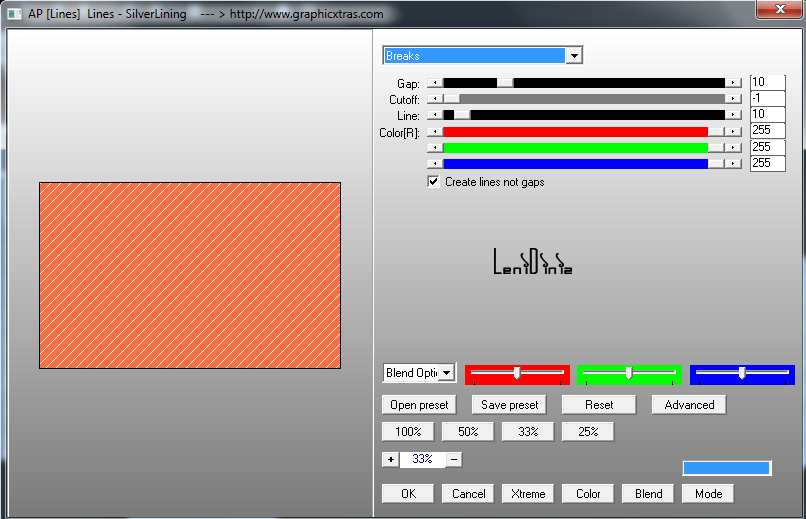
14- Layers > New Mask Layer > From Image: mask21 Layers > Merge > Merge Group. 15- Layers > New Raster Layer Paint with Foreground color #f57043. Effects > Plugins > AP Lines > Lines - Silverlining: Breaks
16- Layers > New Mask Layer > From Image: maskok-8-9 Layers > Merge > Merge Group. 17- Effects > Plugins > Mura's Seamless > Emboss at Alpha: Default
18- Layers > New raster Layer. Selections > Select All. Edit > Copy the misted floral.
Edit > Paste into Selection.
Selections > Select None. Image > Resize 70%, resize all layers unchecked. Adjust > Sharpness > Sharpen.
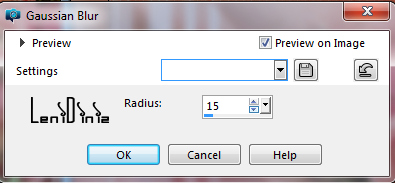
19- Edit > Copy Special > Copy Merged. 20- Image > Add Borders > Symmetric: 1 px - color #f57043 - Foreground 3 px - color #f6c7b2 - Background 1 px - color #f57043 - Foreground 21- Selections > Select All. Image > Add Borders > Symmetric: 50 px with any color. Selections > Invert. 22- Edit > paste into Selection. Adjust > Blur > Gaussian Blur: 15
23- Effects > Plugins > Xero > Frittillary: Default
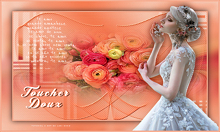
24- Selections > Invert. Effects > 3D Effects > Drop Shadow: 0 > 0 > 80 > 40, color: #000000 Selections > Select None. 25- Edit > Copy the wordart. Edit > Paste as New Layer. Image > Resize 70%, resize all layers unchecked. With the Pick Tool tool, position: Position X: 70 Position Y: 74. Adjust > Sharpness > Sharpen. 26- Edit > Copy the Main Tube. Edit > Paste as New Layer Image > Resize: if necessary. Adjust > Sharpness > Sharpen. Position to the right. Effects > 3D Effects > Drop Shadow: your choice. 27- Edit > Copy no titulo_leni_toucher_doux Edit > Paste as New Layer Position of your choice. Effects > 3D Effects > Drop Shadow: 2 > 2 > 100 > 1, color: #f57043 do Foreground Effects > 3D Effects > Drop Shadow: 2 > 2 > 80 > 1, color: #000000 (black)
28- Image > Add Borders > Symmetric: 1 px - color #f57043 - Foreground 3 px - color #f6c7b2 - Background 1 px - color #f57043 - Foreground 29- Apply your watermark or signature. 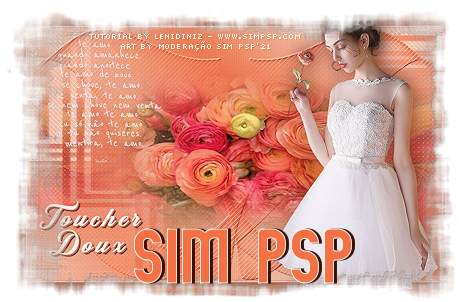
CREDITS:
Main Tube: tubed by
Babette
Misted
Floral: by LeniDiniz
Masks: Unknown author
Feel free to send your versions.
|