|
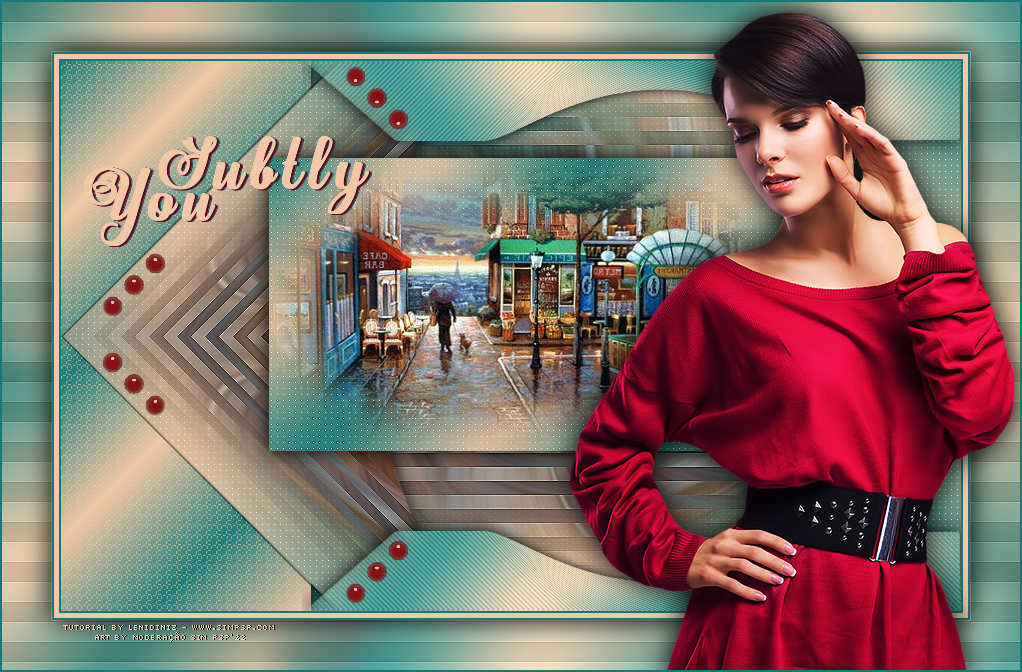
Tutorial By
LeniDiniz
MATERIAL
1 Main Tube of your choice 1 Misted Landscape of your choice Decor_leni_subtly_you Título_leni_subtly_you alpha_channel
PLUGIN Caroline and Sensibillity COLORS #127a79 (Foreground) #f1c7a5 (Background)
TUTORIAL
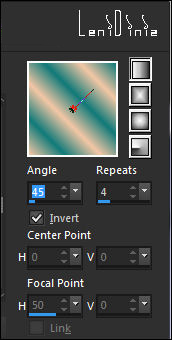
01- Open the material on the psp, copy and close the original. Choose two colors to work with. 02- Form a Linear gradient: Angle: 45 - Repeats: 4 - Invert: checked
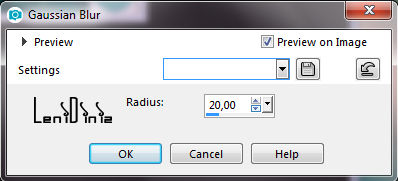
03- Open the alpha_channel file. Paint with Linear gradient. Adjust > Blur > Gaussian Blur: 20
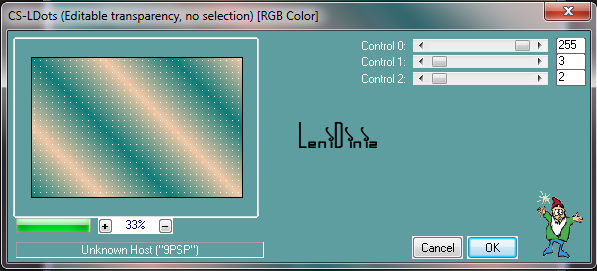
04- Effects > Plugins > Carolaine and Sensibillity > CS-LDots:
05- Layers > New Raster Layer. Selections > Select All. Edit > Copy the Misted Landscape.
Edit > Paste into Selection.
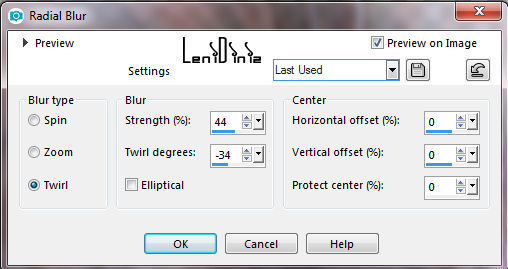
06- Adjust > Blur > Radial Blur:
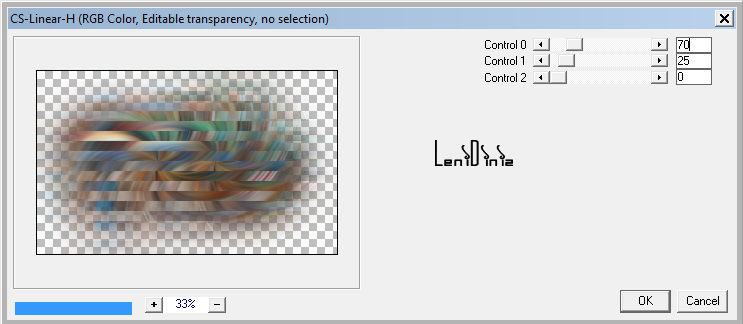
07- Effects > Plugins > Carolaine and Sensibillity > CS-Linear-H :
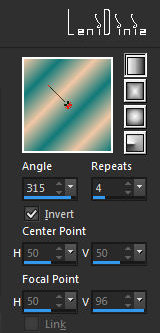
08- Effects > Edge effects > Enhance. Layers > Merge > Merge Down. 09- Layers > New Raster Layer. Selections > Load/Save Selections > Load Selection from Alpha Channel: leni #1 Paint the selection with the Linear gradient: Angle: 315 - Repeats: 4 - Invert: checked
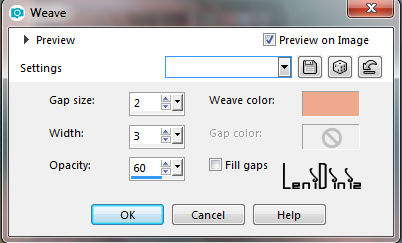
10- Effects > Texture Effects > Weave: Weave color: #f1c7a5 (Background)
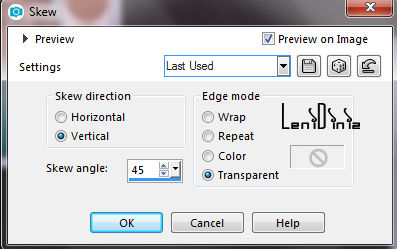
11- Effects > 3D Effects > Drop Shadow: 0, 0, 100, 30, Color: #000000 12- Activate the layer Raster 1. Selections > Load/Save Selections > Load Selection from Alpha Channel: leni #2 13- Layers > Arrange > Bring to Top. Effects > 3D Effects > Drop Shadow: 0, 0, 100, 30, Color: #000000 14- Effects > Geometric Effects > Skew:
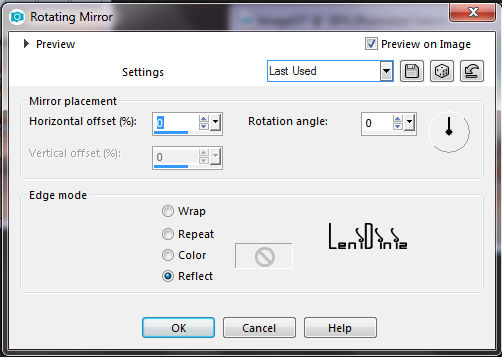
15- Effects > Reflection Effects > Rotating Mirror:
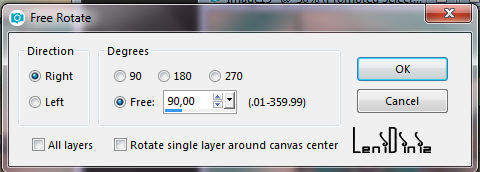
16- Image > Free Rotate:
17- Objects > Align > Center in Canvas. (centralize) Objects > Align > Left. 18- Layers > New Raster Layer. Selections > Load/Save Selections > Load Selection from Alpha Channel: leni #3 Paint the selection with the Linear gradient: Angle: 315 - Repeats: 4 - Invert: checked
19- Adjust > Blur > Gaussian Blur: 20
20- Effects > Plugins > Carolaine and Sensibillity > CS-LDots:
21- Edit > Copy the Misted Landscape. Edit > Paste into Selection. Adjust > Sharpness > Sharpen. 22- Effects > 3D Effects > Drop Shadow: 0, 0, 100, 30, Color: #000000 23- Layers > New Raster Layer. Selections > Load/Save Selections > Load Selection from Alpha Channel: leni #4 Paint the selection with the Linear gradient: Angle: 315 - Repeats: 4 - Invert: checked
24- Adjust > Blur > Gaussian Blur: 20
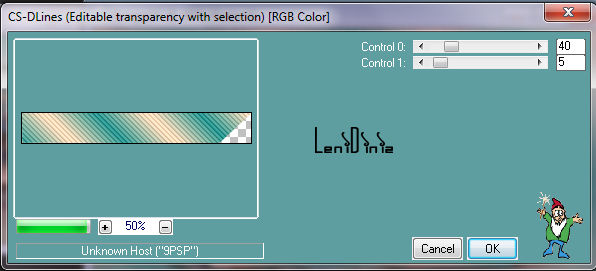
25- Effects > Plugins > Carolaine and Sensibillity > CS-DLines:
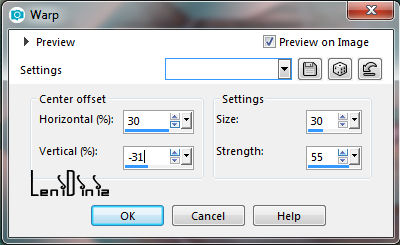
26- Effects > 3D Effects > Drop Shadow: 0, 0, 100, 30, Color: #000000 Selections > Select None. Image > Mirror > Mirror Horizontal. 27- With the Pick Tool tool, position: Position X: 241 - Position Y: 0 28- Effects > Distortion Effects > Warp:
29- Layers > Duplicate. Image > Mirror > Mirror Vertical. 30- Edit > Copy the decor_leni_subtly_you. With the Pick Tool tool, position: Position X: 40 Position Y: 3 31- Image > Copy Special > Copy Merged. Image > Add Borders > Symmetric: 2 px - color #127a79 (Foreground) 5 px - color #f1c7a5 (Background) 2 px - color #127a79 (Foreground) 32- Selections > Select All. Image > Add Borders > Symmetric: 50 px with any color. Selections > Invert. Edit > Paste Into Selection. 33- Adjust > Blur > Gaussian Blur: 20
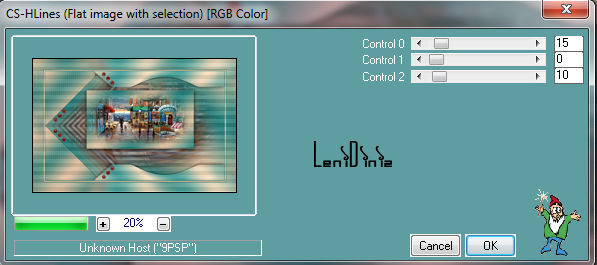
34- Effects > Plugins > Carolaine and Sensibillity > CS-HLines:
35- Effects > Edge Effects > Enhance. 36- Selections > Invert. Effects > 3D Effects > Drop Shadow: 0, 0, 100, 40, Color: #000000 Selections > Select None. 37- Edit > Copy the Main Tube. Edit > Paste as New Layer. Image > Resize if necessary. Position of your choice. Effects > 3D Effects > Drop Shadow your choice. 38- Edit Copy the titulo__leni_subtly_you. Edit > Paste as New Layer. Position of your choice. Effects > 3D Effects > Drop Shadow your choice. 39- Image > Add Borders > Symmetric: 2 px - color #127a79 (Foreground) 40-
Apply your watermark or signature.
CREDITS: Main Tube: tubed by Lily Misted Landscape: by LeniDiniz
Feel free to send your versions.
|