|
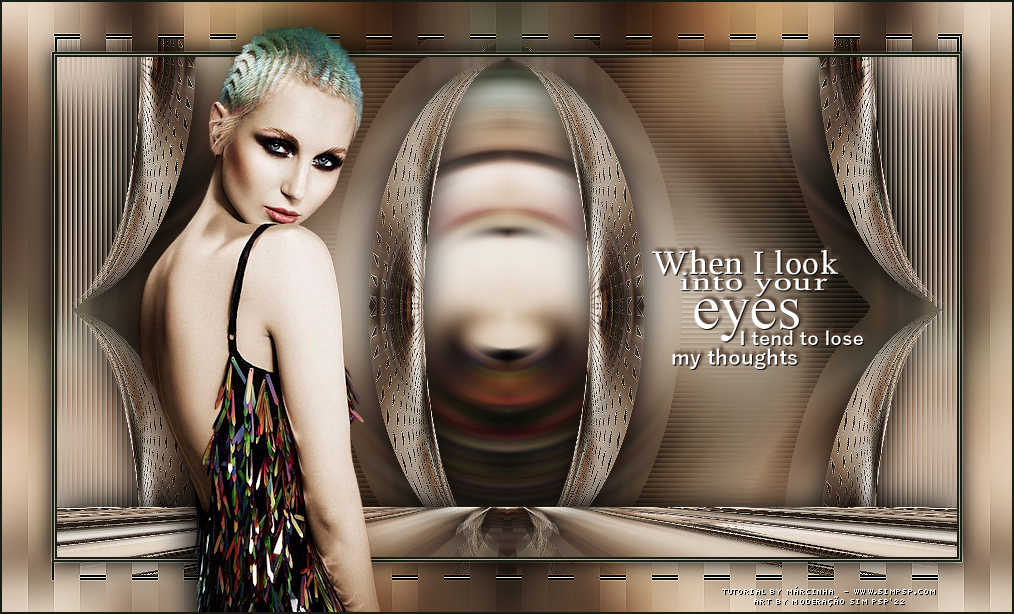
Tutorial By MárcinhaEnglish Translation by SIM-PSP moderation Original Tutorial
MATERIAL 1 Main Tube of your choice 001_WordArt_byPqna&Alice Selections: 01_EyesOfLove / 02_EyesOfLove* *(Save selections in PSP's Selections folder)
PLUGINS Panopticum > Alpha Strip AAA Filters > Custom: Sharp dsb flux > Linear Transmission... Mura's Meister > Perspective Tiling
Tutorial created and translated on PSP 2020 Ultimate
TUTORIAL
1- Open the material in the PSP, duplicate and close
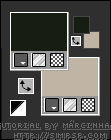
the originals. Foreground: #181e14 Background: #c0b4a5
2- Open a 900x500px Transparency.
3- Selections > Select All. Edit > Copy the Main Tube. Edit > Paste Into Selection. Selections > Select None.
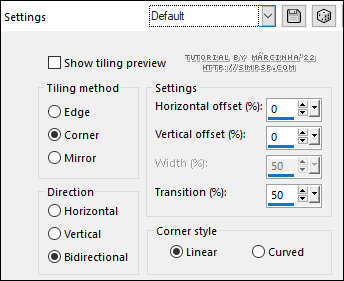
4- Effects > Image Effects > Seamless Tiling: Default.
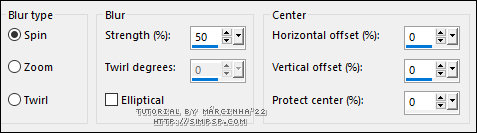
5- Adjust > Blur > Radial Blur:
6- Effects > Image Effects > Seamless Tiling: Default.
7- Layers > Duplicate. Effects > Plugins > Panopticum > Alpha Strip:
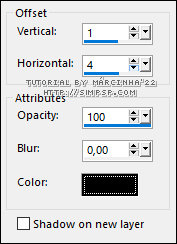
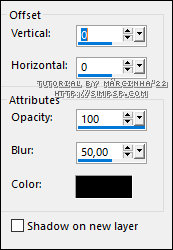
8- Effects > 3D Effects > Drop Shadow: Color #000000
9- Effects > Edge effects > Enhance.
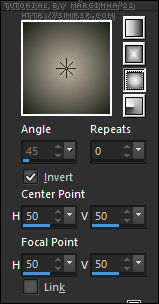
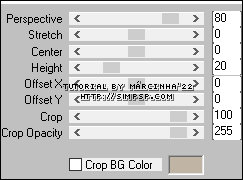
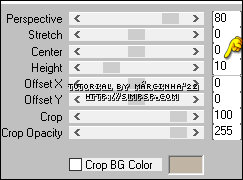
10- Effects > Plugins > Mura's Meister > Perspective Tiling:
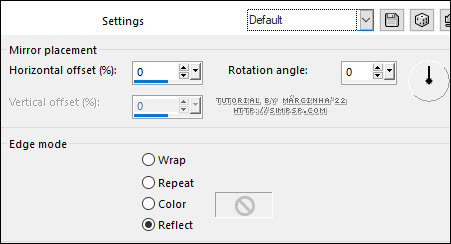
11- Effects > Reflection Effects > Rotating Mirror: Default
12- Layers > Duplicate. Image > Mirror > Mirror Vertical. Layers > Merge > Merge Down.
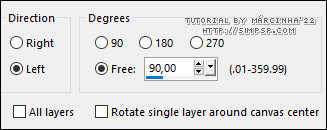
13- Image > Free Rotate: Left, 90, all layers unchecked:
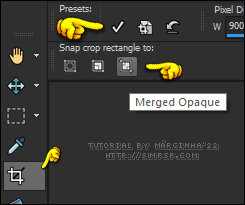
14- Crop Tool > Merged Opaque > clique em Apply:
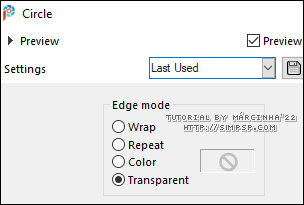
15- Effects > Geometric Effects > Circle:
16- Effects > Image Effects > Seamless Tiling: Default.
17- Adjust > Sharpness > Sharpen. Effects > 3D Effects > Drop Shadow: Color #000000
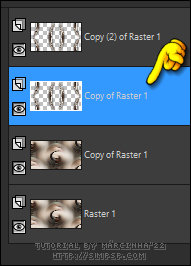
18- Layers > Duplicate. Activate the layer Raster 1. Layers > Duplicate. We will be left with two layers Copy of Raster 1 Activate the upper Copy of Raster 1 layer.
Layers > Merge > Merge Down. Layers > Arrange > Bring to Top.
19- Effects > Plugins > dsb flux > Linear Transmission...
20- Effects > Plugins > Mura's Meister > Perspective Tiling:
21- Effects > Reflection Effects > Rotating Mirror: Default
22- Adjust > Sharpness > Sharpen. Effects > 3D Effects > Drop Shadow: Color #000000
23- Activate the layer Raster 1. Effects > Reflection Effects > Rotating Mirror: Default
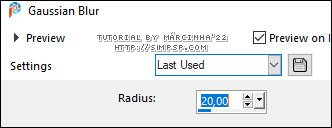
24- Selections > Load/Save Selections > Load Selection From Disk: 01_EyesOfLove Adjust > Blur > Gaussian Blur:
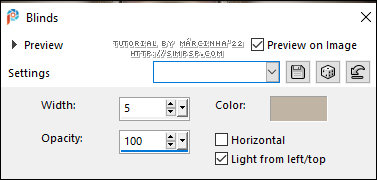
25- Effects > Texture Effects > Blinds: Color: Background color
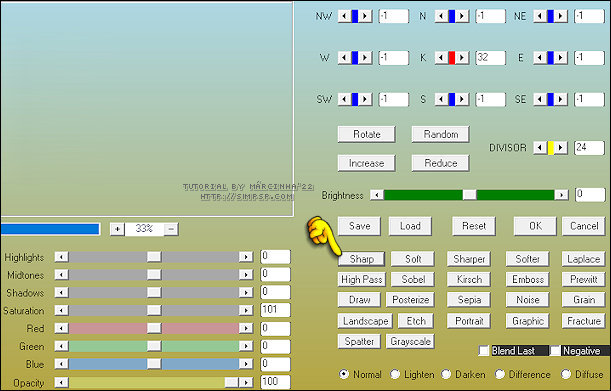
26- Effects > Plugins > AAA Filters > Custom: Sharp
27- Selections > Select None. Selections > Load/Save Selections > Load Selection From Disk: 02_EyesOfLove Selections > Promote Selection to layer.
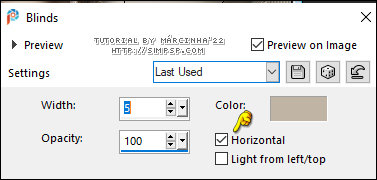
28- Effects > Texture Effects > Blinds: Color: Background color
29- Effects > 3D Effects > Drop Shadow: Color: Background color
30- Layers > Properties > General > Blend Mode: Multiply Selections > Select None. Edit > Copy Special > Copy Merged.
31- Image > Add Borders > Symmetric: 2px - Color: Foreground color. 1px - Color: Background color. 2px - Color: Foreground color.
32- Selections > Select All.
Selections > Invert. Edit > Paste Into Selection. Adjust > Blur > Gaussian Blur:
33- Effects > Plugins > dsb flux > Linear Transmission...
34- Selections > Promote Selection to layer. Layers > Properties > General > Blend Mode: Overlay. Effects > Edge effects > Enhance. Layers > Merge > Merge Down. Selections > Invert. Effects > 3D Effects > Drop Shadow: Color #000000
35- Selections > Modify > Contract: 05 Selections > Promote Selection to layer. Layers > Properties > General > Blend Mode: Soft Light - Opacity: 50. Selections > Select None. Layers > Merge > Merge Visibile.
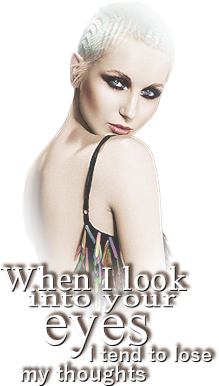
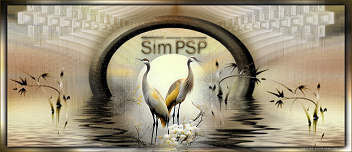
36- Edit > Copy the Main Tube. Edit > Paste as New Layer. Image > Resize if necessary* *(in the material tube the Resize was 80%) Position to the left of the work. Effects > 3D Effects > Drop Shadowof your choice.
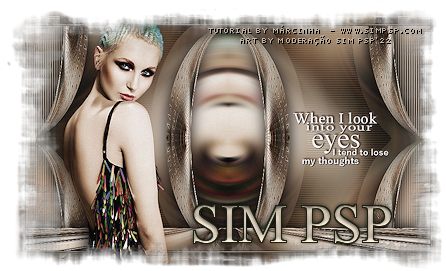
37- Edit > Copy the 001_WordArt_byPqna&Alice* Edit > Paste as New Layer. Pick Tool: Position X: 650 - Position Y: 242 Note: *Colorize or use Blend Mode > Luminance to match the colors you are using.
38 - Image > Add Borders > Symmetric: 2px - Color: Foreground color.
39 - Apply your watermark or signature.
Credits: English Translation by Moderation SIM-PSP Tutorial Eyes Of Love by Márcinha Main Tube: Tubed by Pqna&Alice WordArt: by Pqna&Alice Içara (SC), Março de 2022
Feel free to send your versions.
|