|
Tag Olhar TRADUÇÕES: Obrigada aos nossos tradutores!
MATERIAL 1 Tube Principal 1 Misted Paisagem
NarahsMasks_1549
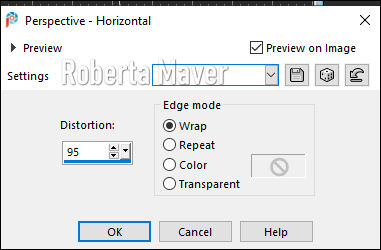
PLUGINS AP [Lines] Carolaine and Sensibility Graphics Plus
TUTORIAL 1 - Abrir o material no PSP, duplique e feche o original. Escolher duas cores para trabalhar. Foreground #2d1b11 Background #f2ecde
Pintar com a cor do Foreground. Layers > New Mask Layer > From Image: NarahsMasks_1549. Layers > Merge > Merge Group.
Layers > Merge > Merge Down.
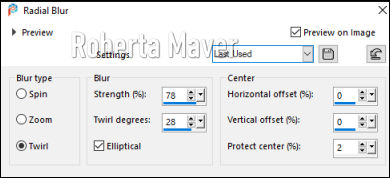
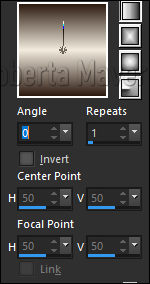
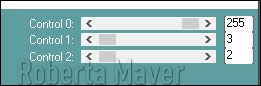
Pintar com o gradiente Linear.
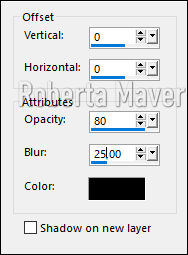
Effects > 3D Effects > Drop shadow.
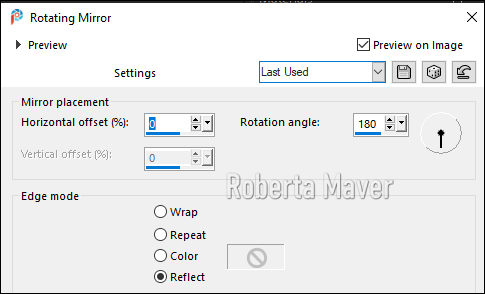
Image>Mirror>Mirror horizontal. Layers > Merge > Merge Down.
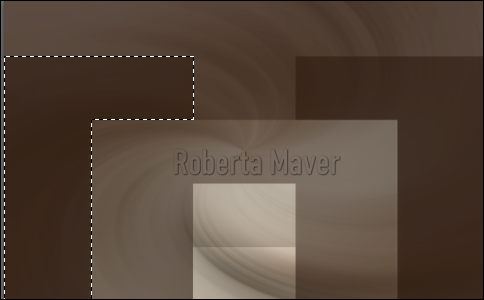
Selections > Select None.
Selections > Promote Selection to Layer. Selections > Select None.
Renomeie como tira. Selections > Select None.
Image >Mirror > Mirror horizontal. Layers > Merge > Merge Down.
Edit > Copy no Misted Paisagem. Edit > Paste a New Layer.
Image > Mirror > Mirror vertical. Layers > Merge > Merge Down.
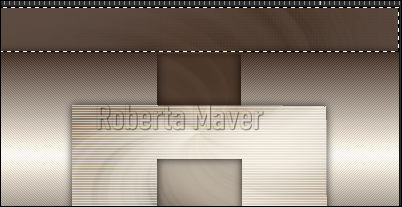
2px cor do foreground 2px cor do background 2px cor do foreground
Edit > Copy.
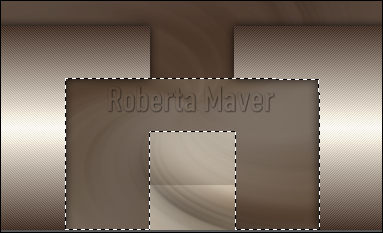
Selections > Invert. Edit> Past Into Selection.
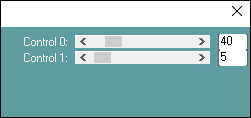
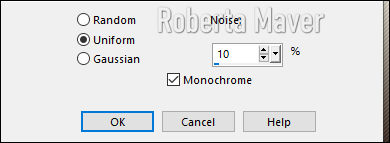
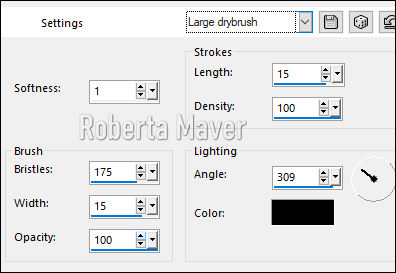
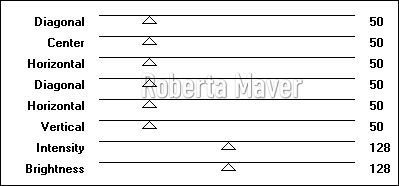
Plugin Graphics Plus > Cross Shadow.
Selections > Invert.
Selections > Select None.
Edit > Paste a New Layer. Posicione e aplique Drop Shadow como preferir.
57 - Se você desejar, redimensione seu trabalho. Aplicar sua marca d'água ou assinatura.
File > Export > JPEG Optimizer.
Créditos
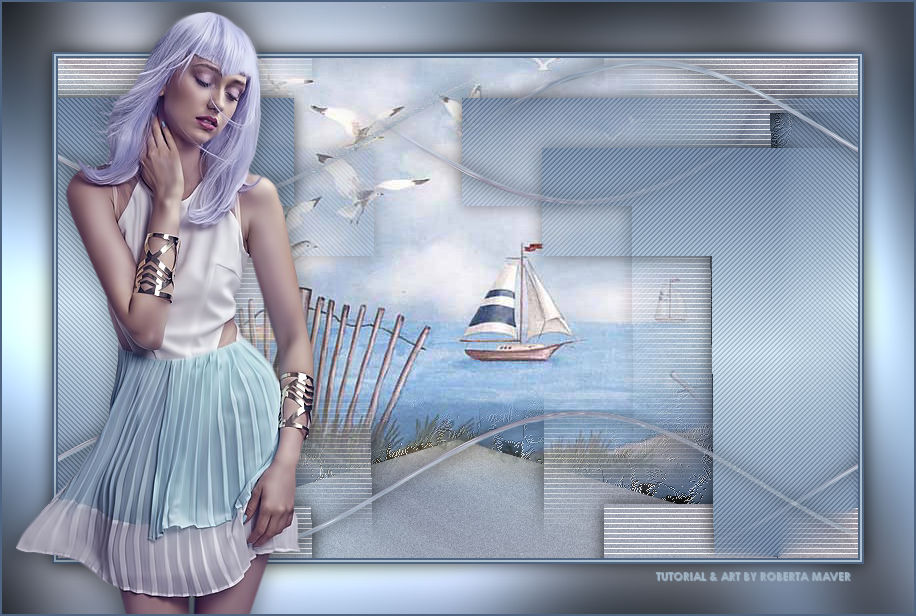
Tutorial by Roberta Maver'20
Sinta-se à vontade para enviar suas versões. Terei todo o prazer em publicá-las em nosso site.
|