|
TRADUÇÕES:
Obrigada aos nossos
tradutores! MATERIAL
Alpha_Thinking_Out_Loud_byRoberta
Titulo_Thinking_Out_Loud_byRoberta Alien Skin Eye Candy 5
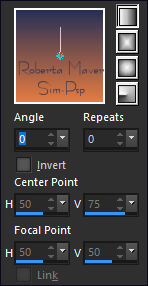
Impact Tramages Photo_Effex Cor Extra: #14152d Pintar com o gradiente Linear, Angle 0, Repeats 0, formado pelas cores em uso:
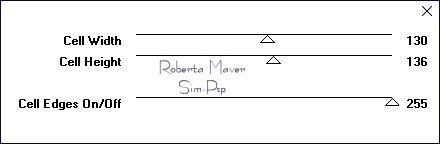
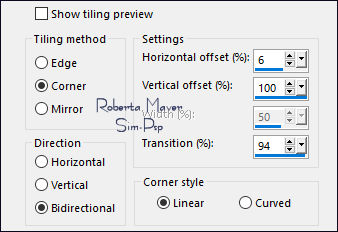
4 - Effects > Image Effects > Seamless Tiling:
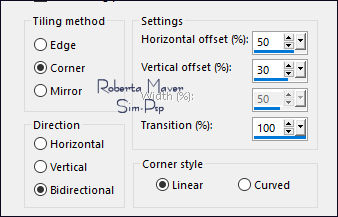
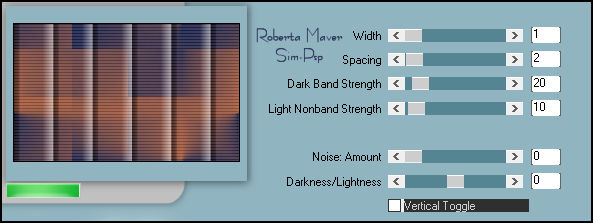
5 - Effects > Plugins > Tramages > Painel Stripes :
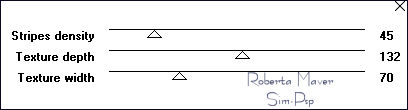
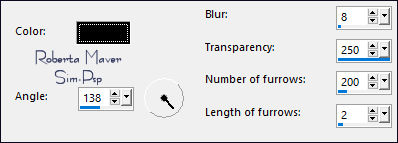
6 - Effects > Plugins > PhotoEffex > Scanlines :
7 - Layers > New Raster Layer. Selections > Select
All. Adjust > Sharpness >
Sharpen.
Layers > Properties > General > Blend Mode: Hard Light > Opacity: 30%
9 - Layers > New
Raster Layer. Layers > Duplicate. Layers > Merge > Merge Down. Ativar a layer Raster 1
10 - Selections > Load/Save Selection > Load Selection From Alpha Channel: Selection #1 Selections > Promote Selection to Layer. Layer > Arrange > Move UP. Effects > Texture Effects > Fine Leather:
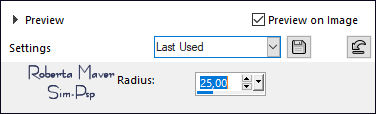
11 - Layers > New Raster Layer. Edit > Copy no Misted Flor. Adjust > Blur > Gaussian Blur: 25 Repetir > Effects > Texture Effects > Fine Leather Edit > Copy no Misted Flor. Layers > Properties > General > Blend Mode: Hard Light > Opacity: 75% Ainda Selecionada
12- Layers > New Raster Layer. Effects > 3D Effects > Cutout:
Layers > Merge > Merge Down. 2 Vezes Ativar a Layer Group - Raster 3 (layer da Masks) Pressione a tecla Delete no teclado. Selections > Select None.
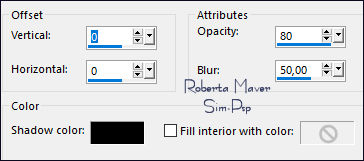
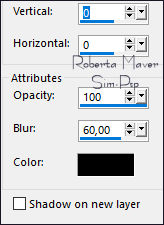
13 - Ativar a Layer Promoted Selection. Effects > 3D Effects > Drop Shadow:
Ativar a Layer Group - Raster 3 (layer da Masks)
14 - Effects > Plugins > AP Lines > Lines - Silverlining: Dotty Grid
16 - Image > Add Borders > Symmetric: 2 px - color: Foreground
#e57b41 Adjust > Blur > Gaussian Blur: 25.
17- Effects > Plugins > Photo Effex > Scanlines :
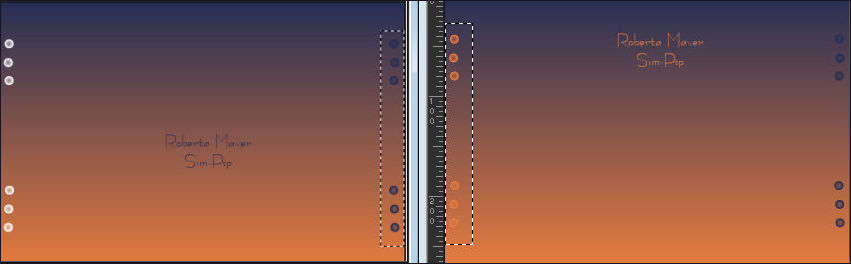
Com a ferramenta Select Tool, selecione os botões da direita; Com a ferramenta Color Changer Tool: Tolerance: 25 e Edge Softness: 20 pinte os botões com a cor que deseja. Selections > Select None. Selecione agora os botões da esquerda com a ferramenta Select Tool e pinte com outra cor usando a Ferramenta Color Changer Tool: Tolerance: 25 e Edge Softness: 20
Selections > Select None.
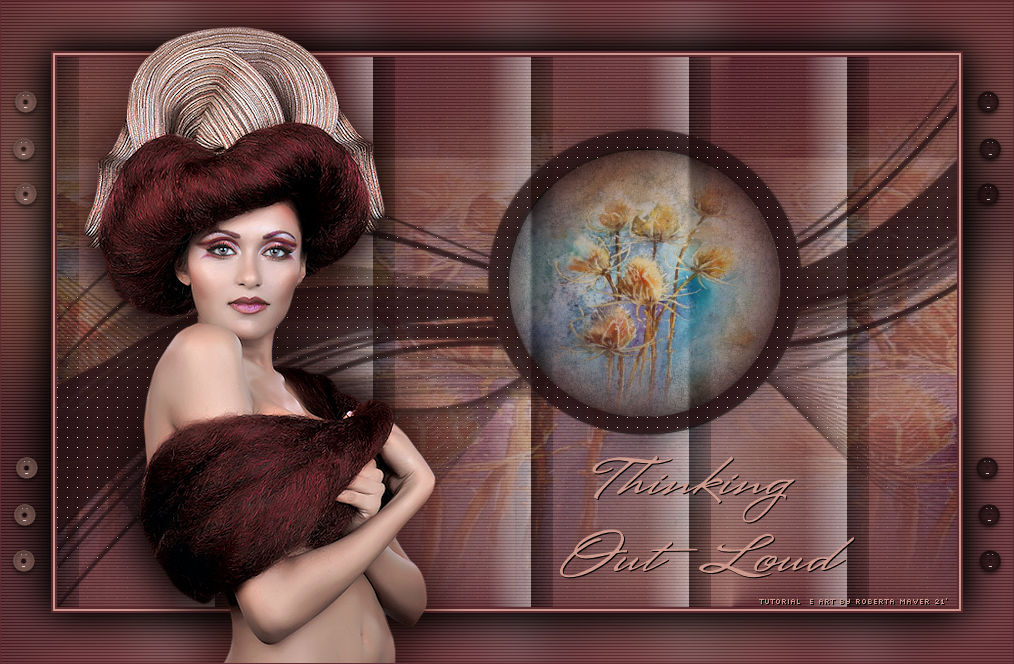
21 - Edit > Copy no Tube Principal. Colorize à sua escolha
Créditos
Sinta-se à vontade para enviar suas versões. Terei todo o prazer em publicá-las em nosso site.
|