|


TRADUÇÕES:


Obrigada aos nossos
tradutores!
MATERIAL
1 Tube Principal à sua escolha
1 Tube Flor à sua escolha
deco_woman_dreamsbyRobertaMaver
Titulo_Woman_Dreams

PLUGINS
Mehdi > Wavy Lab 1.1
Toadies > Sucking Toad Bevel 2
Simple > Quick Tiles
Toadies > What Are You?
L en K's landksiteofwonders > katharina
Filters Factory Gallery A > Weave
Carolaine & Sensibility > CS-L Dots
Carolaine & Sensibility > CS-DLines
AP Lines > Lines - Silverlining
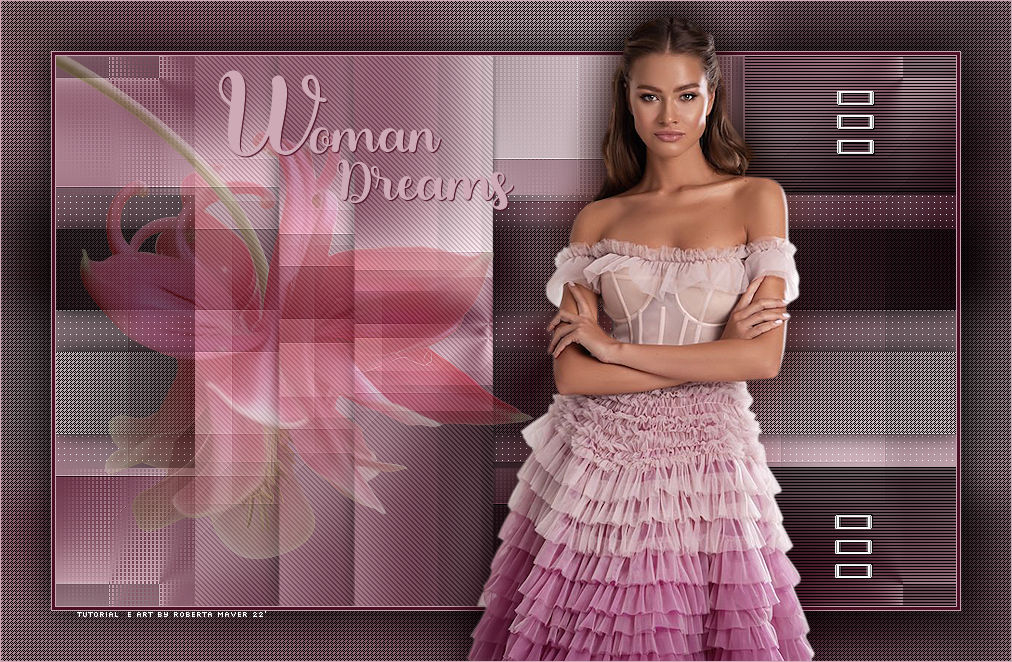
Execução
1 - Abrir o material no PSP, duplique e feche o original.
Escolher 2 cores para trabalhar, aqui usei as cores:
Foreground #984729
Background #dec777

2 - Abra uma imagem transparente 900 x 550 px.
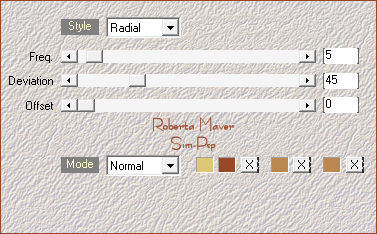
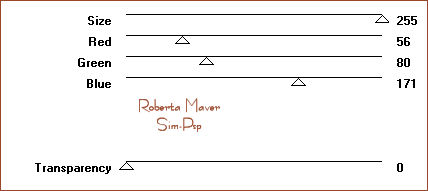
Effects > Plugins > Mehdi > Wavy Lab 1.1:
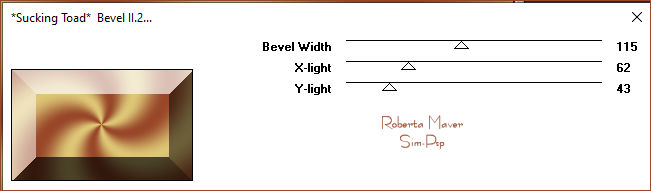
3 - Effects > Plugins > Toadies > Sucking Toad Bevel
II.2: Default
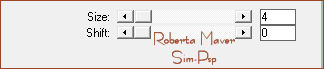
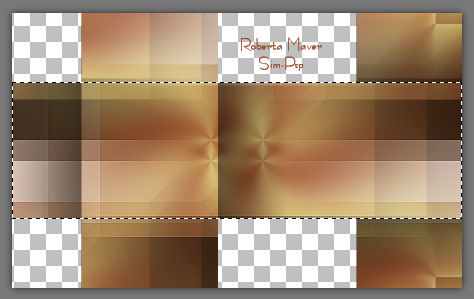
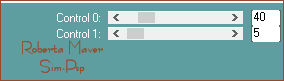
4 - Effects > Plugins > Simple > Quick Tiles.
Effects > Edge effects > Enhance.
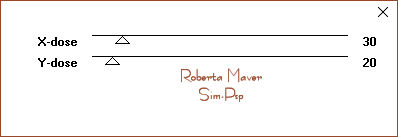
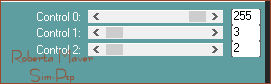
5 - Effects > Plugins > Toadies > What Are You?
6 - Layers >
Duplicate.
Fechar Visibilidade da
layer Copy of Raster 1
Ativar a Layer Raster 1
7 - Effects > Plugins > L en K's landksiteofwonders >
katharina:
Adjust > Sharpness > Sharpen.
Ativar e abrir a
visibilidade da Layer Copy of Raster 1
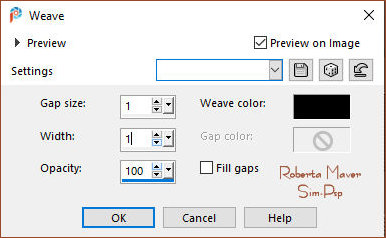
8 - Effects > Plugins >
Filters Factory Gallery A > Weave:
*Fechar Visibilidade da
layer Raster 1 para melhor visualizar o próximo passo:
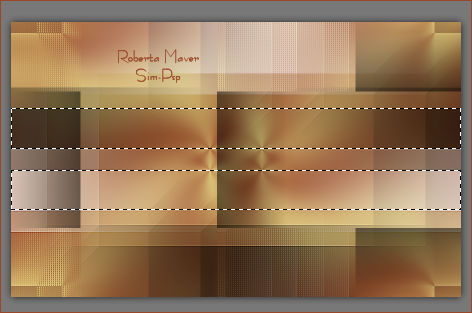
Com layer Copy of Raster 1 ativa:
selecionar com a Ferramenta Selection Tool
(S): Feather: 0, como no exemplo:
Selections > Promote Selection to Layer.
Selections > Select None.
9 - Effects > Plugins >
Carolaine & Sensibility > CS-LDots:
Fechar Visibilidade da layer Promoted Selection.
Abrir a visibilidade da layer Raster 1.
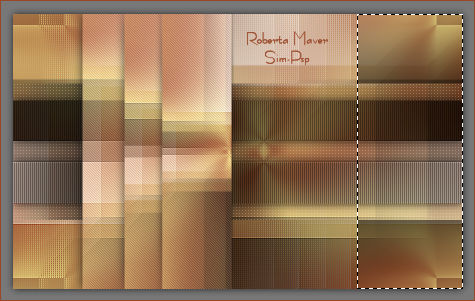
10 - Ativar a layer Copy Layer Raster 1.
Com a Ferramenta Selection Toll (S): Feather: 0, selecionar como no
exemplo:
Selections > Promote Selection to Layer.
Selections > Select None.
Effects > Texture Effects > Weave:
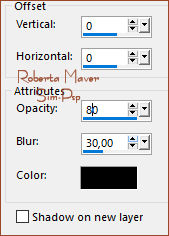
Effects > 3D Effects > Drop Shadow:
Layer > Arrange > Move UP.
Abrir a visilidade da layer Promoted Selection.
Ativar a Copy Layer Raster 1.
11 - Selection Tool (S) > Custon Select:
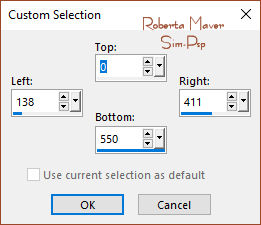
Selections > Promote Selection to Layer.
Selections > Select None.
12 - Effects > 3D Effects > Drop Shadow:
Layers >
Duplicate.
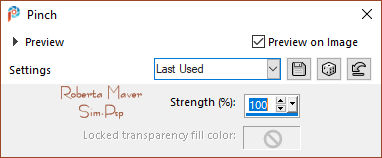
13 - Effects >
Distortion Effects > Pinch:
Layers >
Duplicate.
14 - Effects >
Distortion Effects > Pinch:
:
Layers > Merge > Merge Down.
Edit > Repeat layer Merg
Down.
Repetir Edit > Repeat
layer Merg Down.
15 - Effects > Plugins >
Carolaine & Sensibility > CS-DLines:
Layers > Arrange > Bring
to Top.
Ativar a Copy Layer Raster 1.
16 - Com a Ferramenta Selection Toll (S): Feather: 0, selecionar
como no exemplo:
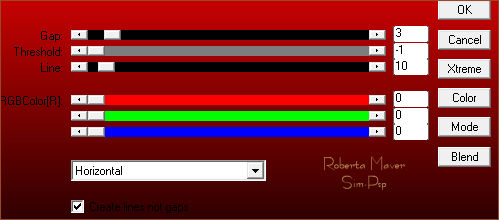
Effects > Plugins > AP Lines > Lines - Silverlining:
Horizontal
17- Effects > 3D Effects > Drop Shadow:
Selections > Select None.
Ativar Layer Promoted Selection 2 (Layer do Topo)
18 - Edit > Copy no Tube Flor.
Edit > Paste as New Layer.
Adjust > Sharpness > Sharpen.
Posicionar à esquerda.
Layers > Properties > General > Blend Mode: Normal - 35%
Verificar a posição das layers:

19 - Image > Add Borders > Symmetric:
1px - color: Background #dec777
3 px - color: Foreground #984729
1 px - color: Background #dec777
Edit> Copy.
Selections > Select All.
Image > Add Borders > Symmetric: 50 px com qualquer cor.
Selections > Invert.
Edit > Paste Into Selection.
Adjust > Blur > Gaussian
Blur: 20.
20 - Effects > Texture Effects > Weave:
Selections > Invert.
Effects > 3D Effects > Drop Shadow: 0 / 0/ 100 /50, Color: #00000
Selections > Select None.
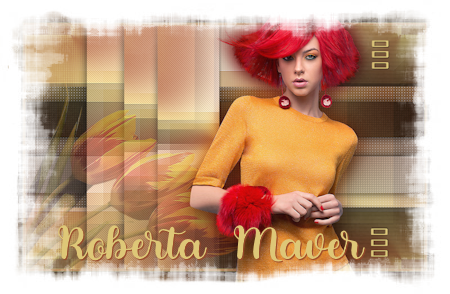
21- Edit > Copy no deco_woman_dreamsbyRobertaMaver.
Edit > Paste as New Layer.
Com a Ferramenta Pick Tool, posicione: Position X: 834 Position Y:
90
Colorize à sua escolha.
.
22 - Edit > Copy no Tube Principal.
Edit > Paste as New Layer.
Image > Resize se necessário. (no tube do material o resize foi
de 73%)
Posicionar à sua escolha.
Effects > 3D Effects > Drop Shadow à sua escolha.
23- Edit > Copy no Titulo_woman_dreamsbyRobertaMaver
Edit > Paste as New Layer.
Colorize à sua escolha.
Posicionar à sua escolha.
Effects > 3D Effects > Drop Shadow à sua escolha
24 - Image > Add Borders > Symmetric: 1px - Color: cor do Background.
25 - Se você desejar, redimensiona seu trabalho.
Aplicar sua marca d'água ou assinatura.
File > Export > JPEG Optimizer.


Créditos
Formatação e Tutorial by
Roberta Maver
Tube Principal: Tubed by
Cady
Tube Flor: Tubed by Saphiere
Créditos Versão:
Tube Principal: Tubed by
LB Tubes & Mists
Tube Flor: Tubed by
Maryse
02/02/2022
Sinta-se à vontade para enviar suas versões.
Terei todo o prazer em publicá-las em nosso site.


|
Tutorial criado por
Roberta Maver
em Fevereiro/2022,
para
SIM-PSP.
Não poderá ser copiado, retirado de seu lugar, traduzido
ou utilizado em listas de aprendizados ou grupos sem o
consentimento prévio da autora. |
|