|
TRADUÇÕES
Obrigada aos nossos tradutores!
MATERIAL:
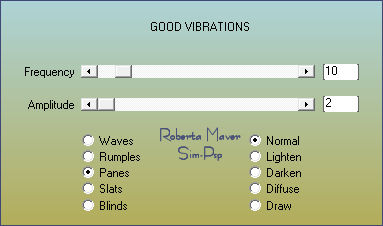
AP Lines > Lines - Silverlining: Barred Transparency > Eliminate Black. Penta.com > Color Dot: AAA Filters > Good Vibrations:
3 - Adjust > Blur > Gaussian Blur: 20. Effects > Plugins > Carolaine and Sensibility > CS-Linear-H:
Selections > Select All Edit > Copy no Misted
Paisagem. Selections > Select None.
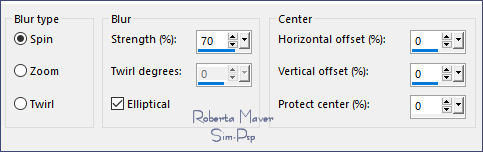
5 - Effects > Image Effects > Seamless Tiling: Default. Adjust > Blur > Radial Blur:
6 - Effects > Image Effects > Seamless Tiling: Default. Effects > Plugins > Carolaine and Sensibility > CS-Linear-H:
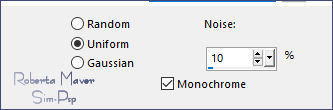
Adjust > Sharpness > Sharpen. Adjust > Add/Remove Noise
> Add Noise:
Edit > Paste as New Layer. Image > Resize se necessário, no misted do material o resize foi de 90%. Adjust > Sharpness > Sharpen.
8 - Layers > New
Raster Layer. Pintar a seleção com a cor
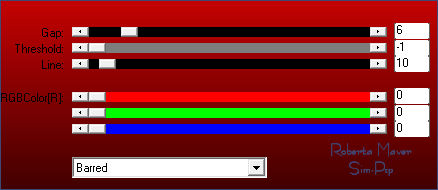
Background: #3f4775 9 - Layers > Duplicate. Effects > Plugins > AP Lines > Lines - Silverlining: Barred
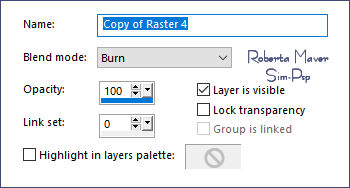
10 - Effects > Plugins > Transparency > Eliminate Black. Layers > Properties > General > Blend Mode: Burn
Selections > Select None. Layers > Merge > Merge Down
11 - Layers > New
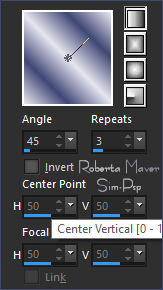
Raster Layer. Pintar a seleção com gradiente Linear em uso:
Selections > Select None.
Edit > Repeat Drop Shadow
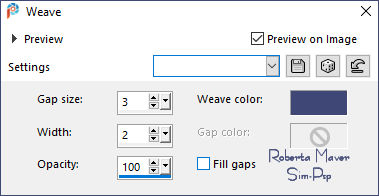
Pintar a seleção com a Cor do Foreground #e6e6f0. Selections > Select None. Effects > Texture Effects > Weave: Weave color: cor do Background #3f4775
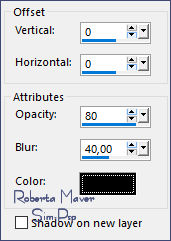
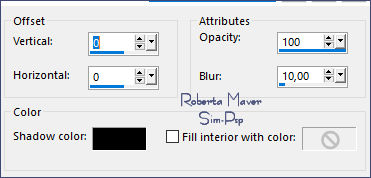
Effects > 3D Effects > Drop Shadow: 0 / 0 / 80 /40, Color: #00000
14 - Layers > New
Raster Layer. Pintar com o gradiente Linear em uso:
Selections > Select None.
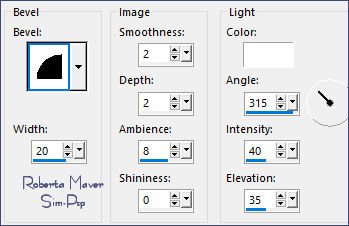
15 - Effects > 3D Effects > Inner Bevel:
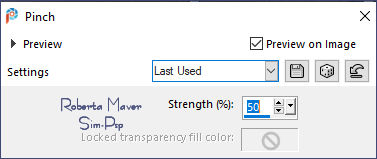
16 - Layers > Duplicate. Effects > Distortion Effects > Pinch:
Layers > Merge > Merge Down. Adjust > Sharpness > Sharpen. Effects > 3D Effects > Drop Shadow: 0 / 0 / 80 /40, Color: #00000 Edit > Repeat Drop Shadow.
17 - Layers > New
Raster Layer. Pintar a seleção com o gradiente Linear em uso:
18 - Edit > Copy no Misted Paisagem. Edit > Paste as New Layer. Com a Ferramenta Move Tool, posicionar uma parte do Misted Paisagem. Selections > Invert. Pressionar um vez a tecla Delete no Teclado. Selections > Invert. Ainda com a seleção...
19 - Layers > New Raster Layer. Effects > 3D Effects > Cutout.
Layers > Merge > Merge Down.
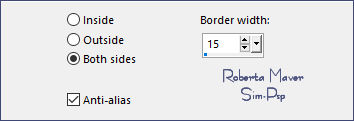
20 - Layers > New Raster Layer. Selections > Modify > Select Selection Borders:
Pintar a seleção com o gradiente Linear em uso:
21 - Effects > Plugins > Penta.com > Color Dot:
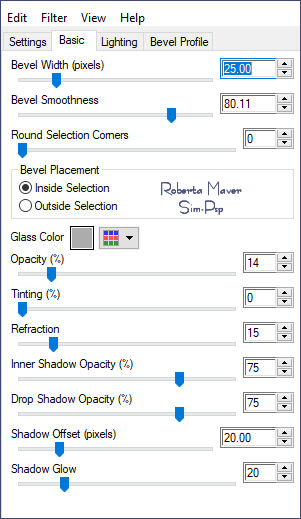
22 - Effects > Plugins > Alien Skin Eye Candy 5: Impact > Glass:
Selections > Select None.
Selections > Invert. Pintar a seleção com gradiente Linear em uso:
Effects > 3D Effects > Drop Shadow: 0 / 0 / 100 /50, Color: #00000 Selections > Invert. Selections > Promote Selection to Layer.
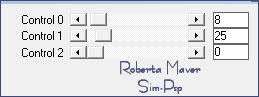
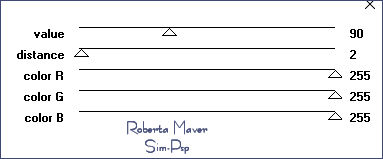
24 - Effects > Plugins > AAA Filters > Good Vibrations:
Effects > Edge Effects > Enhance. Layers > Merge > Merge Down. Selections > Invert. Effects > 3D Effects > Drop Shadow: 0 / 0 / 100 /50, Color: #00000 Selections > Select None.
25 - Edit > Copy
no Deco_Be_Yourself_byRobertaMaver. Pick Tool: Position X 26, Position Y 83.
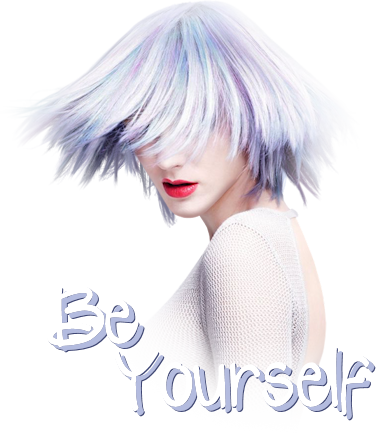
26 - Edit > Copy no Tube Principal. Adjust > Sharpness > Sharpen. Posicionar à direita.
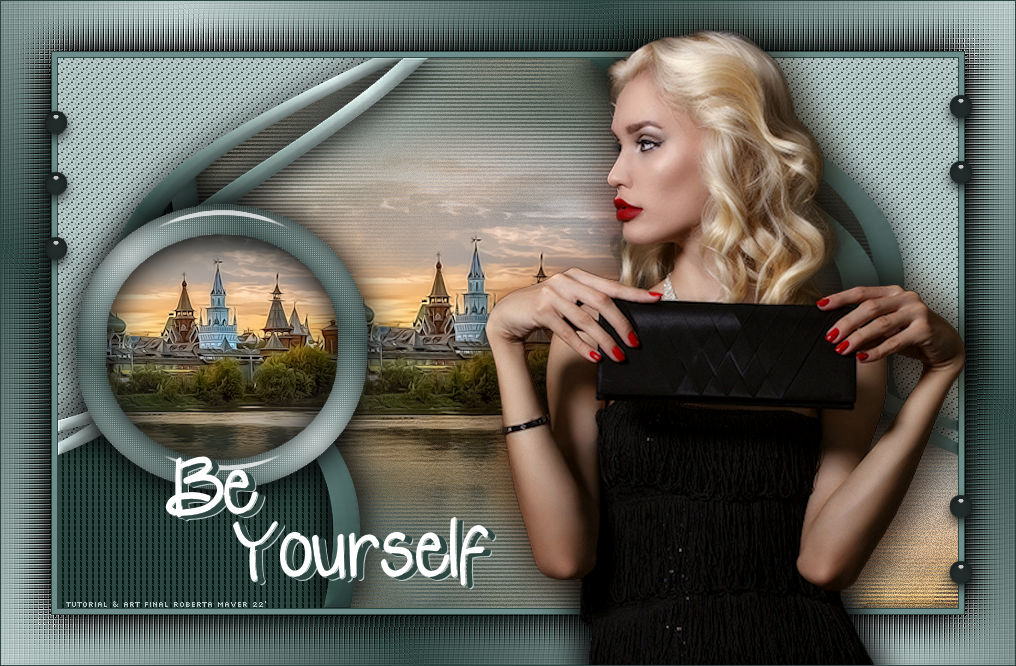
27 - Edit > Copy no Titulo_Be_Yourself_by RobertaMaver. Effects > 3D Effects > Drop Shadow: 3 / 5 / 100 / 0, Color: Cor 3 #b3bbdf Effects > 3D Effects > Drop Shadow: 1 / 1 / 100 / 0, Color: Background #3f4775
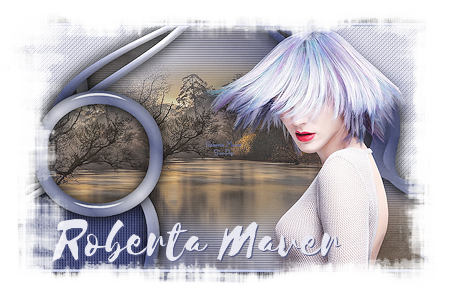
Créditos: Formatação e Tutorial by Roberta Maver Tube Principal: Tubed by Annelies Misted Paisagem: Animabelle Créditos Versão: Tube Principal e Misted Paisagem: Tubed by Angel Star 31/05/2022
Sinta-se à vontade para enviar suas versões. Terei todo o prazer em publicá-las em nosso site.
|