|
TRADUÇÕES
Obrigada aos nossos tradutores!
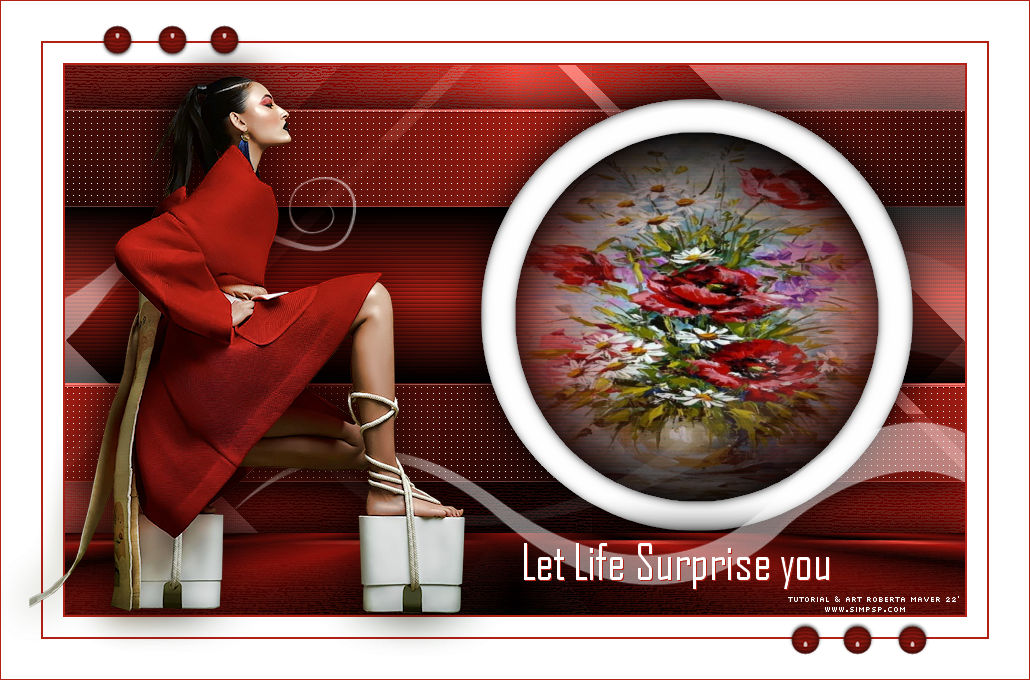
MATERIAL: 1 Tube Principal à sua
escolha Alpha_Let_Life_ByRobertaMaver Decor_ByRobertaMaver Titulo_Let Life Surprise you_ByRoberta
PLUGINS: Toadies > Sucking Toad Bevel I Simple > Quick Tiles Carolaine & Sensibility > CS-LDots Alien Skin Eye Candy 5: Impact > Glass: Artistiques > Pastels: Mura's Meister > Perspective Tiling:
Obs.: Fique a vontade para mudar os Blends de acordo com as cores que estiver usando.
Execução
1 - Abrir o material no PSP, duplique e feche o original. Cor 3 : # ffffff
2 - Abra o arquivo
Alpha_Let_Life_byRobertaMaver
4 - Effects > Plugins > Simple > Quick Tiles. Edit > Repeat Quick Tiles. Effects > Edge Effects > Enhance.
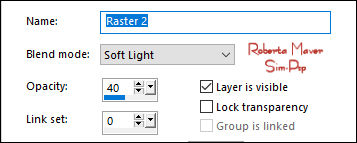
5 - Edit > Copy no
Deco1_Let_Life_ByRobertaMaver. Layer > Properties > General > Blend Mode: Soft Light - Opacity: 40%
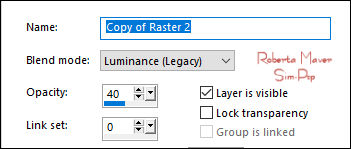
6 - Layers > Duplicate. Image > Mirror > Mirror Horizontal. Layer > Properties > General > Blend Mode: Luminance (Legal) - Opacity: 40%
Ativar a Layer Raster 1
7 - Selections
> Load/Save Selection > Load Selection From Alpha Channel: Selection
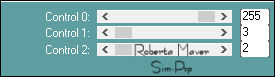
#1 Ainda selecionada. Effects > Plugins > Carolaine & Sensibility > CS-LDots:
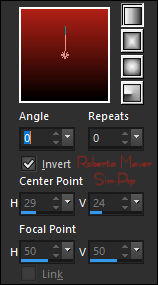
8 - Layers > New Raster Layer. Selections > Load/Save Selection > Load Selection From Alpha Channel: Selection #2 Pintar com o gradiente
Linear, Angle 0, Repeats 1.
Layers > Arrange > Move
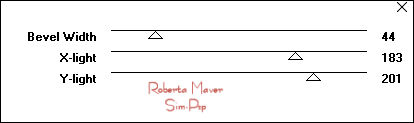
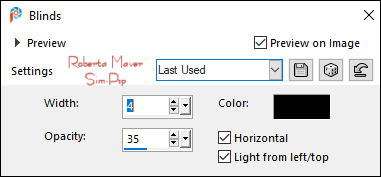
Down. 9 - Effects > Texture Effects > Blinds:
Selections > Select None. Effects > 3D Effects > Drop Shadow: 0 / 0 / 100 /60, Color: #00000 Ativar a Layer Promoted Selection Effects > 3D Effects > Drop Shadow: 0 / 0 / 100 /60, Color: #00000
10 - Layers > New
Raster Layer. Selections > Load/Save Selection > Load Selection From Alpha Channel: Selection #3 Pintar com a Cor 3 branca #ffffff Selections > Load/Save Selection > Load Selection From Alpha Channel: Selection #4 Pressionar a tecla Delete no teclado Selections > Select None.
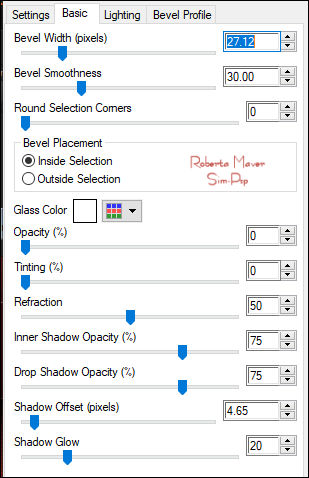
11 - Com a ferramenta Magic Wand: Feather e Tolerance: 0, selecione a borda do círculo. Effects > Plugins > Alien Skin Eye Candy 5: Impact > Glass:
Selections > Select None.
12 - Com a ferramenta Magic Wand: Feather e Tolerance: 0 selecionar o centro do círculo. Selections > Modify > Expand: 15. Layers > New Raster Layer. Pintar com o gradiente Linear:
Effects > Texture Effects > Blinds:
13 - Edit > Copy
no Misted Paisagem Selections > Select None. Layers > Arrange > Move Down. Ativar a Layer Topo Effects > 3D Effects > Drop Shadow: 0 / 0 / 100 /60, Color: #00000
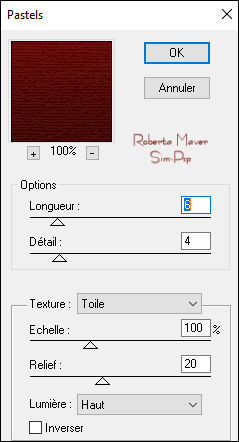
14 - Ativar a Layer Raster 1. Effects > Plugin > Artistiques > Pastels:
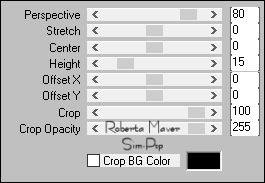
15 - Layers > Duplicate. Effects > Plugin > Mura's Meister > Perspective Tiling:
Effects > Reflection Effects > Rotating Mirror: Default. Effects > 3D Effects > Drop Shadow: 0 / 0 / 100 /50, Color: #00000 Layers > Arrange > Bring to Top.
16 - Edit > Copy
no Deco2_Let_Life_ByRobertaMaver Com a Ferramenta Pick
Tool: Position X: 0, Position Y: 111. 2 px - color:Foreground #b12116 40 px - color3: #ffffff Layers > Duplicate. Image > Mirror > Mirror
Horizontal.
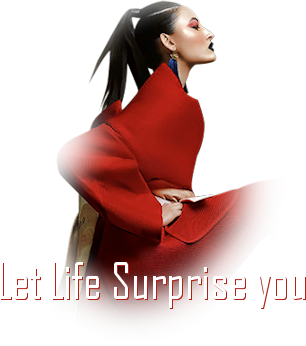
20 - Edit > Copy no Titutlo_Let Life Surprise you_ByRoberta Edit > Paste as New Layer. Effects > 3D Effects >
Drop Shadow: 1, 1, 100, 0, Color: #b12116
VERSÃO:
Créditos
Misted Paisagem: by RobertaMaver
Misted Paisagem: by
Nicole
Sinta-se à vontade para enviar suas versões. Terei todo o prazer em publicá-las em nosso site.
|