|
TRADUÇÕES:
Obrigada aos nossos tradutores!
MATERIAL:
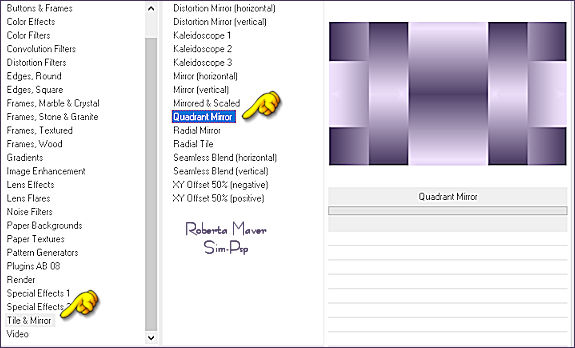
Tile & Mirror > Quadrat Mirror RCS Filters Pak 1.0 > RCS TripleExposure Mock> Windo Xero > Fritillary Mura's Meister > Perspective Tiling VanderLee > Unplugged X > Jalusi
Cor Extra #FFFFFF
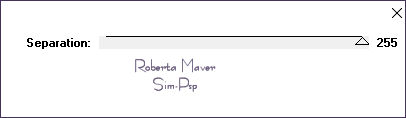
5 - Plugins > RCS Filters Pak 1.0 > RCS TripleExposure:
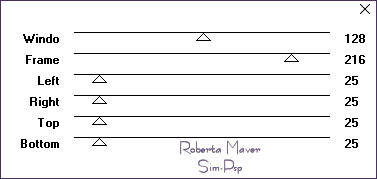
6 - Layers > Duplicate. Effects > Plugins > Mock > Windo:
7- Layers > New Raster Layer. Layers > Merge > Merge Down.
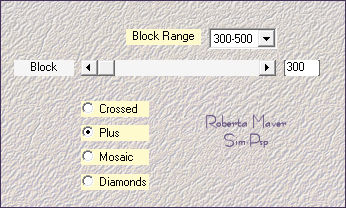
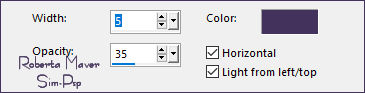
8 - Effects > Texture Effects > Blinds: Color: Background #43335a
9- Edit > Copy no Decor01_ByRobertaMaver
10 - Layers > New Raster Layer.
11 - Layers > New Raster Layer. Selections > Load/Save Selection > Load Selection From Alpha Channel: Selection #4 Pintar com a cor #ffffff (Branca) Layers > Merge > Merge Down. Selections > Select None.
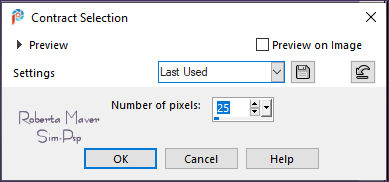
12 - Selections > Load/Save Selection > Load Selection From Alpha Channel: Selection #2 Selections > Modify > Contract:
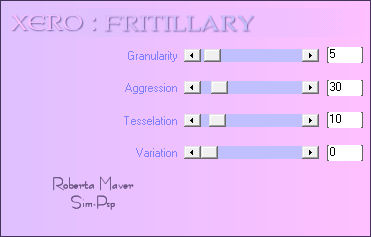
13 - Effects > Plugins > Xero > Fritillary:
14 - Edit > Copy no Misted Paisagem Adjust > Sharpness > Sharpen.
Ainda Selecionada
Effects > 3D Effects > Drop Shadow: 0 / 0 / 100 /20, Color: #000000 Selections > Select None.
Edit > Copy Special > Copy Merged.
16 - Layers > New Raster Layer. Selections > Load/Save Selection > Load Selection From Alpha Channel: Selection #3 Edit > Paste Into Selection.
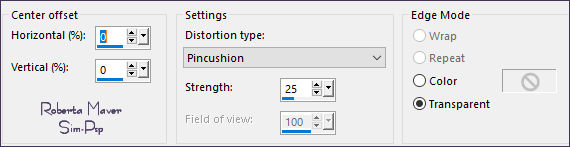
17 - Effects > Plugins > Mura's Meister > Perspective Tiling:
Selections > Select None.
Com a ferramenta Magic Wand: Tolerance 0, Feather 70, Layers > Arrange > Bring to Top. Abrir a visibilidade das layers Raster 3 e Raster 2.
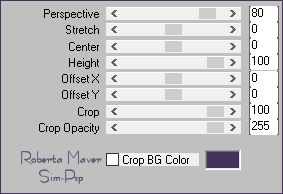
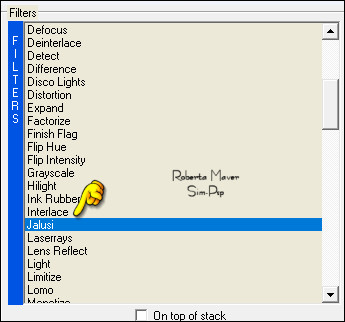
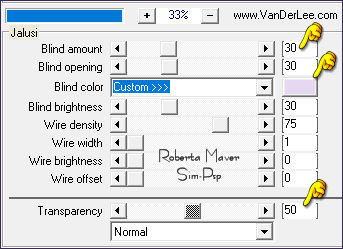
18 - Ativar a Layer Raster 1. Selections > Promote Selection to layer. Effects > Plugins > VanderLee > Unplugged X > Jalusi: color: foreground
Selections > Select None. Effects > 3D Effects > Drop Shadow: 0 / 0 / 100 /20, Color: #00000
Layers > Duplicate. Layers > Merge > Merge Down. Layer > Arrange > Move UP.
19 - Ativar Layer Topo (Raster 4)
Edit > Copy no Decor02_ByRobertaMaver
20 -
Edit > Copy no Decor03_ByRobertaMaver 22 - Selections > Select All. Image > Add Borders > Symmetric: 50 px - Color: #FFFFFF - Branco Effects > 3D Effects > Drop Shadow: 0 / 0 / 100 /30, Color: #00000 Selections > Select None.
1 px - color: Background #43335a
25 - Edit > Copy no Tube Decorativo.
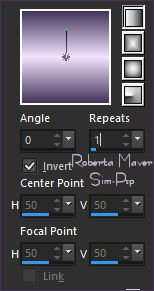
De resize se necessário, no tube do material o resize foi de 65% Colorizar conforme as cores escolhidas. *na versão original foi colorizado com a ferramenta Color Changer Tool com a cor do foreground:
Posicionar e aplicar Drop Shadow como preferir.
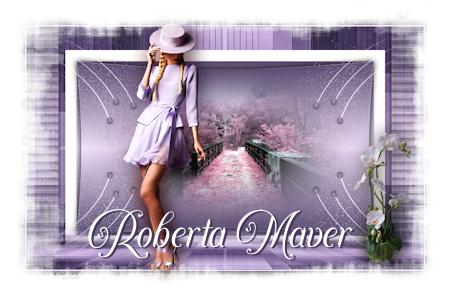
VERSÃO:
Créditos
Tube:Decoração: Clocio
Tube:Decoração:
Suizabella
Sinta-se à vontade para enviar suas versões. Terei todo o prazer em publicá-las em nosso site.
|