|
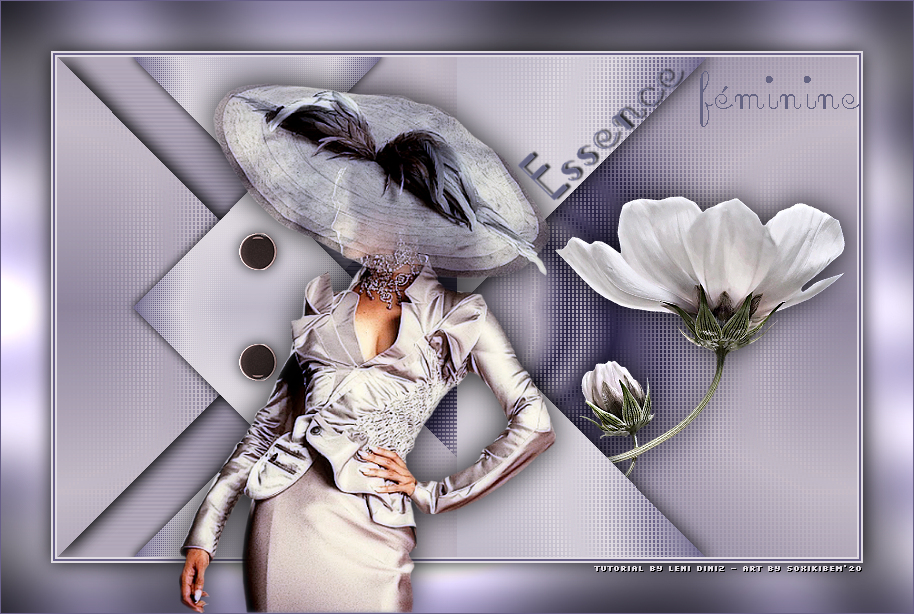
Tutorial by Leni Diniz English Translation by Soxikibem Original Tutorial
MATERIAL 1 Main tube of your choice 1 Misted Flower or Landscape of your choice
deco_lateral_logane
PLUGINS L en K Simple Mura's Graphics Plus
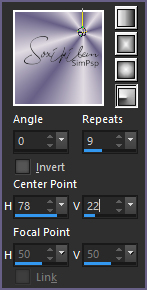
TUTORIAL 1- Choose two colors to work: #686086 foreground #e0dbe2 background Open a transparent 800x500 image. Paint with the Radial gradient configured as below.
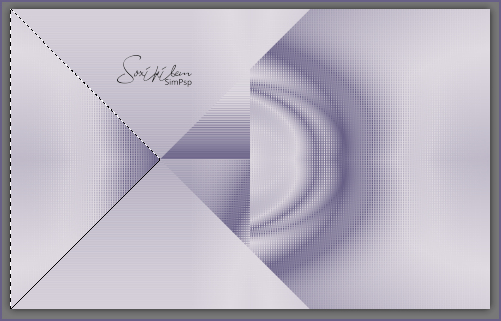
2- Effects > Distortion Effects > Twirl: 480.
3- Plugins > L en K > Katharina.
4- Plugin Simple > Pizza Slice Mirror.
5- Plugin > Mura's Seamless > Emboss at Alpha: Deafult.
6- Select the right triangle.
Selections > Promote selection to Layer. Effects > 3D Effects > Drop Shadow: 0, 0, 90, 30, with black color.
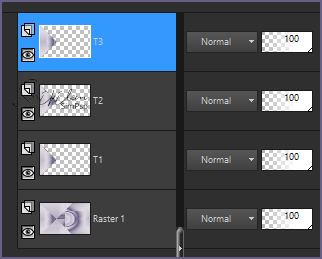
7- Layers > Duplicate, twice. Rename these layers to T 1, T 2 e T 3.
Selctions > Select None.
8- Close the visibility of layer T 3 and activate layer T 2. Plugin > Simple > Half Wrap.
9- Open visibility and activate layer T 3. Plugins > Simple > Zoom Out and Flip.
10- Activate Decor deco_lateral_logane. Image > Resize 80%, all layers unchecked. Edit > Copy. Edit > Paste As New Layer.
11- With the Pick Tool, position: Position X182 Position X 76. Effects > 3D Effects > Drop Shadow: 0, 0, 80, 20, with black color.
12- Activate the misted landscape or flower tube. Edit > Copy.
13- Activate layer T 1. Edit > Paste As New Layer. Position to the right. Apply Drop Shadow as you prefer.
14- Image > Add Borders: 2 px background color 2 px foreground color 2 px background color
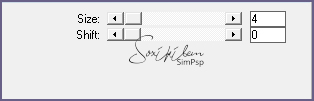
15- Selections > Select All. Image > Add Borders: 50 px with any color. Selections > Invert. Prepare a Linear gradient, Ang 0, Repeats 9. Paint this selection with the gradient.
16- Adjust > Blur > Gaussian Blur: 25. Plugin > Graphics Plus > Cross Shadow: Default.
17- Selections > Invert. Effects > 3 D Effects > Drop Shadow: 0, 0, 90, 30 with black color. Selections > Select None.
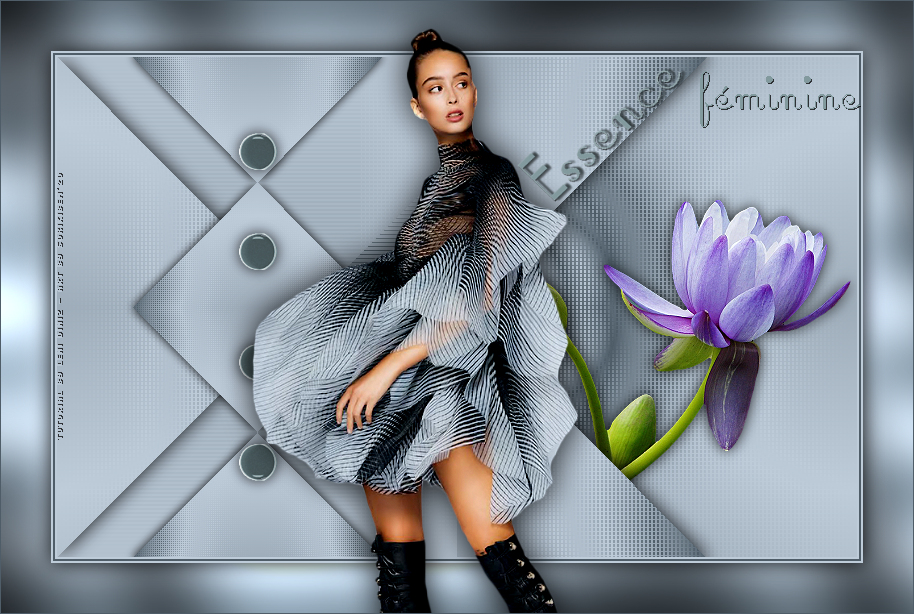
18- Edit> Copy on the Main tube. Edit > Paste As New Layer. Position as you prefer. Adjust > Sharpness > Sharpen. Apply Drop Shadow as you prefer.
19- Edit > Copy in Título_Leni01. Edit > Paste As New Layer.
20- With the Pick Tool, position: Position X 516 Position Y 66.
21- Edit > Copy in Título_Leni02. Edit > Paste As New Layer. With the Pick Tool, position: Position X 699, Position Y 70.
22- Finish with a 1 px border with foreground color.
23- Sign or place your watermark on a new layer.
24-
File > Export > JPEG Optimizer.
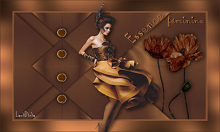
Credits Tutorial by Leni Diniz - Art by Soxikibem Decor by Logane - Title by Leni Diniz Version 1: Main Tube & Flower by Gabry Version 2: Main Tube by SuizaBella - Flower by Nikita
Tutorial by Leni Diniz'20
Sinta-se à vontade para enviar suas versões. Terei todo o prazer em publicá-las em nosso site.
|