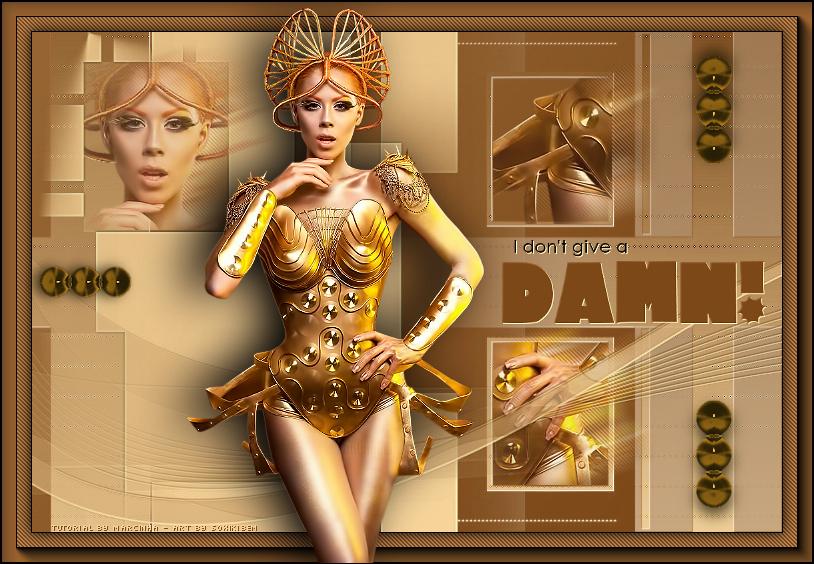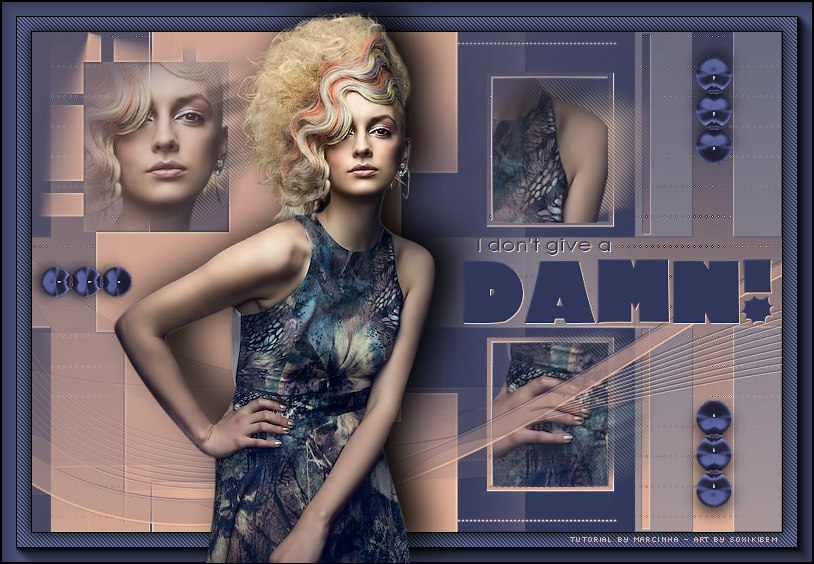
English Translation by Soxikibem Original Tutorial
MATERIAL 1 Main Tube of your choice Masks: Monaiekje mask 8 - maskdesign - Narah_Mask_0296; Decorative Tube - WordArt.
PLUGINS
AAA Frame
TUTORIAL - 1 - Open the tube, duplicate and close the original. Choose two colors: here I used
the color
#30375a for the foreground and #edb99e for
the
background.
Form a Linear Gradient.
Open 750x500 transparency and paint with gradient.
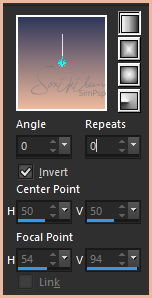
Plugin > L en k's > Zitah:
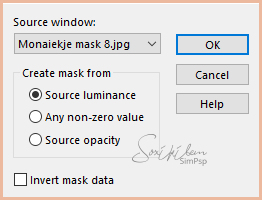
- 5 - Effects > Edge Effects > Enhance. - 6 - Layers > New Raster Layer. Paint with the Foreground color. - 7 - Layers > New Mask Layer > From Image: Mask Monaiekje mask 8.
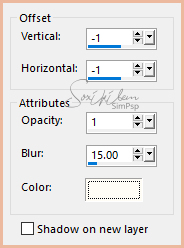
- 8 - Layers > Merge > Merge Group. - 9 - Adjust > Sharpness > Sharpen. - 10 - Effects > 3D Effects > Drop Shadow: -1/-1/100/0 color: #fffcf6.
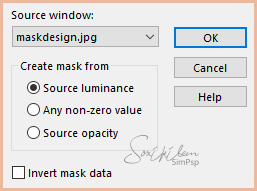
- 11 - Layers > New Raster Layer. Paint with Bakgorund color. - 12 - Layers > New Mask Layer > From Image: maskdesign.
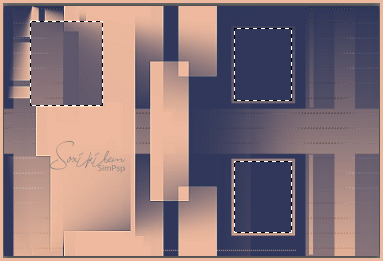
- 13 - Layers > Merge > Merge Group. - 14 - Adjust > Sharpness > Sharpen More. - 15 - Layers > New Raster layer. - 16 - Click on the Selection Tool and configure as print below:
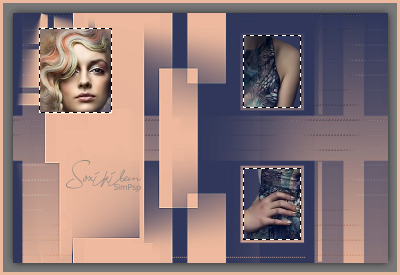
- 17- Select these squares:
- 18 - Activate the main tube next to the image we are working on. Click on the Clone Brush Tool, configured as print:
* The size will depend on the size of the tube, the larger the tube the larger the size.: Right-click on the tube face. Get back to work and with the left mouse button you will click inside one of the selections until you like it; repeat the right-click tube procedure to clone other parts of the tube within the other selections:
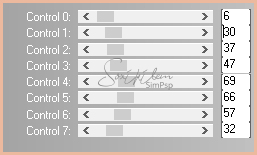
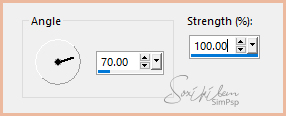
- 19 - Selections > Promote Selection to Layer. Selection None. - 20 - Adjust > Blur > Motion Blur:
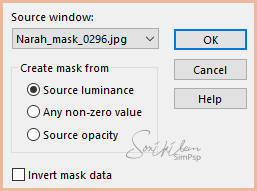
- 21 - Plugin Penta.com > Jeans > 62/4. - 22 - Layers > Arrange > Move Down. - 23 - Layers > Merge > Merge Visible. - 24 - Layers > New Raster Layer. Paint with the background color. - 25 - Layers > New Mask Layer > From Image: Narah_Mask_0296.
- 26 - Layers > Merge > Merge Group. - 27 - Adjust > Sharpness > Sharpen. Effects > 3D Effects > Drop Shadow: -1/-1/100/0 color: #29496e - 28 - Image > Add Borders: 1 px black color. - 29 - Selections > Select All. Image > Add Borders: 30 px . Selections > Invert. - 30 - Paint this selection with the foreground color. Plugin Penta.com > Jeans > 62/4. - 31 - Plugin AAA Frame > Foto Frame: 15, 0, 0, 0, 0, 0, 0, 100. - 32 - Selections > Invert. Effects > 3D Effects > Drop Shadow: 0/0/100/20/preto. Select None. - 33 - Open tube decor1 and decor2.
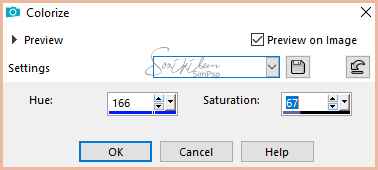
Adjust > Hue and Saturation >
Colorize both according to the colors you are using,
- 34 - Edit Copy on tube decor1. Edit > Paste a New Layer. Position to the right in the bottom corner. Layers > Duplicate. Image > Mirror > Mirror Vertical. Edit > Copy on tube decor2. Edit > Paste a New Layer. Position left, look at my example.
- 35 - Edit > Copy on Main tube. Edit > Paste a New Layer. Effects > 3D Effects > Drop Shadow as you wish. If you use a half body tube, just like mine and it is positioned over the effect of the last edge, finish with a black 1px border.
- 36 - Open Word Art colorize to the colors you are using. Resize as you prefer. Adjust > Sharpeness > Sharpen. Effects > 3D Effects > Drop Shadow: 1/1/100/0, light color in use.
37 - Sign your work and save in jpeg.
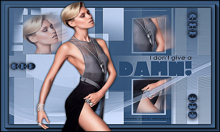
Créditos versão1 & 2: Tutorial I don't give a Damn! by Márcinha - Tube: Animabelle - Tube Decor by Márcinha - WordArt: DivineIntentionz
|