|
English Translation by Soxikibem Original Tutorial
Material 1 Main Tube, 1 Tube Misted e Tubes Elements of your choice; 2 Masks: Narah Mask 1429 e 1435
Plugins Mura's Meister AAA Frames
Tutorial created on PSP 2018
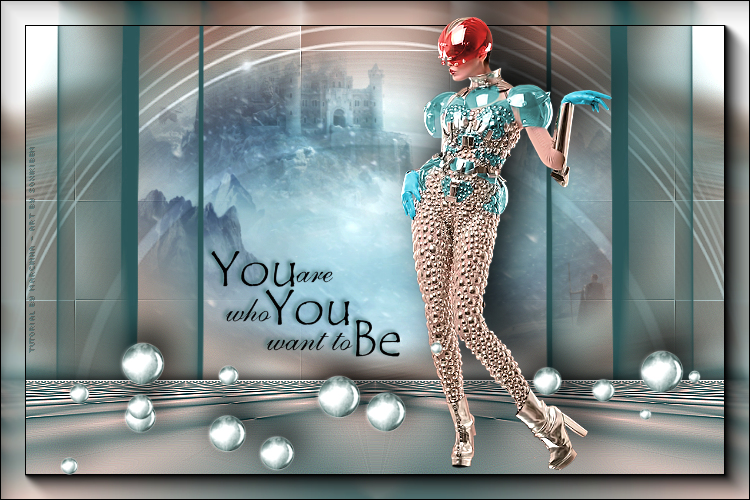
Tutorial 1 - Open the main tube. Edit > Copy.
2 - Open a new image of 750x500px. Selections > Selection All. Edit > Paste Into Slection. Select > None.
3 - Effects > Image Effect > Seamless Tilling > Default.
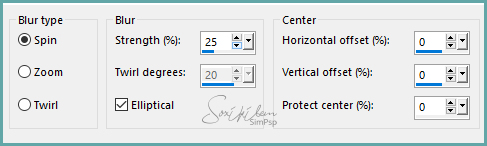
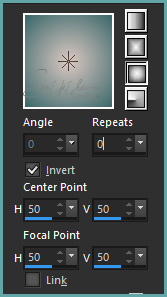
4 - Adjust > Blur > Radial Blur:
5 - Adjust > Blur > Montion Blur.
Edit > Repeat Motion Blur.
6 - Layers > Duplicate. Image > Mirror > Mirror Horizontal. Layers > Merge > Merge All.
7- Layers > Duplicate.
8 - Image > Resize: 80%, resize all layes unchecked in the layer Copy of Background.
9 - Effects > Image Effect > Seamless Tilling > Default.
10 - Effects > Edge Effects > Enhance.
11 - Layers > New Raster Layer. Paint with color #FFFFFF.
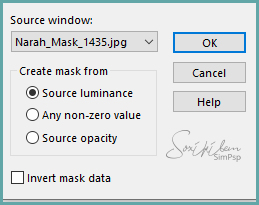
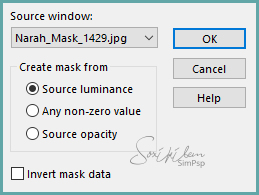
12 - Layers > New Mask Layers > From Image Narah_Mask_1435.
Layers > Merge > Merge Group.
13 - Adjust > Sharpness > Sharpen.
14 - Layers > New Raster Layer. Paint with color taken from tube, I used color # 9d63bf.
15 - Layers > New Mask Layers > From Image: Narah_Mask_1429.
Layers > Merge > Merge Group.
16 - Effects > Edge Effects > Enhance.
17 - Layers > New Raster Layer. Paint with gradient formed by colors: Foreground: #396769 e brackoground: #dbc8c2
18 - Effects > Image Effect > Seamless Tilling > Default.
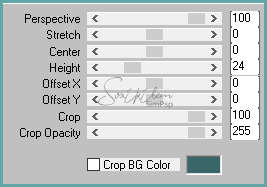
19 - Plugin Mura's Meister > Perspective Tiling.
20 - Effects > Edge Effects > Enhance More.
21 - Effects > 3D Effects > Drop Shadow: 0/0/100/20, black color.
22 - Edit > Copy in the Misted. Edit > Paste a New Layer.
23 - Position this misted layer above the layer of the first mask applied. Decrease opacity by 70%.
24 - Layers > Merge > Merge All.
25 - Plugin AAA Frames > Foto Frame: 25, 0, 0, 0, 0, 0, 0, 100.
26 - Edit > Copy in the Main Tube. Edit > Paste a New Layer. Position. Effects > 3D Effects > Drop Shadow as you wish.
27 -
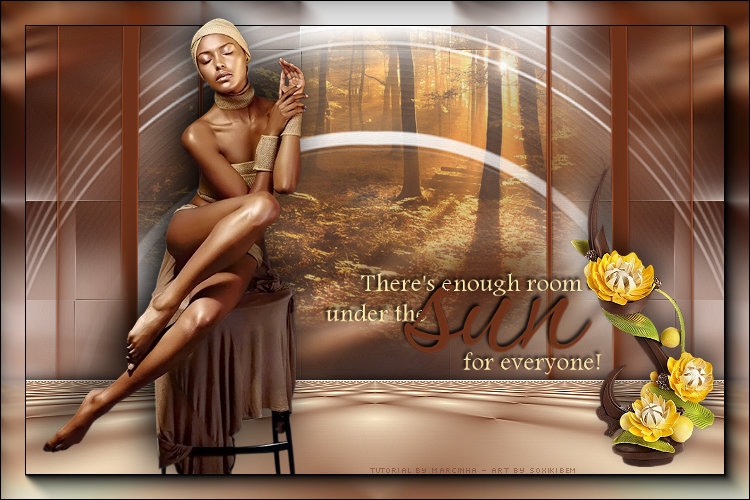
Decorate with the elements. Effects > 3D Effects > Drop Shadow as you wish.
28 - Type your sentence or use a wordart. 29 - Sign your work and save in jpeg.
Créditos Tutorial Just For You by Márcinha - Main Tube by Animabelle WordArt by KathyFrances - Decorative Tube by Mago - Tube Misted by Moi-Meme Versao 2: Main Tube by Colybrix - Misted by CibiBijoux - Tube Vase by Isa
|