|
English Translation by Soxikibem Original Tutorial
-- MATERIAL -- 1 Main Tube of your choice. calguiscandle27112011 by Guismo deco01_byMarcinha deco02_Misted_byMarcinha deco03_Wordart_byMarcinha Brujita_mask_0016
-- PLUGINS -- Greg's 1factory Output Vo.II > Pool Shadow MuRa's Meister > Pole TransformMuRa's Meister > Perspective TilingAAA Frames > Foto Frame -- TUTORIAL --
-- 01 -- Open the material in psp. Choose two colors according to the chosen tube. Here I used for Foreground: #34664c and for Background #a02f26
-- 02 -- Open a new 850x550 pixel transparency. Paint with the Gradient: Linear
-- 03 -- Adjust > Blur > Gaussian Blur: 50Layers > New Raster Layer. Selections > Select All.
-- 04 -- Edit > Copy on tube calguiscandle27112011. Edit > Paste Into Selection. Selections > Select None.
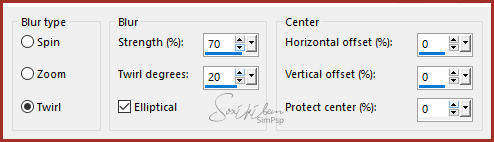
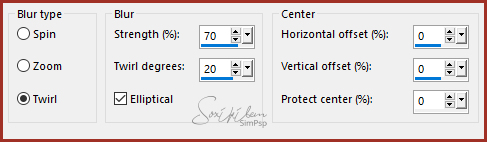
-- 05 -- Effects > Image Effects > Seamless Tiling: Default. Adjust > Blur > Radial Blur:
-- 06 -- Effects > Edge effects > Enhance. Effects > Image Effects > Seamless Tiling: Default. Layers > Merge > Merge Visibile.
-- 07 -- Layers > Duplicate. Effects > Plugins MuRa's Meister > Pole Transform...
-- 08 -- Layers > Duplicate. Image > Mirror > Mirror Horizontal. Layers > Properties > General > Opacity: 50% Layers > Merge > Merge Down.
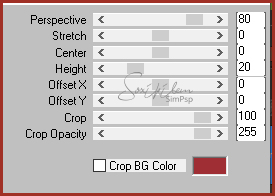
-- 09 -- Effects > Edge effects > Enhance. Effects > Plugins MuRa's Meister > Perspective Tiling...
-- 10 -- Selections > Select All. Selections > Float. Selections > Defloat.
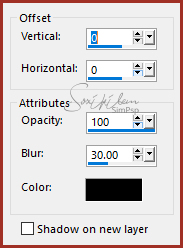
-- 11 -- Effects > Image Effects > Seamless Tiling: Default. Selections > Select None. Layers > Duplicate. Layers > Merge > Merge Down. Effects > 3D Effects > Drop Shadow.
-- 12 -- Enable layer "Merged". Adjust > Blur > Gaussian Blur: 50
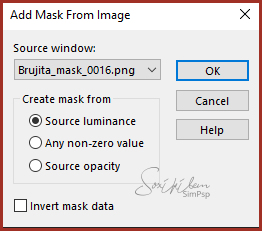
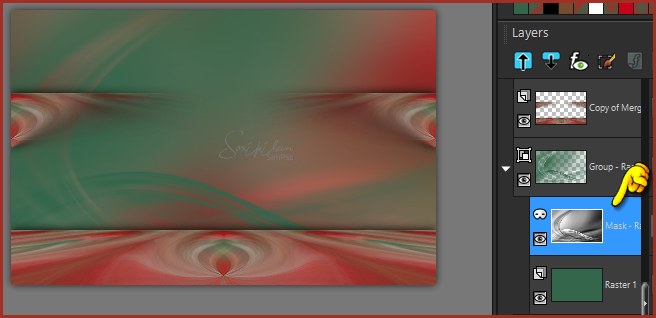
-- 13 -- Layers > New Raster Layer. Paint with the Foreground Color. Layers > New Mask Layer > From image...
Enable layer "Mask"
Layers > Duplicate. Layers > Merge > Merge Group.
-- 14 -- Layers > Duplicate. Image > Mirror > Mirror Horizontal. Layers > Merge > Merge Down. Layers > Properties > General > Blend mode> Luminance (L)
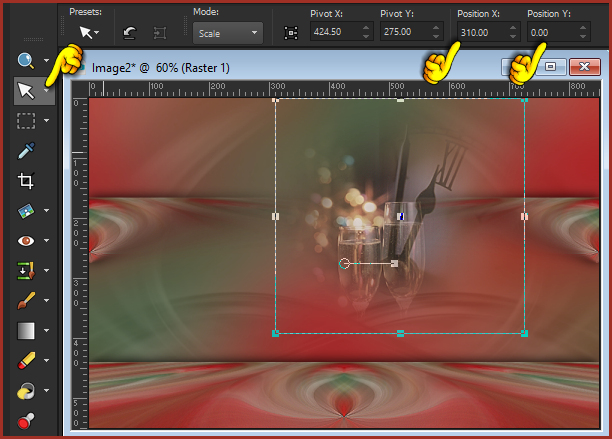
-- 15 -- Edit > Copy > deco02_Misted_byMarcinha. Edit > Paste a new layer. Pick Tool > Position X: 310,00 - Position Y.: 0,00
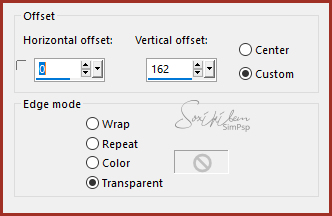
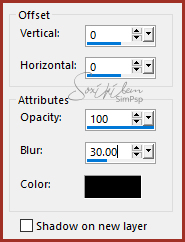
-- 16 -- Enable layer "Copy of Merged" Edit > Copy deco01_byMarcinha. Edit > Paste a new layer. Effects > image Effects > Offset:
--17 -- Edit > Copy deco03_Wordart_byMarcinha. Edit > Paste a new layer. Position to the right.
-- 18 -- Edit > Copy in the main tube. Edit > Paste a new layer. Position. Effects > 3D Effects > Drop Shadow of your choice.
-- 19 -- Layers > Merge > Merge Visibile. Edit > Copy. Image > Add Bordes > 1px - simmetric - color: #000000. Selections > Select All.
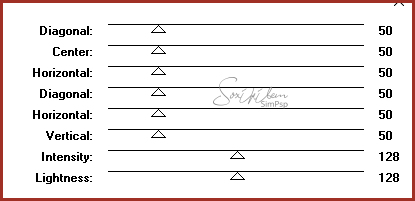
-- 20 -- Image > Add Bordes > 49px - simmetric. Selection > Invert. Edit > Paste into selection. Adjust > Blur > Radial Blur:
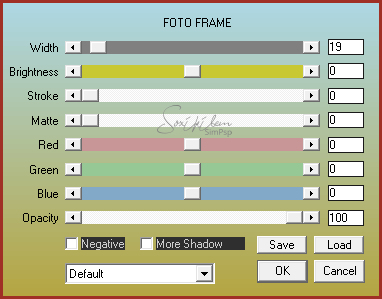
-- 21 -- Effects > Plugins AAA Frames > Foto Frame.
Effects > Plugins Greg's Factory Output Vo.II > Pool Shadow...
-- 22 -- Selections > Invert. Effets > Effets 3D > Drop Shadow.
Selections > Select None.
-- 23 --
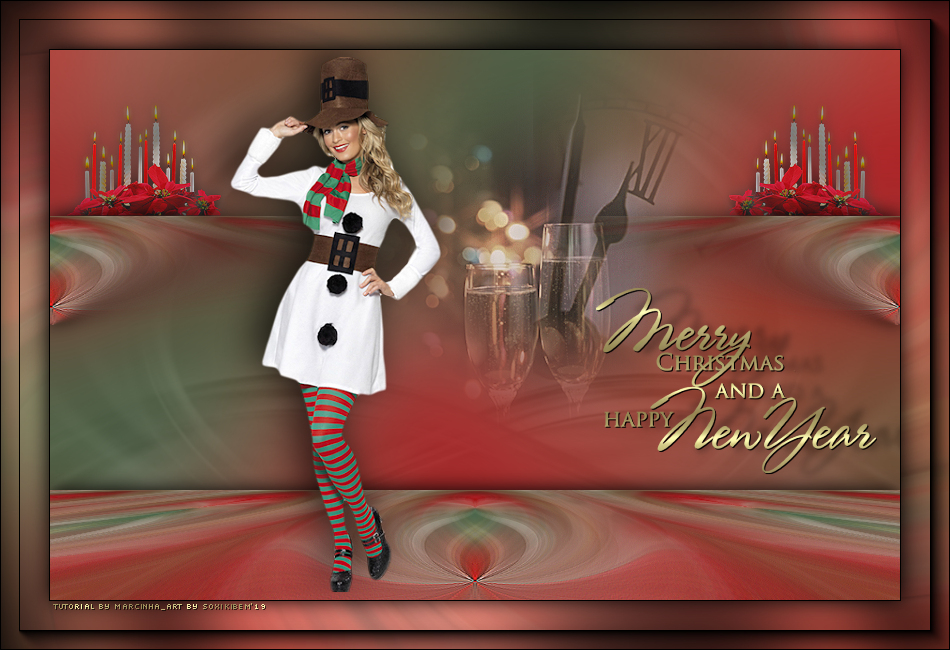
Apply your watermark or signature.
Vers ion 2
CREDIT S:Tutorial by Márcinha Tube: Tubed by SuizaBella - Tube decoração: Tubed by Guismo Misted: by Márcinha - WordArt: by Márcinha Versão 2 Tube by CickaDesign
|