|
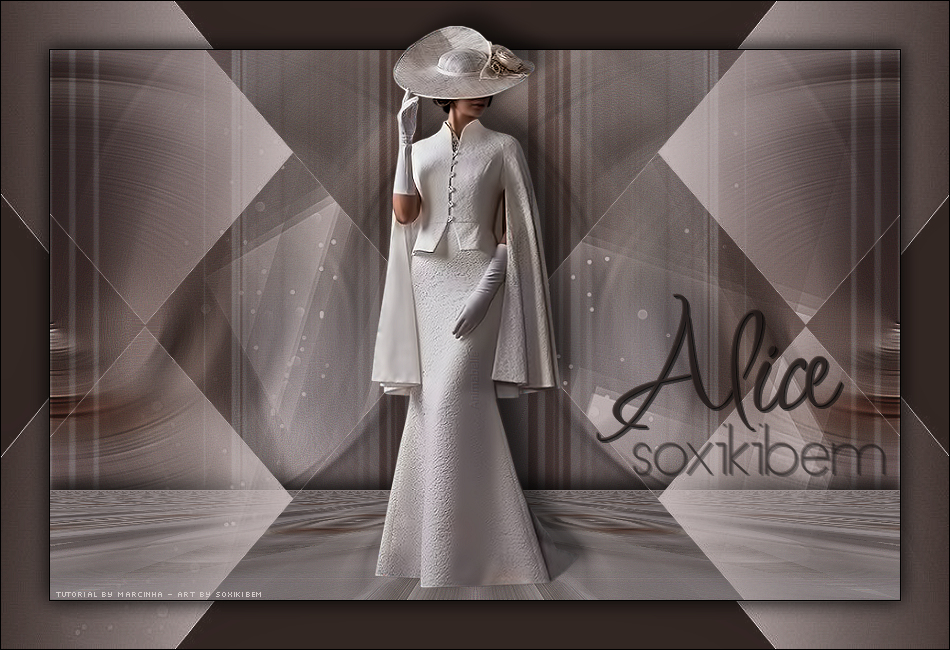
Tutorial dedicated to my dear friend Maria Alice - Soxikibem.
Thank you my dear friend Marcinha. I'm speechless for such a beautiful dedication you made to me. I hope you enjoy my versions.
English Translation by Soxikibem Original Tutorial
Material: 1 Main Tube of your choice. texto_alice_soxikibem.pspimage Mask 1: maskthelovers_camerontags.png Mask 2: aditascreations_mask_04.jpg
Plugins: Simple > Pizza Slice Mirror Simple > 4 way average. MuRa's Meister > Perspective Tiling
Tutorial:
- 01- Choose two colors: Foreground: #4c3e3a Background: #d3caca
- 02- Open a new transparent 850x550px image Paint with the gradient formed by the colors you choose: Linear - Angle: 0 - Repeats: 0 - Invert: marked
- 03 - Layers > New Raster Layer. Selections > Select All. Edit > Copy in the tube. Edit > Paste into selection. Selections > Select None.
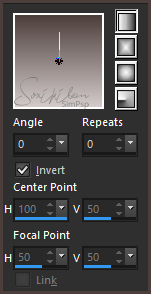
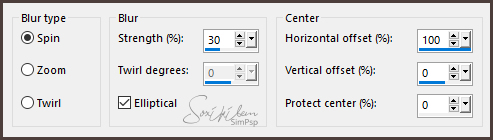
- 04 - Effects > Image Effects > Seamless Tiling: Default. Adjust > Blur > Radial Blur:
Layers > Duplicate. Image > Mirror > Mirror Horizontal. Layers > Properties > General > Opacity: 50%. Layer > Merge > Merge Down. Repeat > Layer > Merge > Merge Down. Effects > Edge Effects > Enhance More
- 05 - Layers > Duplicate. Effects > Plugin Simple > Pizza Slice Mirror. Effects > Plugin Simple > 4 way average.
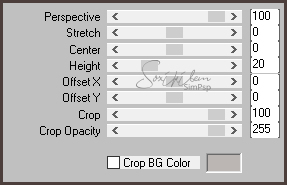
- 06 - Plugin > Murra's Meister > Perspective Tiling:
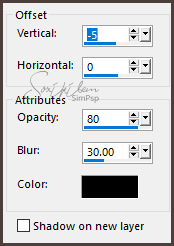
Adjust > Sharpness > Sharpen. Effects > 3D Effects > Drop Shadow: -5 /0/80/30 Color: #000000
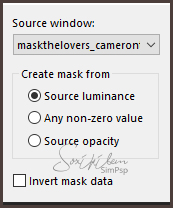
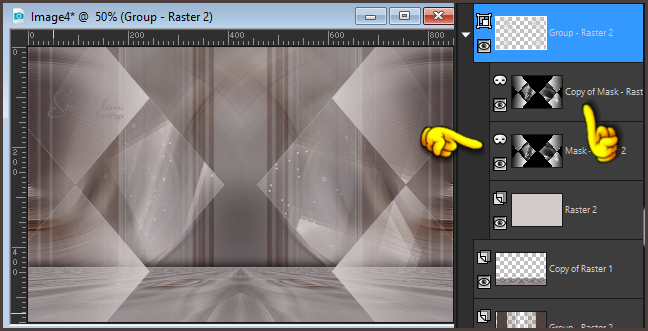
- 07- Enable Layer > Raster 1. Layers > New Raster Layer. Paint with foreground color. Layers > New mask layer > From image > maskthelovers_camerontags.png
Layers > Merge > Merge Group.
- 08 - Layers > Duplicate. Image > Mirror > Mirror Horizontal. Layer > Merge > Merge Down. Adjust > Sharpness > Sharpen. Layers > Properties > General > Blend Mode: Soft Light.
- 09 -
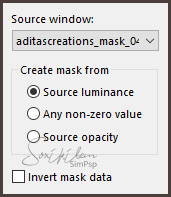
Layers > New Raster Layer. Paint with background color. Layers > New mask layer > From image > aditascreations_mask_04.jpg
Enable the mask layer. Layers > Duplicate.
Layers > Merge > Merge Group.
- 10 - Image > Add Bordes > 1px - simmetric - black color. Selections > Select All. Image > Add Bordes > 48px - simmetric - in foreground color. Selections > Invert.
- 11 - Layers > New Raster Layer. Paint with background color. Layers > New mask layer > From image > aditascreations_mask_04.jpg
Layers > Merge > Merge Group. Adjust > Sharpness > Sharpen. Selections > Invert. Effects > 3D Effects > Drop Shadow: 0/0/80/30 Color: #000000 Selections > Select None. Image > Add Bordes > 1px - simmetric - in black color.
- 12 - Edit > Copy no Tube. Edit > Paste a new layer. Effects > 3D Effects > Drop Shadow of your choice. Position to center.
- 13 - Edit > Copy in the texto_alice_soxikibem.pspimage Edit > Paste a new layer. Colorize of your choice. Effects > 3D Effects > Drop Shadow of your choice. Position of your choice.
- 14 - If you wish, resize your work. Apply your watermark or signature. File > Export > JPEG Optimizer.
- - - - - - - - -
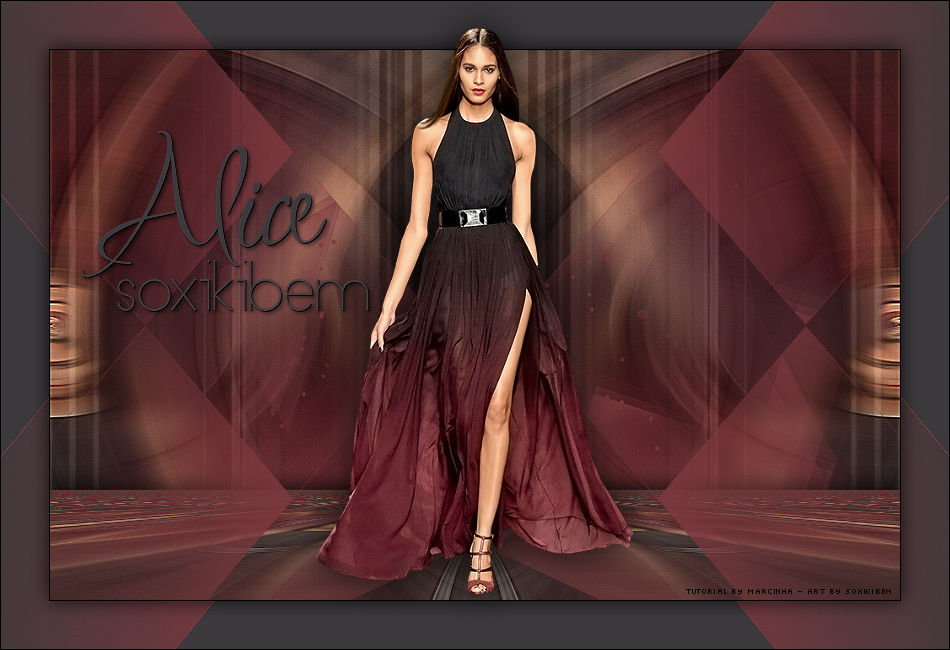
You have finished the tag. I hope that you enjoyed.
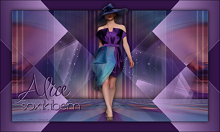
- - - - - - - - - Version 2
Version 3
Credits Tutorial by Márcinha Version 1: Tube by Animabelle Version 2: Tube by Isa Version 3: Tube by Lily 12/ 21/2019
|