|
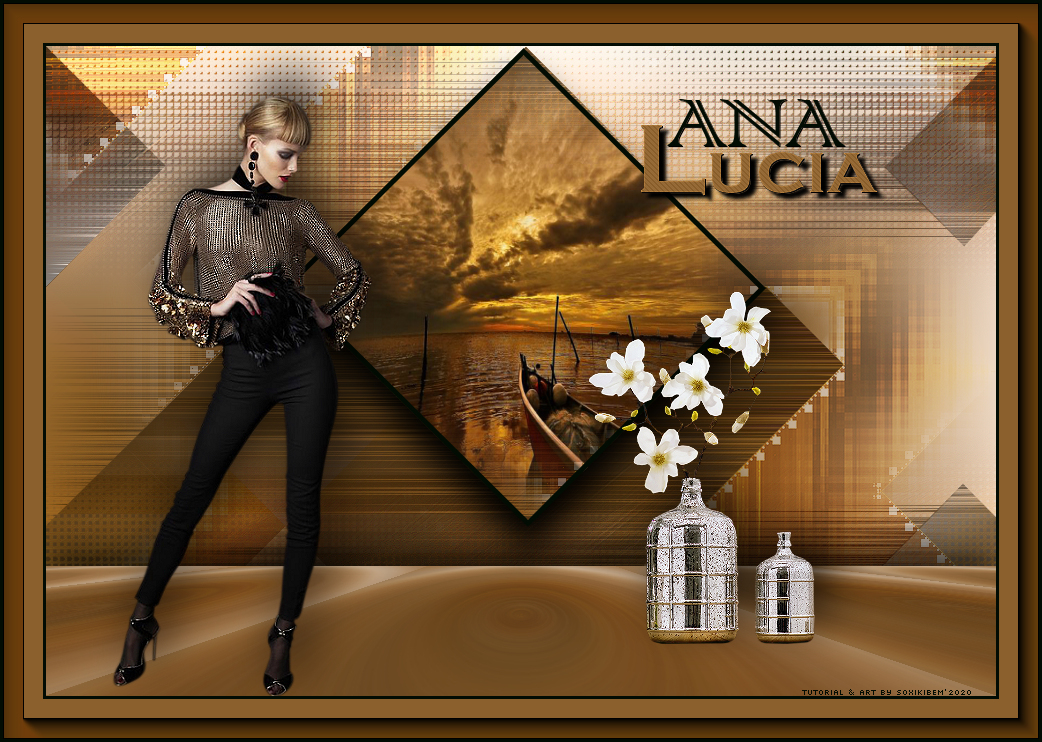
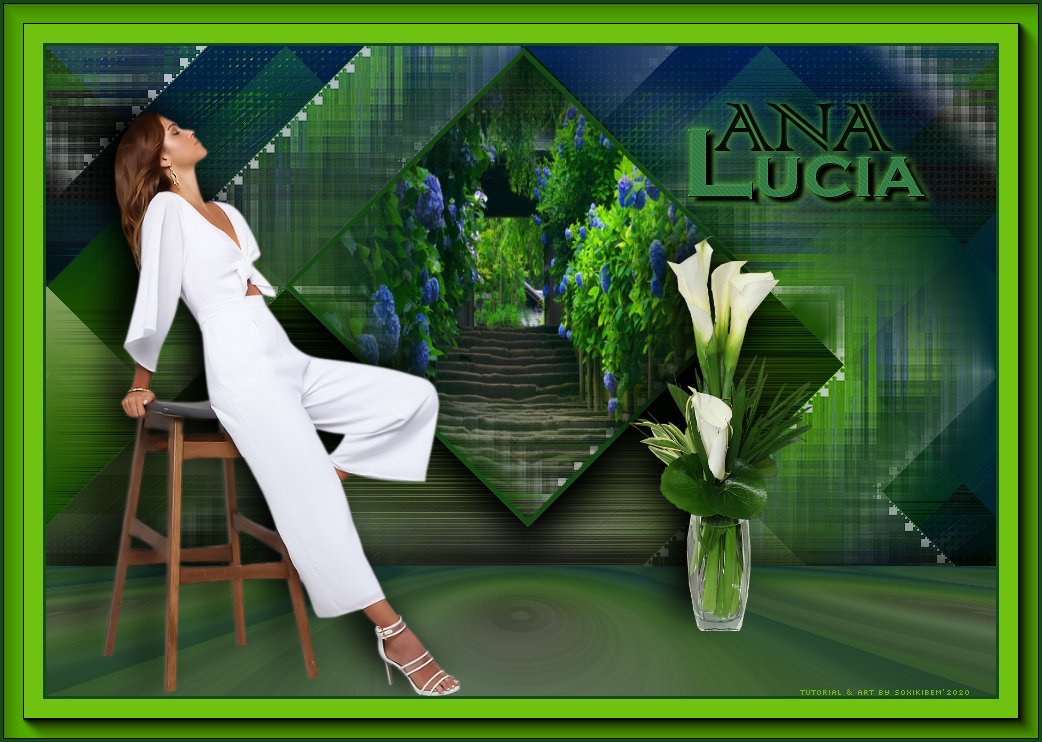
Tutorial dedicado a minha irmã Ana Lucia!!!
TRADUÇÕES:
Obrigada aos nossos tradutores!
MATERIAL 1 Tube Principal à sua escolha 1 Misted Paisagem à sua escolha alpha_channel_analucia.pspimage Narah_Mask_1496
PLUGINS AAA Frames Carolaine and Sensibility Dsb Flux Filters Unlimited 2.0 Mehdi Mura's Meister
EXECUÇÃO
1 - Abrir o material no PSP, duplique e feche o original. Escolher duas cores para trabalhar. Cor 1: #020c02 foreground Cor 2: #8b602cbackground Cor 3: #fffbf8 Cor 4: #c9a063
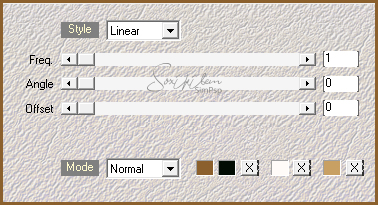
2 - Abra o alpha_channel_analucia.pspimage. Effects > Plugin Mehdi > Wavy Lab 1.1.
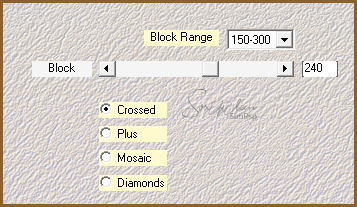
3 - Effects > Plugin Mehdi > Sorting Tiles.
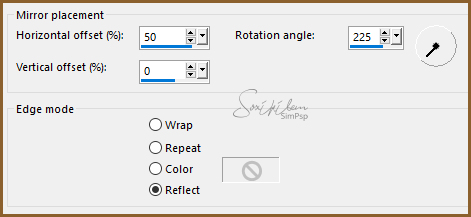
4 - Effects > Reflections Effects > Rotating Mirror.
5 - Selections > load/Save Selections > Load Selection From Alpha Channel: Slection #1.
6 - Layers > New Raster Layer, Edit > Copy no Misted Paisagem. Edit > Paste Into Selection. Adjust > Blur > Motion Blur: Angle 87, Strength 100. Edit > Repeat Motion Blur. Effects > Edge Effects > Enhance.
7 - Filters Unlimited 2.0 > Deformation > Scrambler: 10. Effects > Reflections Effects > Rotating Mirror.
Adjust > Sharpness > Sharpen. Layers > Properties: Blend Mode Hard Light, Opacity 50
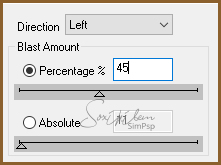
8 - Selections > Invert. Ative a Layer Raster 1. Selections > Promote Selection to Layer. Selections > Select None. Effects > Pluguin Dsb Flux > Blast.
9 - Effects > Plugin Carolaine and Sensibility > CS-HLines: 30, 0, 10.
10 - Layers > Properties > General > Blend Mode: Difference - Opacity: 50.
11 - Layers > New Raster Layer. Selections > Select All. Edit > Copy no Misted Paisagem. Edit > Paste Into Selection. Selections > Select None.
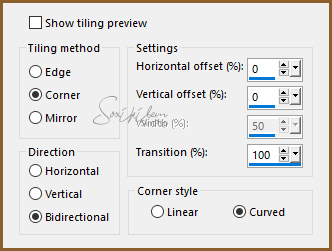
12 - Effects > Image Effects > Seamless Tiling: Default. Adjust > Blur > Motion Blur: Angle 51, Strength 100. Edit > Repeat Motion Blur. Effects > Edge Effects > Enhance. Edit > Repeat Enhance.
13 - Layers > New Mask > From Image: Narah_Mask_1496. Layers > Merge > merge Group. Effects > Plugin FM Tile Tools > Saturation Emboss: Default.
14 - Ative a layer Raster 2 (Topo das layers) Effects > image Effects > Seamless Tiling.
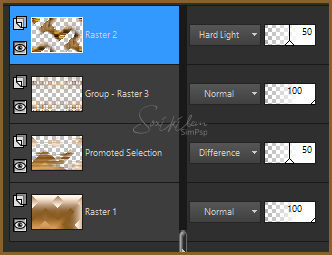
15 - As layers ficaram assim:
* Mude Blend Mode: das layers como preferir. (Layers > Properties > General > Blend Mode)
16 - Layers > Merge > Merge Visible. Layers > Duplicate.
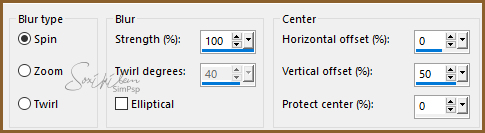
17 - Ative a layer Copy of Merged: Adjust > Blur > Radial Blur.
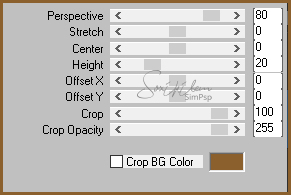
18 - Effects > Plugin Mura's Meister > Perspective Tiling.
19 - Effects > 3D Effects > Drop Shadow: -20, 0, 65, 50. cor preta.
20 - Layers > New Raster Layer. Selections > Load/Save Selection > Load Selection From Alpha Channel: Selection #2. Edit > Copy no Misted Paisagem. Edit > Paste Into Selection.
21 - Effects > 3D Effects > Drop Shadow. Shadow on new layer marcado.
22 - Ative a layer da Paisagem. Layers > New Raster Layer. Pintar a seleção com a cor 1. Selections > Modify > Contract: 5 Aperte a tecla Delete do teclado. Selections > Select None. Layers > Merge > Merge Down.
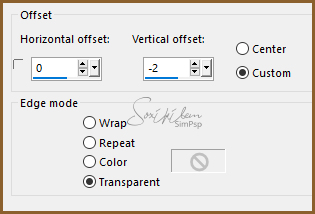
23 - Effects > Image Effects > Offset.
24 - Edit > Copy no tube principal. Edit > paste a New Layer. Posicione. Effects > 3D Effects > Drop Shadow: à sua escolha
25 - Edit > Copy no tube decorativo. Edit > Paste a New Layer. Posicione. Effects > 3D Effects > Drop Shadow: à sua escolha
26 - Edit > Copy no titulo_analucia. Edit > Paste a New Layer. Posicione à direita no topo.
27 - Image > Add Borders: 3px na cor foreground. Selections > Select All. Image > Add Borders: 40px na cor background Selections > Invert.
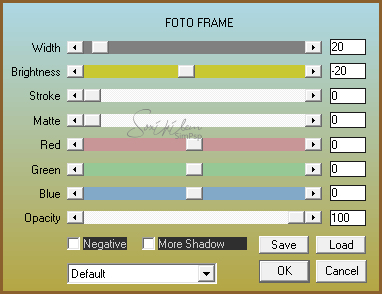
28 - Effects > Plugin AAA Frames > Foto Frame.
29 - Selections > Select None. Image > Add Borders: 3px na cor foreground.
30 - Se você desejar, redimensione seu trabalho. Aplicar sua marca d'água ou assinatura. File > Export > JPEG Optimizer.
CREDITOS Versao 1 & 2 Tube e Misted Paisagem by L&B Tubes - Tube Vaso by Azalee - Mask by Narah
Tutorial by Soxikibem'19
Sinta-se à vontade para enviar suas versões. Terei todo o prazer em publicá-las em nosso site.
|