|
-- MATERIAL -- 1 Tube of your choice. Gradient rainbow (Save to the Gradients folder of the PSP program. Narah_Mask_0909 deor1_staysafe tube_face_byMoi-Meme titulo_staysafe -- SELECTIONS -- staysafe1(Save to the Selections folder of the PSP program.)
-- PLUGINS -- Carolaine and Sensibility Mura's Meister Simple Unlimited 2.0 -- TUTORIAL --
-- 01 -- Open the material on the psp, duplicate and close the originals.
-- 02 -- Open a new 850x550 pixel transparency.
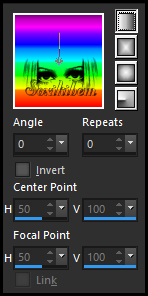
-- 03 -- Paint with the gradient rainbow.
-- 04 -- Filters Unlimited 2.0 > Tile & Mirror > Radial Tile: 51, 53.
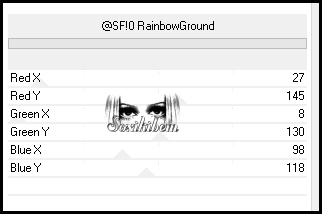
-- 05 -- Filters Unlimited 2.0 > Background Designers IV > SF!0 RainbowGround.
-- 06 -- Layers > Duplicate. Close the visibility of the Copy of Raster 1 layer. Enable layer Raster 1.
-- 07 -- Plugin Simple > Blintz
-- 08 -- Effects > Image Effects > Seamless Tiling.
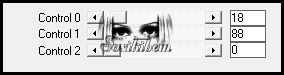
-- 09 -- Plugin Carolaine and Sensibility > cs_texture.
-- 10 -- Layers > New Raster Layer. Paint this layer with white.
-- 11 -- Layers > New Mask Layer > From Image: Narah_Mask_0909. Layers > Merge > Merge Group.
-- 12 -- Activate and open the visibility of the Copy of Raster layer 1.
-- 13 -- Adjust > Blur > Gaussian Blur: 20.
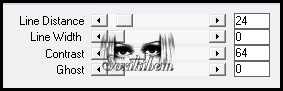
-- 14 -- Plugin Carolaine and Sensibilty > CS-Linear-H
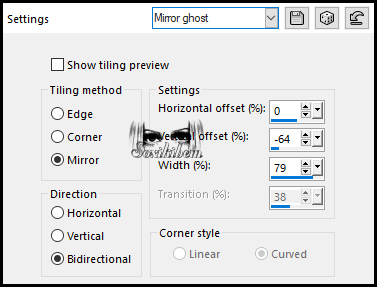
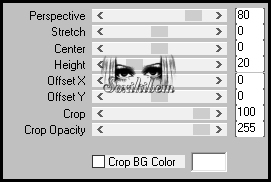
-- 15 -- Plugin Mura's Meister > Perspective Tiling.
-- 16 -- Effects > 3D Effects > Drop Shadow: -20, 0, 100, 90.
-- 17 -- Enable layer Raster 1. Selections > Load/Save Selection > Load Selection From Disk: staysafe1
-- 18 -- Selections > Invert. Effect > 3D Effects > Drop Shadow: 0, 0, 100, 50. Selections > Select None.
-- 19 -- Edit > Copy on deor1_staysafe. Edit > Paste a New Layer
-- 20 -- Edit > Copy on tube_face_byMoi-Meme. Edit > Paste a New Layer. Image > Resize: 40%, all layers unchecked.
-- 21 -- With the Pick Tool, position: Position X 94, Position Y 51.
-- 22 -- Layers > Properties: Blend Mode Difference or whatever you prefer.
-- 23 -- Enable layer Copy of Raster 1. Edit > Copy on Main Tube. Position centralized. Apply Drop Shadow as you prefer.
-- 24 -- Edit > Copy on titulo_staysafe. Edit > Paste a New Layer. With the Pick Tool, position: Position X 605, Position Y 53.
-- 25 -- Enable Layer Raster 1. Edit > Copy.
-- 26 -- Selections > Select All. Image> Add Borders: 50px with any color. Selections > Invert. Edit > Paste Into Selection.
-- 27 -- Adjust > Blur > Gaussian Blur: 20.
-- 28 -- Selections > Invert. Effects > 3D Effects > Drop Shadow: 0, 0, 100, 50. Selections > Select None.
-- 29 -- Image > Add Borders: 2px, black color.
-- 30 --
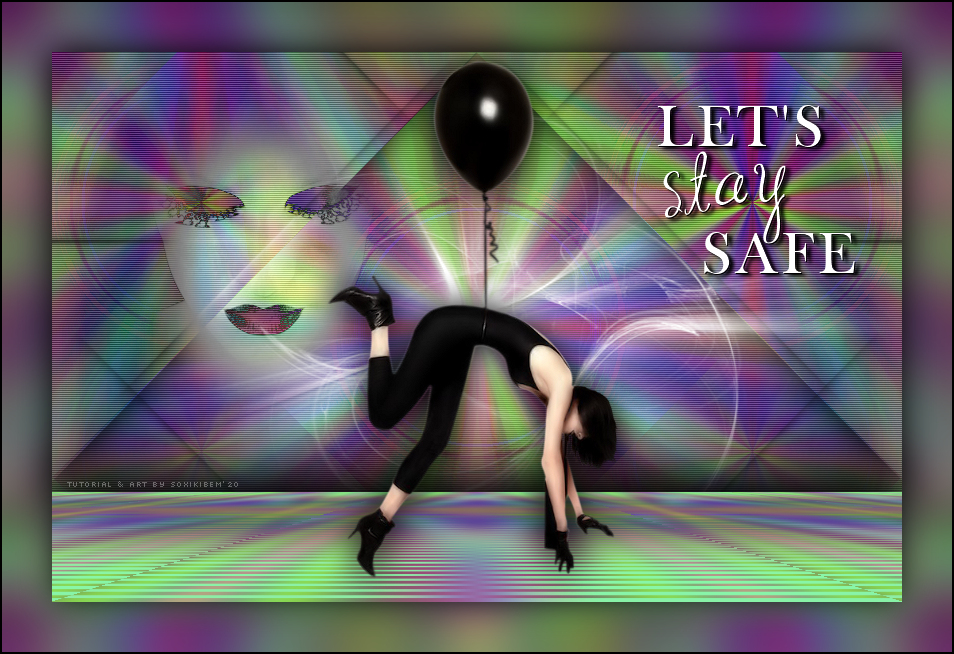
Apply your watermark or signature.
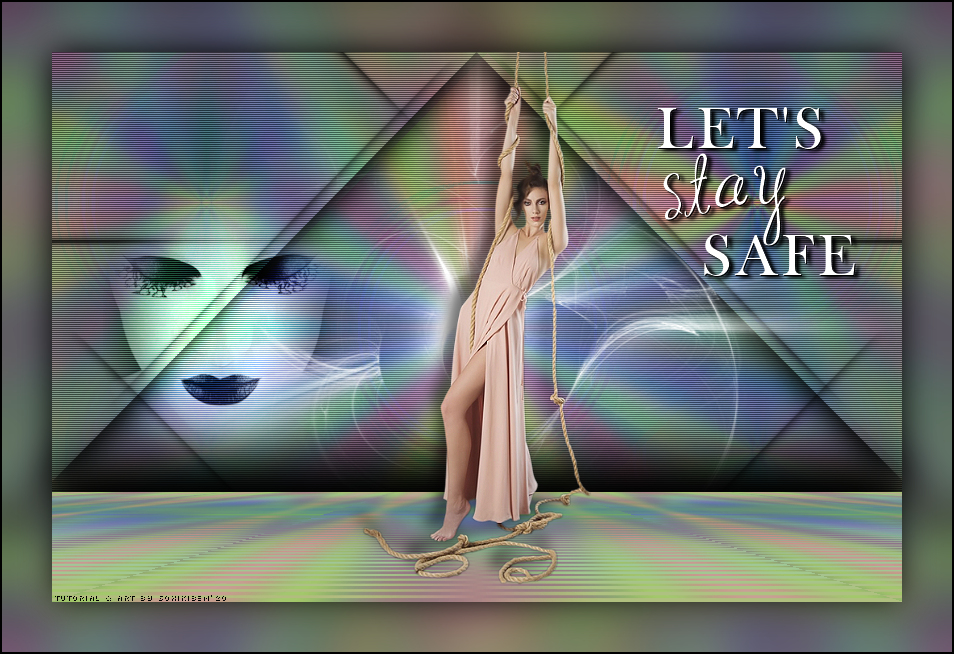
CREDITS Version 1 & 2: Main Tube by L&B Tubes - Tube Face by Moi-Meme - Mask by Narah
CRÉDITOS Versão 1 & 2: Tube Principal by L&B Tubes - Tube Face by Moi-Meme - Mask by Narah
|