|
Tutorial dedicado a Cady em agradecimento pelo lindo trabalho com Tubes e Misteds
TRADUÇÕES:
Obrigada aos nossos tradutores!
MATERIAL 1 Tube Principal à sua escolha decorCady_bySoxikibem decor2Cady_bySoxikibem decor3Cady_bySoxikibem titulo_cady_bysoxikibem
Plugins Filters Unlimited 2.0 Italian Editors Effect L en Ks Simple
***Observe que eu trabalhei com a cor Preta e Branca, então procure trabalhar no foreground com cor bem escura e no background uma bem clara. Nas versões procurei usar outras tonalidades e testar outros Blends. Espero que se divirta com o desafio dos Blends.
Execução
1 - Abrir o material no PSP, duplique e feche o original. Escolher duas cores para trabalhar. cor preta no foreground cor branca no background
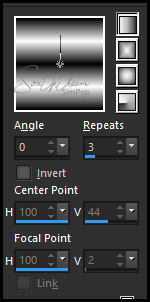
2 - Abra uma imagem transparente de 950x650px. Pintar com a cor do foreground. Layers > New Raster Layer. Pintar com um gradiente Linear como abaixo.
3 - Effects > Plugin Simple > Pizza Slice Mirror.
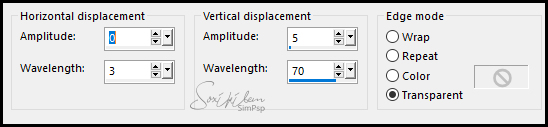
4 - Effects > Distortion Effects > Wave.
5 - Effects > Filters Unlimited 2.0 > Bkg Designer sf10 I > Cruncher: 20, 20.
6 - Layers > Duplicate. Image > Mirror > Mirror Horizontal. Layers > Properties: Blend Mode Difference, Opacity 50. Blend depende das cores que esta usando. Layers > Merge > Merge Down.
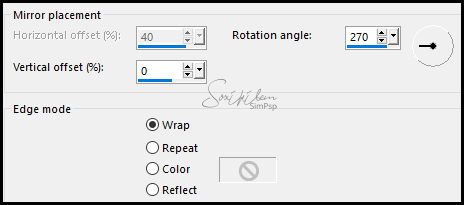
7 - Image > Free Rotate: Right, 90. Effects > Reflections Effects > Rotating Mirror.
Image > Free Rotage: Left, 90.
8 - Effects > Filters Unlimited 2.0 > Bkg Designers sf10 IV > @BlueBerry Pie.
9 - Effects > Plugin L en Ks > Paris.
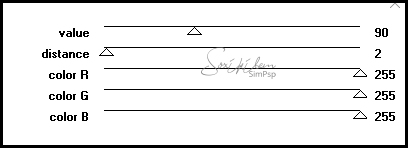
10 - Layers > Duplicate. Effects > Plugin Italian Editors Effect > Effect Fantasma: 140, 166.
11 - Layers > Properties > General: Blend Mode Difference, Opacity de 50%. Blend e opacidade depende das cores que esta usando.
12 - Adjust > Sharpness > Sharpen More.
13 - Edit > Copy no decorCady_bySoxikibem. Edit > Paste a New Layer.
14 - Edit > Copy no decor2Cady_bySoxikibem. Edit > Paste a New Layer.
15 - Edit > Copy no decor3Cady_bySoxikibem. Edit > Paste a New Layer. Layers > Properties > General: Opacity 50.
16 - Layers > Merge > Merge Visible.
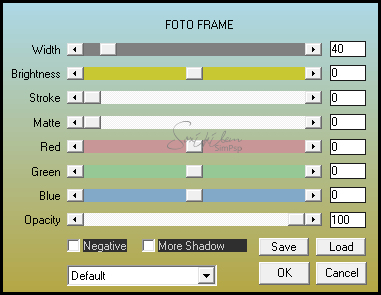
17 - Effects > Plugin AAA Frames > Foto Frame.
18 - Selections > Select All. Selections > Modify > Contract: 40 Selections > Invert.
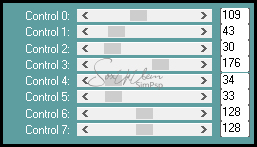
19 - Effects > Plugin Penta.com > Color dot.
Selections > Select None.
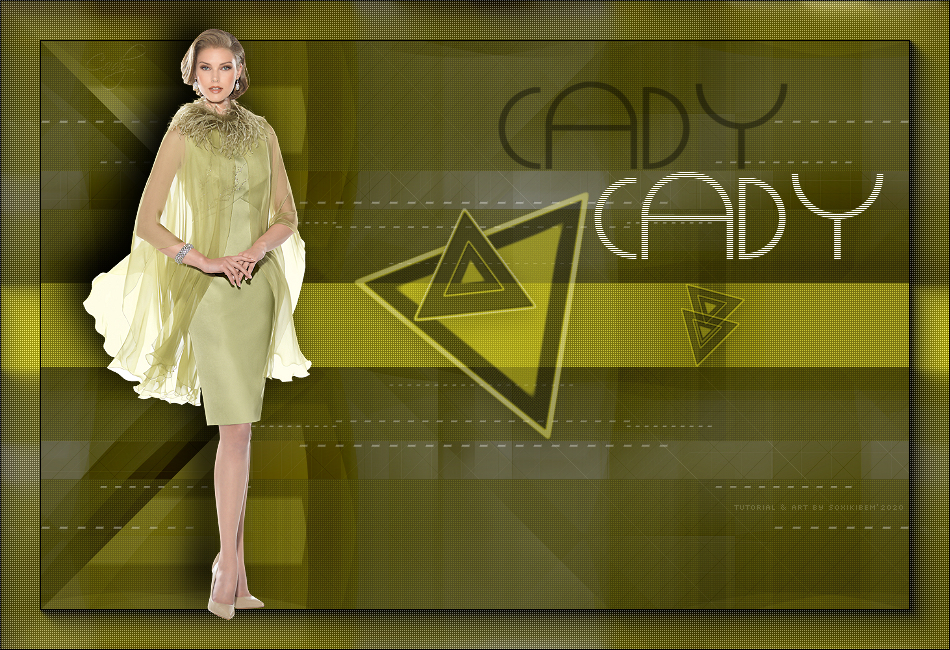
20 - Edit > Copy no Tube. Edit > Paste a New Layer. Posicione. Effects > 3D Effects > Drop Shadow: como preferir.
21 - Edit > Copy no titulo_cady_bysoxikibem. Edit > Paste a New Layer. Posicione à direita.
22 - Finalizar com uma borda de 1px na cor preta.
22 - Se você desejar, redimensione seu trabalho. Aplicar sua marca d'água ou assinatura. File > Export > JPEG Optimizer.
CREDITOS Versao 1, 2, 3 Tube by Cady
CREDITOS Versao 4 Tube by NenaSilva
Tutorial by Soxikibem'19
Sinta-se à vontade para enviar suas versões. Terei todo o prazer em publicá-las em nosso site.
|