|
TRADUÇÕES:
Obrigada aos nossos tradutores!
-- MATERIAL -- 1 Tube principal à sua escolha. Gradient rainbow (Salvar na pasta Gradiente do programa PSP) Narah_Mask_0909 deor1_staysafe tube_face_byMoi-Meme titulo_staysafe -- SELEÇÕES -- staysafe1(Salvar na pasta Seleções do programa PSP)
-- PLUGINS -- Carolaine and Sensibility Mura's Meister Simple Unlimited 2.0 -- REALIZAÇÃO --
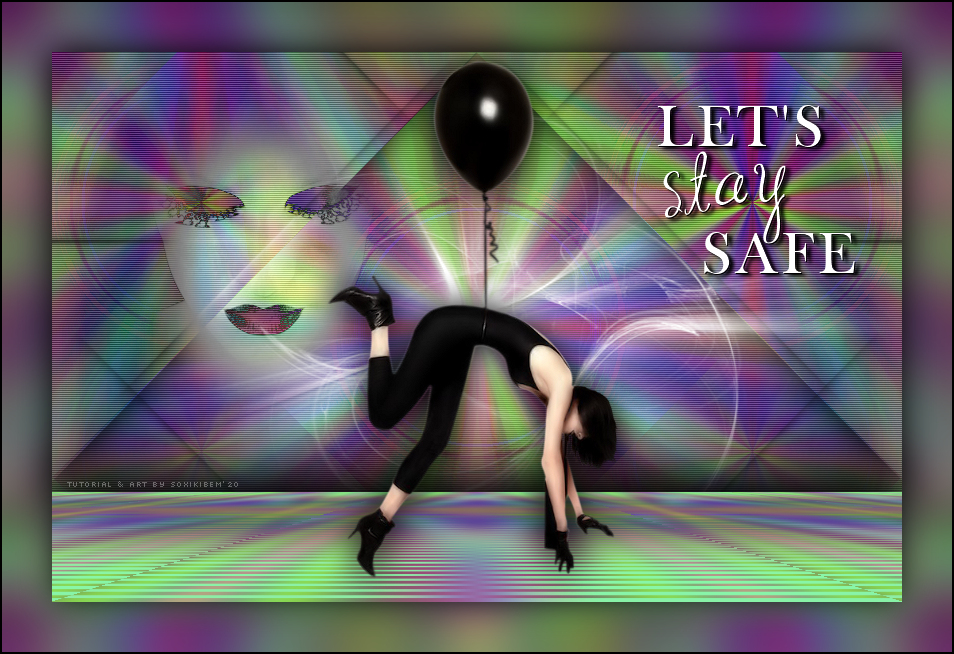
-- 01 -- Abra o material no psp, duplique e feche os originais.
-- 02 -- Abrir uma nova transparência de 850x550 pixels.
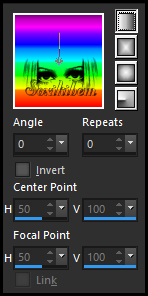
-- 03 -- Pinte com o gradient rainbow.
-- 04 -- Filters Unlimited 2.0 > Tile & Mirror > Radial Tile: 51, 53.
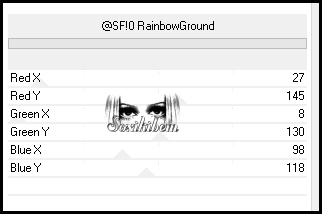
-- 05 -- Filters Unlimited 2.0 > Background Designers IV > SF!0 RainbowGround.
-- 06 -- Layers > Duplicate. Fechar a visibilidade da layer Copy of Raster 1. Ativar a layer Raster 1.
-- 07 -- Plugin Simple > Blintz
-- 08 -- Effects > Image Effects > Seamless Tiling.
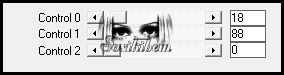
-- 09 -- Plugin Carolaine and Sensibility > cs_texture.
-- 10 -- Layers > New Raster Layer. Pintar esta layer com a cor branca.
-- 11 -- Layers > New Mask Layer > From Image: Narah_Mask_0909. Layers > Merge > Merge Group.
-- 12 -- Ative a abra a visibilidade da layer Copy of Raster 1.
-- 13 -- Adjust > Blur > Gaussian Blur: 20.
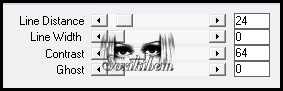
-- 14 -- Plugin Carolaine and Sensibilty > CS-Linear-H
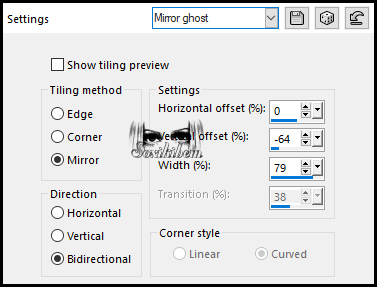
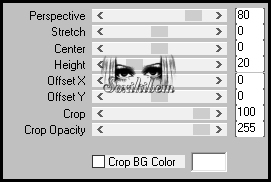
-- 15 -- Plugin Mura's Meister > Perspective Tiling.
-- 16 -- Effects > 3D Effects > Drop Shadow: -20, 0, 100, 90.
-- 17 -- Ative a layer Raster 1. Selections > Load/Save Selection > Load Selection From Disk: staysafe1
-- 18 -- Selections > Invert. Effect > 3D Effects > Drop Shadow: 0, 0, 100, 50. Selections > Select None.
-- 19 -- Edit > Copy no deor1_staysafe. Edit > Paste a New Layer
-- 20 -- Edit > Copy no tube_face_byMoi-Meme. Edit > Paste a New Layer. Image > Resize: 40%, all layers desmarcado.
-- 21 -- Com a ferramenta Pick Tool posicione: Position X 94, Position Y 51.
-- 22 -- Layers > Properties: Blend Mode Difference ou outro que preferir.
-- 23 -- Ative a layer Copy of Raster 1. Edit > Copy no Tube principal. Posicione central. Aplique Drop Shadow como preferir.
-- 24 -- Edit > Copy no titulo_staysafe. Edit > Paste a New Layer. Com a ferramenta Pick Tool posicione: Position X 605, Position Y 53.
-- 25 -- Ative a Layer Raster 1. Edit > Copy.
-- 26 -- Selections > Select All. Image > Add Borders: 50px com qualquer cor. Selections > Invert. Edit > Paste Into Selection.
-- 27 -- Adjust > Blur > Gaussian Blur: 20.
-- 28 -- Selections > Invert. Effects > 3D Effects > Drop Shadow: 0, 0, 100, 50. Selections > Select None.
-- 29 -- Image > Add Borders: 2px cor preta.
-- 30 --
Aplicar sua marca d'água ou assinatura. 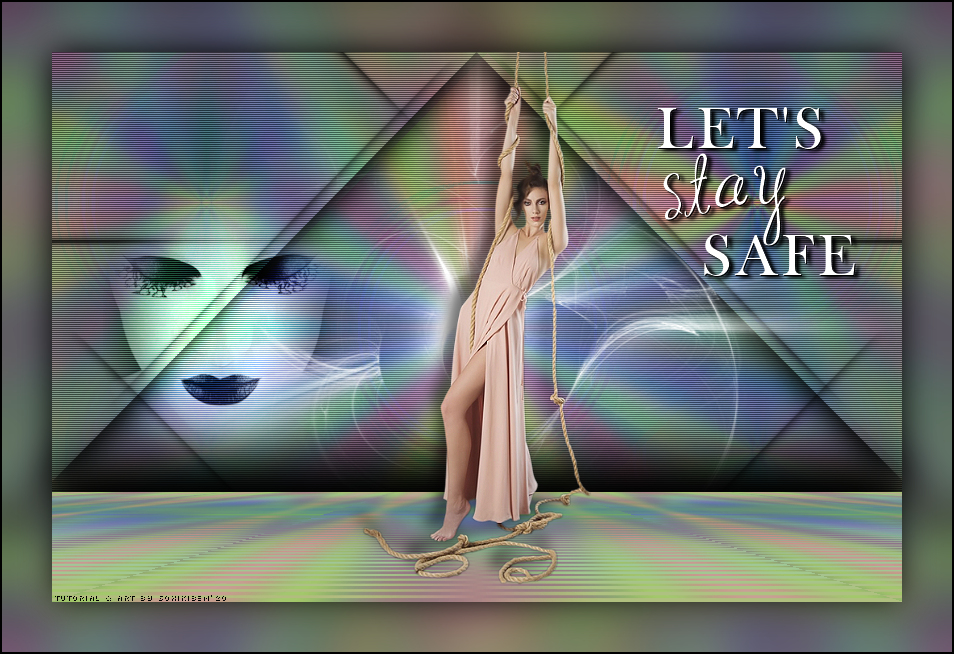
CRÉDITOS Versão 1 & 2: Tube Principal by L&B Tubes - Tube Face by Moi-Meme - Mask by Narah
|